
If you have ever dreamed of making soft, fluffy, and tender Mediterranean bread right in your own kitchen, you are in for a treat with the Best Ever Greek Pita Recipe. This delightful pita is not only incredibly pillowy but also versatile, perfect for scooping up hummus, wrapping your favorite gyro fillings, or serving alongside a vibrant Greek salad. It hits all the right notes of texture and flavor, making it a beloved staple for anyone who adores authentic Mediterranean cuisine and wants to elevate their homemade meals with genuine, fresh pita bread.
Ingredients You’ll Need

The magic of the Best Ever Greek Pita Recipe lies in its simple yet crucial ingredients. Each one plays a vital role in creating that soft, airy texture and that subtle, olive-oil-kissed flavor that makes this pita irresistible. From the yeast that gives the bread its rise to the warm milk and water balancing moisture and tenderness, let’s take a closer look.
- 1 ½ cups all-purpose flour: This is the foundation of your pita; using all-purpose flour ensures enough gluten for structure but keeps the pita soft.
- 1 tablespoon active dry yeast: Yeast helps the dough rise, creating that beautiful fluffy texture.
- 1 teaspoon kosher salt: Salt enhances the flavor while balancing the yeast’s activity.
- ⅓ cup milk, warm: Warm milk adds richness and tenderness to the dough.
- ⅓ cup water, warm: Water hydrates the flour and helps activate the yeast for the perfect rise.
- 2 tablespoons olive oil: Olive oil brings moisture, flavor, and a slight hint of Mediterranean sunshine to your pita.
- Additional olive oil (for bowl and cooking): Keeps the dough from sticking and adds that final touch of flavor when cooking.
How to Make Best Ever Greek Pita Recipe
Step 1: Combine Dry Ingredients
Start by whisking together the flour, active dry yeast, and kosher salt in a large mixing bowl. This step might seem basic, but it’s essential for evenly distributing the yeast and salt throughout your dough, ensuring every bite is perfectly seasoned and rises beautifully.
Step 2: Add Warm Liquids
Next, pour in the warm milk and water. The warmth of these liquids wakes up the yeast and creates the ideal environment for your dough to rise. Mix these together gently until the flour absorbs the liquids but don’t worry if it looks shaggy at this point; it’s part of the journey to delicious pita.
Step 3: Incorporate Olive Oil and Knead
Now add the olive oil, which enriches the dough and helps it become tender. Knead the dough directly in the bowl for a few minutes until it comes together into a smooth, elastic ball. This kneading process helps develop the gluten structure, which is key to achieving that classic pita puff.
Step 4: Let the Dough Rise
Oil a clean bowl with olive oil—using your fingers or a brush to make sure the surface is coated—then place your dough inside. Cover the bowl with plastic wrap and let the dough rest in a warm place for about an hour. This rest allows the dough to double in size, creating that airy structure everyone loves in pita bread.
Step 5: Shape the Pitas
Once risen, turn the dough onto a floured surface and divide it into 8 equal pieces. Gently stretch each piece with your hands into a circle about 7-8 inches wide. Then, use a rolling pin to flatten each circle to approximately ¼ inch thick. This careful shaping ensures even cooking and a perfect pocket inside each pita.
Step 6: Cook to Perfection
Heat a cast iron skillet over high heat and add a teaspoon of olive oil. Place one pita in the pan and cook for about one minute. Drizzle a little olive oil on top, then flip and cook for another minute. The high heat is crucial for creating the pockets in the pita – those little air bubbles that make this recipe stand out. Repeat with the remaining pitas.
Step 7: Optional Garlic Herb Butter Finish
If you want to add a little extra oomph, brush your warm pitas with melted garlic and herb butter after they come off the heat. This step is totally optional but highly recommended for an irresistible finish that tastes like you’re dining at a taverna by the Aegean Sea.
How to Serve Best Ever Greek Pita Recipe

Garnishes
Serving your pitas with fresh garnishes elevates the experience. Consider sprinkling them with chopped fresh herbs like parsley or oregano, a touch of flaky sea salt, or a drizzle of extra virgin olive oil. These little touches bring bright color and fresh flavor right to your table.
Side Dishes
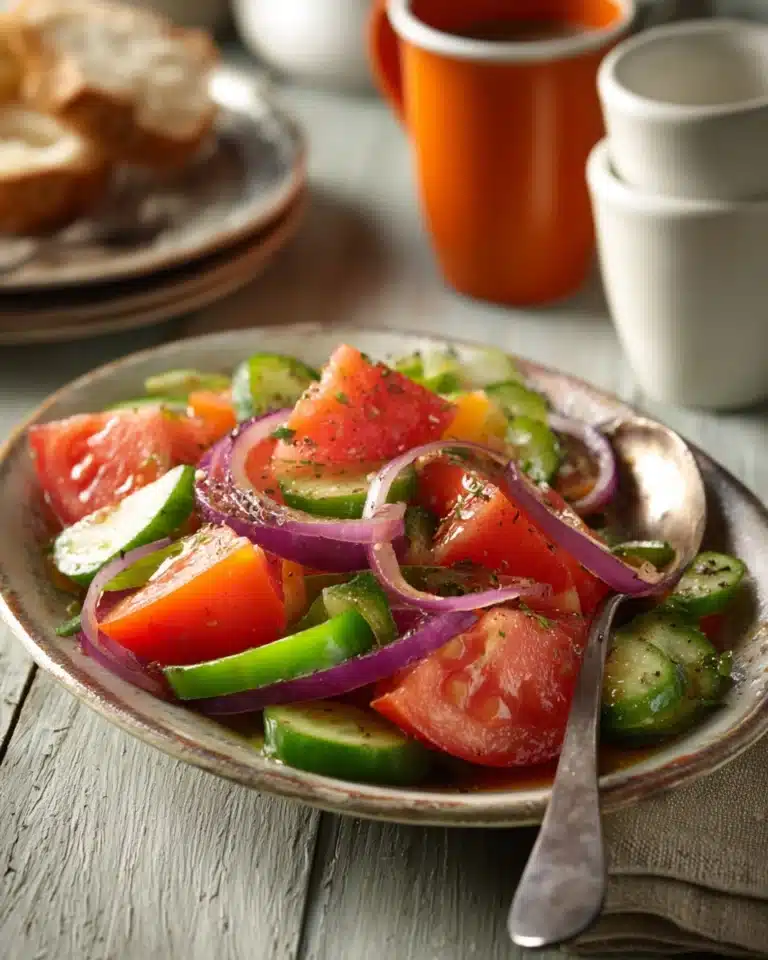
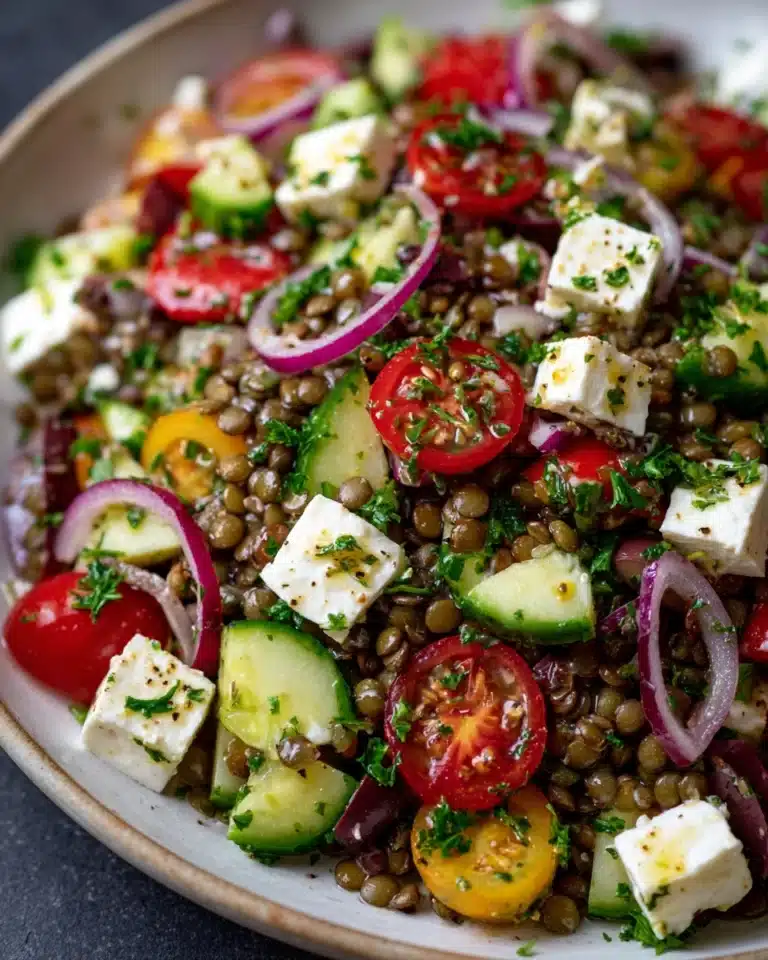
The Best Ever Greek Pita Recipe pairs beautifully with a variety of Mediterranean staples. Think creamy tzatziki, tangy hummus, or a bright Greek salad loaded with olives, tomatoes, and cucumbers. It’s also fantastic alongside grilled meats like chicken souvlaki or lamb gyro for a truly authentic feast.
Creative Ways to Present
For a fun twist, slice your warm pita into wedges and serve as part of a mezze platter with assorted dips, grilled veggies, and cheeses. You can also stuff each pita pocket with fillings like falafel, grilled veggies, or fresh veggies and feta for a handheld, delicious meal option that looks as good as it tastes.
Make Ahead and Storage
Storing Leftovers
Leftover pitas will keep well in an airtight container at room temperature for up to two days. If you need them to last longer, place a piece of parchment paper between each pita to prevent sticking, then store them in the fridge for up to a week.
Freezing
The Best Ever Greek Pita Recipe freezes wonderfully, making it perfect for meal prep. Wrap individual pitas tightly in plastic wrap or place parchment paper between them, then seal them in a freezer-safe bag. They can be frozen for up to three months without losing their soft texture.
Reheating
To reheat, thaw frozen pitas at room temperature or in the fridge overnight. Warm them briefly in a hot skillet or wrapped in foil inside a preheated oven to restore their soft, pillowy texture. Avoid microwaving to prevent sogginess.
FAQs
Can I use whole wheat flour instead of all-purpose flour?
Absolutely, you can substitute whole wheat flour for a healthier twist, but keep in mind the texture will be a bit denser and the pita less fluffy. You might want to try a mix of whole wheat and all-purpose flour for the best balance.
Why is the dough resting for an hour?
The resting time allows the yeast to ferment, causing the dough to rise and develop air pockets. This is what makes the pita soft and allows it to puff up when cooked, forming those iconic pockets.
What if my pita doesn’t puff up during cooking?
If your pita doesn’t puff up, it could be due to the thickness of the dough or the pan temperature. Make sure your dough is rolled to the right thickness (about ¼ inch) and that your skillet is hot before adding the dough. Also, letting the dough rest and rise properly is key!
Can I use a regular frying pan instead of cast iron?
You can, but a cast iron skillet is ideal because it retains high heat better, helping the pita cook quickly and puff up evenly. If using a regular pan, make sure it is heavy-bottomed and very hot.
How should I store leftover pita to keep it fresh?
Store leftover pita in an airtight container or resealable plastic bag at room temperature for short-term storage, or refrigerate for longer. Make sure the bread is completely cooled before storing to avoid condensation and sogginess.
Final Thoughts
Once you taste the Best Ever Greek Pita Recipe you’ll understand why it deserves a special place in your kitchen repertoire. Its fluffy texture, subtle olive oil flavor, and perfect versatility make it an absolute joy to make and eat. Whether you’re hosting a Mediterranean-inspired dinner or simply craving fresh bread, this recipe will quickly become your go-to. Give it a try—you’re going to love it!
Print
Best Ever Greek Pita Recipe
- Total Time: 1 hour 18 minutes
- Yield: 8 pita breads
Description
This Best Ever Greek Pita recipe yields pillowy soft, fluffy, and tender pita bread that is perfect for gyros, dips, or as a wrap for Mediterranean-inspired meals. The dough is simple to prepare, using basic ingredients like flour, yeast, and olive oil, and cooked quickly on a cast iron skillet to achieve a light and airy texture.
Ingredients
Dough Ingredients
- 1 ½ cups all purpose flour, plus more for surface
- 1 tablespoon active dry yeast
- 1 teaspoon kosher salt
- ⅓ cup milk, warm
- ⅓ cup water, warm
- 2 tablespoons olive oil, plus more for the bowl and cooking
Optional Topping
- Melted garlic and herb butter (optional)
Instructions
- Mix Dry Ingredients: In a large bowl, combine the flour, active dry yeast, and kosher salt. Mix thoroughly to evenly distribute the yeast and salt within the flour.
- Add Wet Ingredients: Pour in the warm milk and warm water into the dry mixture. Stir until the ingredients start to come together to form a dough.
- Knead Dough: Add the olive oil to the mixture. Knead the dough directly in the bowl for several minutes until it forms a cohesive, smooth ball.
- First Rise: Lightly oil another bowl with olive oil using a brush or your fingers. Place the dough ball into the oiled bowl, turning once to coat all sides. Cover the bowl with plastic wrap and let the dough rest in a warm place for 1 hour, or until it doubles in size.
- Shape Pitas: Dust a clean surface with flour. Remove the dough from the bowl and divide it into 8 equal pieces. Using your hands, gently stretch each piece into a rough circle, then roll out each into a 7-8 inch diameter circle approximately ¼ inch thick using a rolling pin.
- Heat Skillet: Place a cast iron skillet over high heat and add 1 teaspoon of olive oil, spreading it evenly.
- Cook Pitas: Place one rolled pita onto the hot skillet. Cook for about 1 minute until lightly browned. Drizzle a little olive oil on top, then flip the pita and cook the other side for an additional minute.
- Repeat: Cook the remaining pitas in the same way, adding olive oil as needed to the skillet.
- Optional Finish: Once all pitas are cooked, brush them with melted garlic and herb butter for extra flavor if desired.
Notes
- Use warm (not hot) milk and water to activate the yeast properly.
- Ensure the dough doubles in size during the resting period for fluffy pitas.
- Cook pitas in a seasoned cast iron skillet for best results and authentic flavor.
- Keep cooked pitas wrapped in a clean towel to maintain softness before serving.
- Optionally, brush cooked pitas with garlic herb butter for added richness and aroma.
- Prep Time: 10 minutes
- Cook Time: 8 minutes
- Category: Bread
- Method: Stovetop
- Cuisine: Greek