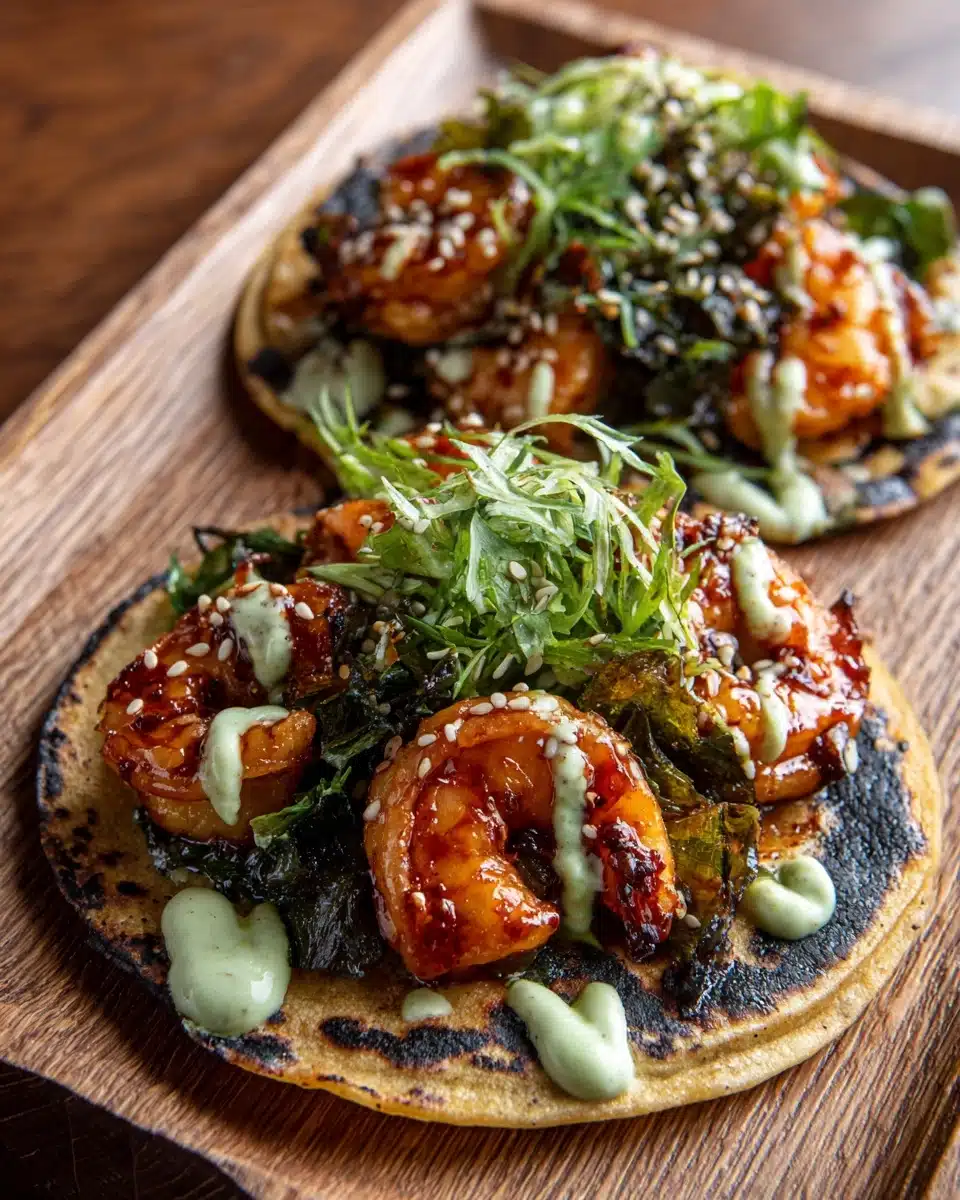
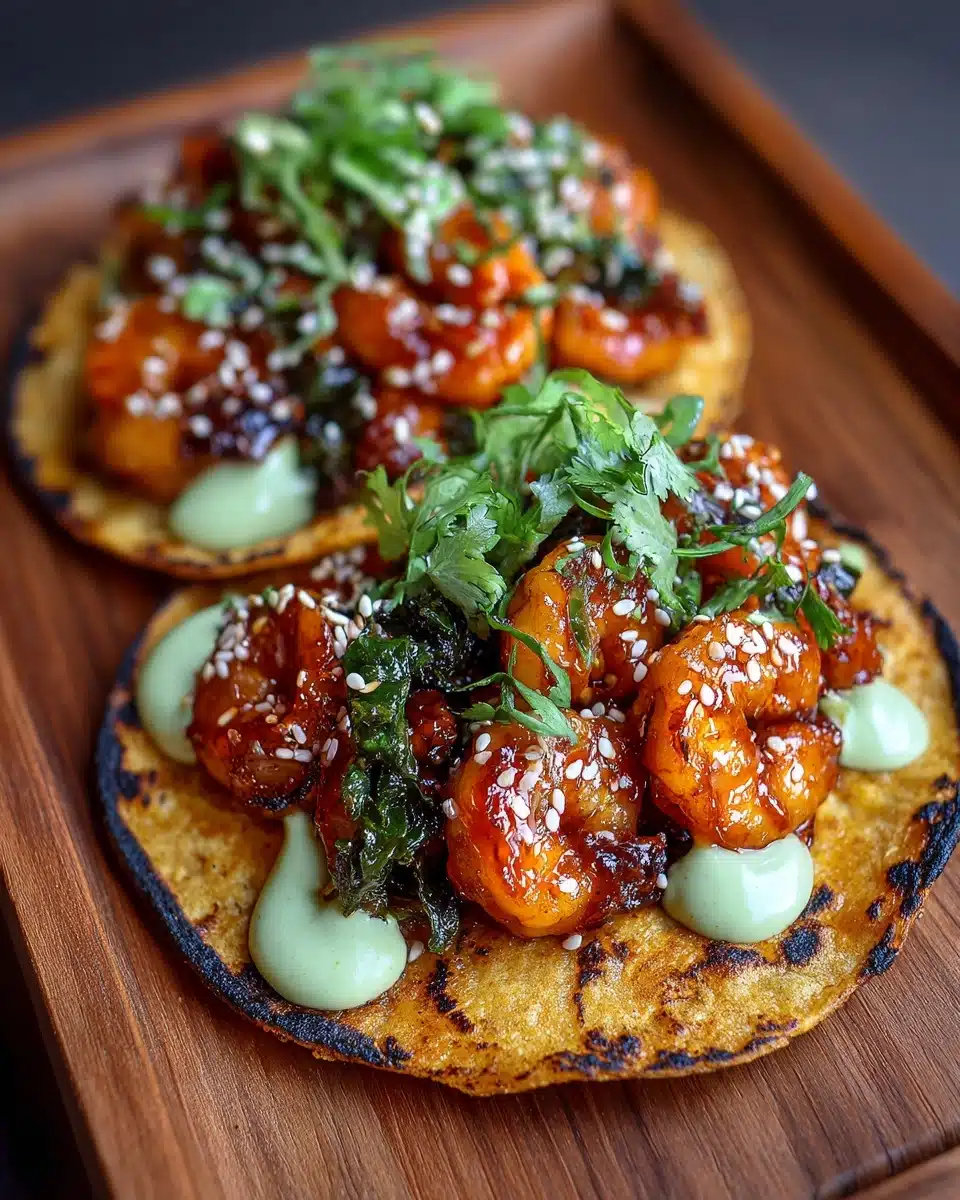
If you’re a taco fanatic looking to shake up your dinner routine, Shrimp Tacos are about to become your new obsession. Ready in just 30 minutes, these tacos showcase juicy, sizzling shrimp nestled into warm tortillas and loaded with the crunchiest cabbage, creamy avocado, salty cotija cheese, bright cilantro, and a good drizzle of tangy garlic-lime crema. It’s a vibrant, fresh, and totally irresistible meal that feels just a little fancy, but is wildly simple to pull together — perfect for busy weeknights, casual get-togethers, or a flavor-packed Taco Tuesday.
Ingredients You’ll Need
Here’s the ingredient lineup for Shrimp Tacos — nothing complicated, but each element brings its own pop of taste, creamy texture, or burst of color. Gather everything ahead of time and you’ll breeze through this recipe.
- Sour cream: The base for our luscious taco sauce, adding creamy tang to every bite.
- Mayonnaise: Partners with sour cream to give the sauce rich body and smoothness.
- Lime juice: Brings brightness and punch that makes the crema sing.
- Garlic powder: Adds delicious depth, without the harshness of raw garlic.
- Sriracha sauce: Just enough heat for a lovely warmth without overpowering the shrimp.
- White corn tortillas or hard taco shells: The cradle for your fillings — toast for extra flavor.
- Purple cabbage: Shredded for that unbeatable crunch and gorgeous color.
- Avocado: Diced and creamy, for that satisfying melt-in-your-mouth contrast.
- Red onion: Finely diced to give a little zing and color.
- Cotija cheese: Salty and crumbly, this cheese is pure taco magic.
- Cilantro: A fresh, herbal finishing touch that brings all the flavors together.
- Lime wedges: A final squeeze over the top brightens every taco.
- Shrimp (raw, medium or large): The star — tender, juicy, and so quick to cook.
- Garlic clove: Minced or pressed for vibrant, real-garlic flavor in the shrimp.
- Sea salt: Essential for seasoning and bringing all the savoriness.
- Black pepper: Rounds out and enhances every spice in the dish.
- Ground cumin: An earthy note that brings true taco flavor.
- Cayenne pepper: Just a pinch for subtle, balanced heat.
- Olive oil: For sautéing the shrimp, adding a fruity depth and beautiful sear.
How to Make Shrimp Tacos
Step 1: Make the Shrimp Taco Sauce
In a small bowl, whisk together sour cream, mayonnaise, lime juice, garlic powder, and Sriracha to create the ultimate taco sauce. Give it a taste, adjust heat or acidity if you’d like, and set it aside while you get everything else ready. If you want to be fancy, transfer it to a squeeze bottle for easy drizzling later — it makes you feel like a real taco artist.
Step 2: Prep the Toppings
Take a few minutes to prep your cabbage, avocado, red onion, and cilantro. Thinly slice the cabbage for that signature crunch. Dice the creamy avocado and red onion, then coarsely chop your cilantro. Lay everything out in small bowls, so when it’s time to assemble your Shrimp Tacos, you look like a well-organized taco architect.
Step 3: Season the Shrimp
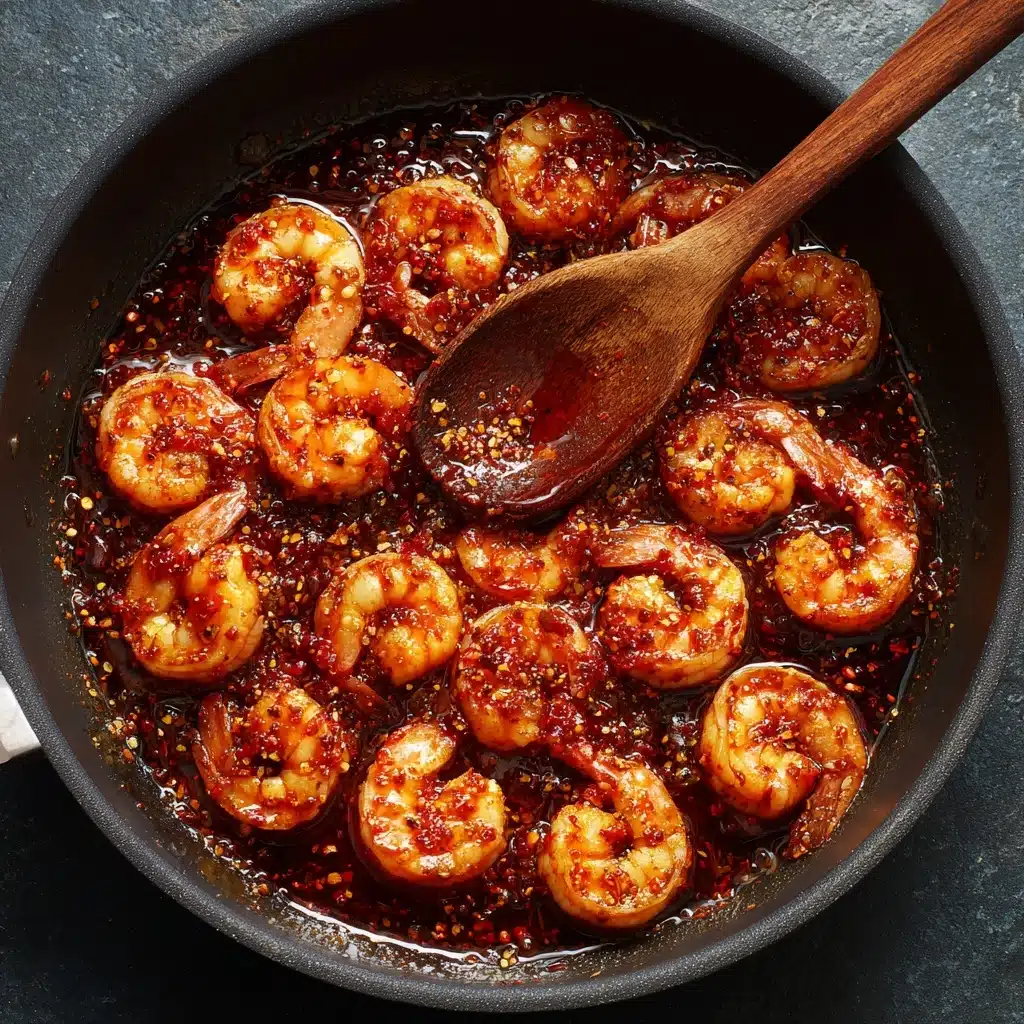
Thaw your shrimp if needed and blot them dry with paper towels (this helps them sear rather than steam). Place the shrimp in a bowl and toss with pressed garlic, sea salt, pepper, cumin, and a pinch of cayenne. Every little shrimp should be nicely coated for maximum flavor.
Step 4: Cook the Shrimp
Heat olive oil in a large non-stick pan over medium-high. Once shimmering, add your shrimp in a single layer. Sauté for just 1 to 2 minutes on each side — as soon as they curl and turn opaque with pink and red edges, they’re done! Don’t overcook them, or they’ll lose their juiciness. Transfer shrimp to a platter and let them cool slightly while you turn your attention to the tortillas.
Step 5: Heat the Tortillas
You’ve got options here! For the most flavor, char each tortilla over a gas flame for about 10 seconds per side (watch them closely — you want spots of char, not a full blaze). If you don’t have a gas range, toast them in a dry griddle or skillet, or broil briefly in the oven until you see those brown spots and they’re warm and pliable. This step makes a huge difference, infusing your Shrimp Tacos with a little smoke and warmth.
Step 6: Build and Serve Your Shrimp Tacos
Time to assemble! Add a good layer of cabbage to each tortilla, pile on the shrimp, top with avocado, chopped onion, cotija, and cilantro. Finish with a generous drizzle of that garlic-lime crema and extra lime wedges on the side for squeezing. Grab a taco (or two), and relish every zesty, creamy, crunchy bite.
How to Serve Shrimp Tacos
Shrimp Tacos Garnishes
Garnishes make these tacos pop, both in flavor and color! Shower your Shrimp Tacos with freshly chopped cilantro, a sprinkle of cotija, and extra lime. For a little kick, add thin slices of jalapeño or a few extra dashes of hot sauce. Everyone can personalize their taco just the way they like it!
Side Dishes
These tacos are a feast all on their own, but pairing them with a side is always a good idea. Try a simple Mexican-style slaw, spicy black beans, or warm cilantro-lime rice. Chips and pico de gallo salsa or creamy guacamole always belong at the party, turning your Shrimp Tacos dinner into a full-on fiesta.
Creative Ways to Present
If you’re feeding a crowd or just want to have fun with presentation, set up a DIY taco bar. Arrange the shrimp, toppings, crema, and toasted tortillas so everyone can build their own Shrimp Tacos. Or, use hard taco shells for crunch, or swap tortillas for lettuce wraps to keep things light. You can even serve the fillings over rice or salad for a lively taco bowl spin!
Make Ahead and Storage
Storing Leftovers
If you’re lucky enough to have leftover Shrimp Tacos components, store each element separately in airtight containers in the fridge. Cooked shrimp will stay fresh for 3 to 4 days. Keep the crema in the fridge (covered) for up to a week, but skip freezing this sauce for best texture.
Freezing
The cooked shrimp can be frozen for busy days! Let them cool completely, then transfer to a freezer-safe bag or container and freeze for up to 3 months. Just be sure to thaw in the fridge overnight before you’re ready to reheat and build your next round of Shrimp Tacos.
Reheating
To keep those shrimp juicy, reheat gently in a pan over low heat until just warmed through. Avoid overcooking — shrimp heat up in a flash. If using the microwave, cover with a damp paper towel and heat in short bursts for best results. Always assemble tacos fresh for the best texture.
FAQs
Can I use frozen shrimp for Shrimp Tacos?
Absolutely! Just thaw your shrimp overnight in the fridge or under cool running water before seasoning and cooking. Pat them dry so they sear up nicely in the pan – frozen or fresh, they both work beautifully.
What if I don’t have all the spices for the shrimp?
No worries! A tablespoon of your favorite taco seasoning is the perfect substitute. It’ll deliver plenty of flavor and still make your Shrimp Tacos taste amazing and authentic.
Can I make the shrimp ahead of time?
You sure can. Cook the shrimp, cool them, and store in the fridge for up to 3 days. When you’re ready, just reheat gently before assembling your tacos for the best taste and texture.
Are there any good dairy-free swaps for the crema or cheese?
Definitely! Use a plant-based sour cream and mayo for the crema, and try a dairy-free crumbly cheese (or leave it out entirely). Your Shrimp Tacos will still be completely delicious and satisfying.
How spicy are these tacos?
The heat is pretty mild, thanks to a touch of Sriracha and cayenne. If you love things spicy, add more Sriracha or jalapeño at the table; if you prefer less, use only a small amount or skip the hot sauce altogether.
Final Thoughts
There’s nothing like bringing Shrimp Tacos to the table and watching everyone’s faces light up. They’re quick, lively, and overflowing with fresh flavor — perfect for any taco lover, any night of the week. Give them a try, experiment with your favorite toppings, and share the taco joy!
Print
Shrimp Tacos Recipe
- Total Time: 30 minutes
- Yield: 8 Tacos
- Diet: Gluten Free
Description
These Shrimp Tacos are a must-try – loaded with plump, juicy shrimp, crisp cabbage, avocado, cotija cheese, cilantro, and a garlic-lime crema sauce that will win you over. We serve these over toasted tortillas for an authentic taste you’ll crave. P.S. In a pinch, you can easily substitute all of the shrimp seasonings for 1 tbsp of taco seasoning.
Ingredients
Shrimp Taco Sauce Ingredients:
- 1/3 cup sour cream
- 1/3 cup mayonnaise
- 1 1/2 Tbsp lime juice, squeezed from 1 medium lime
- 3/4 tsp garlic powder
- 3/4 tsp Sriracha sauce, or to taste
Shrimp Taco Toppings:
- 8 white corn tortillas, (small, 6” diameter), or Hard Taco Shells
- 1/2 small purple cabbage, 2 cups shredded
- 1 large avocado, pitted, peeled, and diced
- 1/2 red onion, diced
- 4 oz Cotija cheese, (1 cup grated on a box grater)
- 1/4 bunch cilantro, coarsely chopped
- 1 lime , cut into 8 wedges
For the Shrimp:
- 1 lb shrimp (medium or large), raw
- 1 garlic clove, pressed or minced
- 1/2 tsp sea salt
- 1/4 tsp black pepper
- 1/4 tsp ground cumin
- 1/4 tsp cayenne pepper
- 1 Tbsp olive oil
Instructions
- Make the Shrimp Taco Sauce – In a small bowl, whisk together the sauce ingredients and set aside for the flavors to meld. Transfer to a squeeze bottle if desired.
- Prep the Toppings – Thinly slice cabbage, dice the avocado, finely dice the red onion, and coarsely chop the cilantro. Arrange toppings in small bowls for easy serving.
- Season the Shrimp – Thaw and pat dry the shrimp with paper towels and place in a medium bowl. Add seasonings and garlic and stir to combine.
- Cook the Shrimp – Place a large non-stick pan over medium-high heat. Add 1 Tbsp olive oil and add shrimp in a single layer. Sauté 1-2 minutes per side or just until cooked through. As soon as they are cooked through (white inside with some pink and red accents outside), transfer to a serving platter and set aside to cool.
- Heat the Tortillas – You can toast the tortillas over a gas flame, on a griddle or in a skillet**.
- To Serve – Build tacos by arranging toppings and shrimp over each toasted tortilla. Serve drizzled with the taco sauce.
Notes
- **How to Heat Tortillas:**
- Gas Stove: Toast tortillas one at a time over an open gas stovetop flame on medium/low heat (about 10 seconds per side) until lightly charred on the edges.
- Toast Tortillas in the Oven: Arrange in a single layer on a baking sheet and broil about 6-8 inches from the heat source for 2 minutes or until you see browned spots on the tortillas.
- Heat a griddle or cast iron skillet to medium-high heat and toast tortillas for 15-30 seconds on each side or until golden. No oil needed.
- Make Ahead: Make the shrimp, toppings, and sauce ahead to save time. Store each element separately in an airtight container in the fridge until ready to serve. Then, heat the tortillas just before assembling the Shrimp tacos.
- Storage: Cooked shrimp can be stored in the fridge for 3-4 days and in the freezer for up to 3 months. To reheat, thaw in the fridge overnight, then heat in a sauté pan over low heat until just heated through. Don’t overcook. Garlic-lime Crema sauce keeps well, covered in the fridge, for up to 1 week, but do not freeze.
- Prep Time: 20 minutes
- Cook Time: 10 minutes
- Category: Main Course
- Method: Saute, Broil
- Cuisine: Mexican
Nutrition
- Serving Size: 1 Taco
- Calories: 308 kcal
- Sugar: 2g
- Sodium: 485mg
- Fat: 21g
- Saturated Fat: 7g
- Unsaturated Fat: 12g
- Trans Fat: 0g
- Carbohydrates: 18g
- Fiber: 5g
- Protein: 14g
- Cholesterol: 127mg

