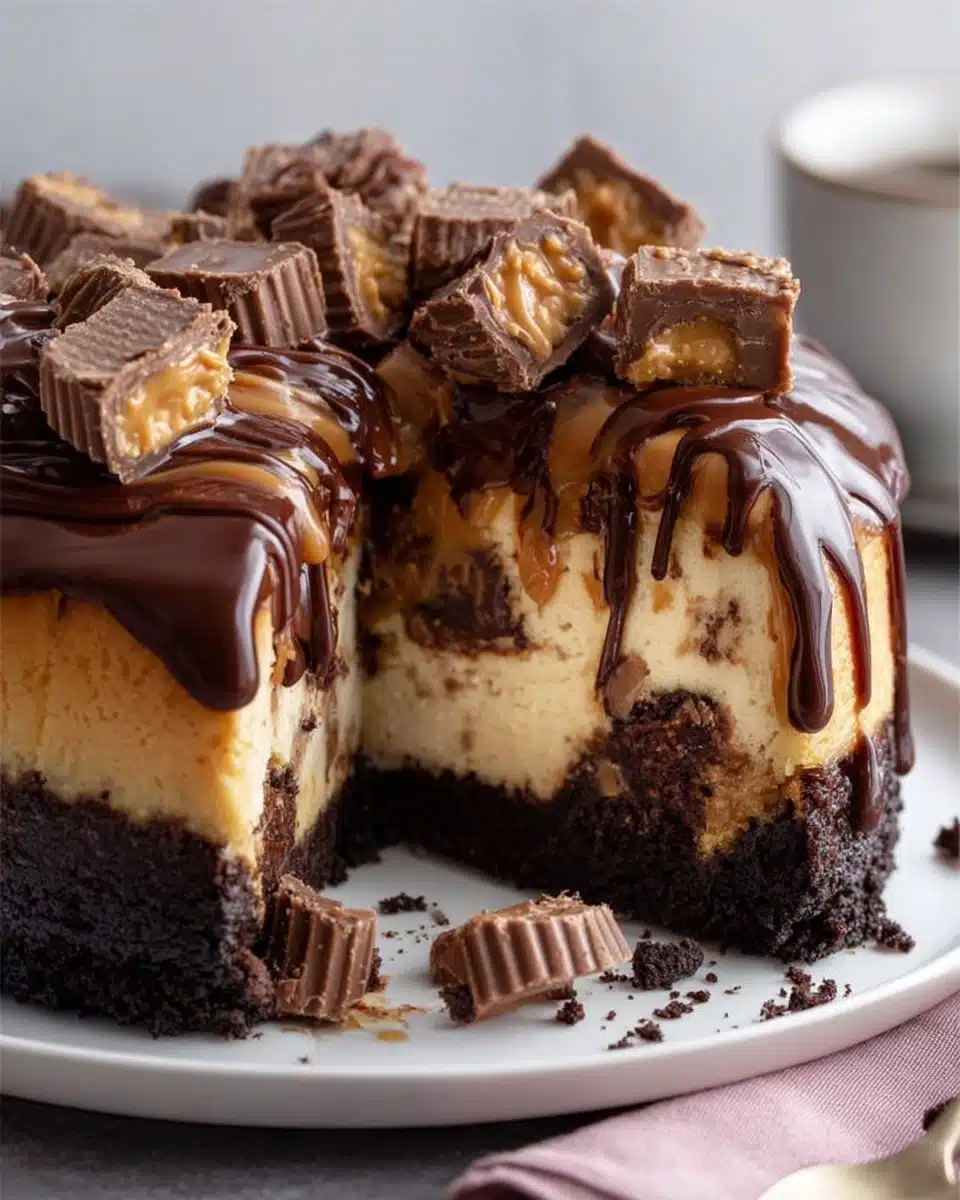
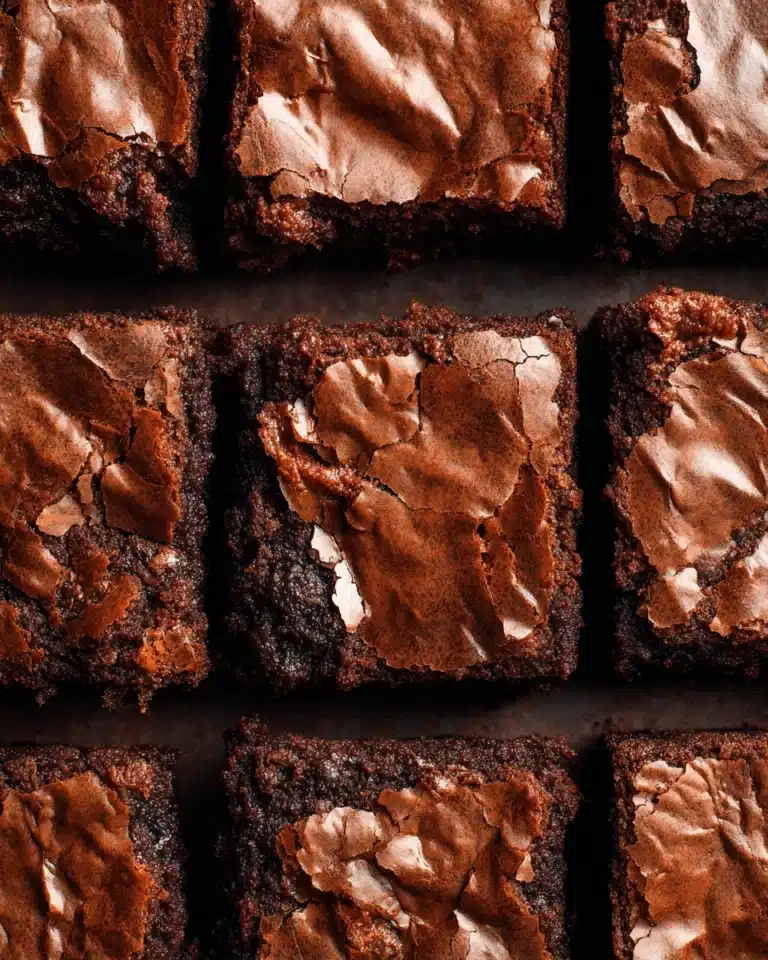
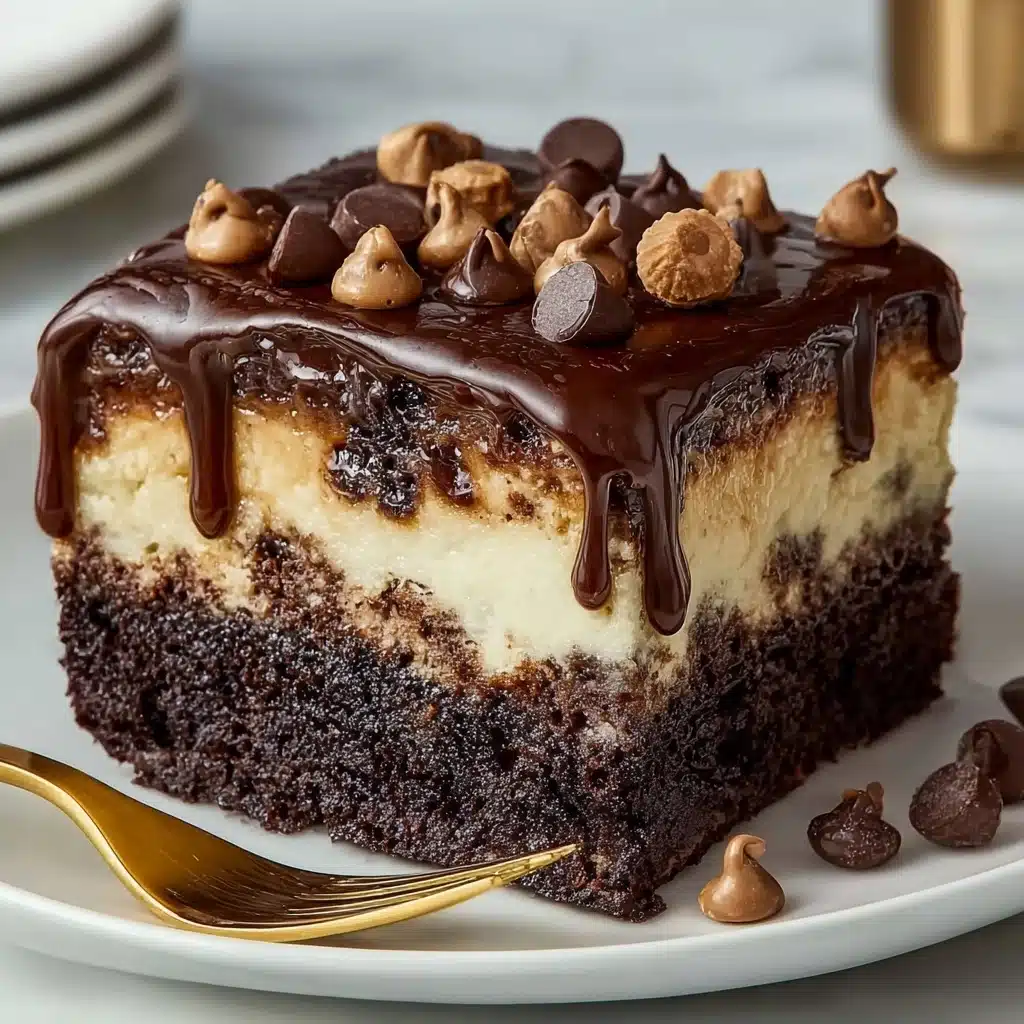
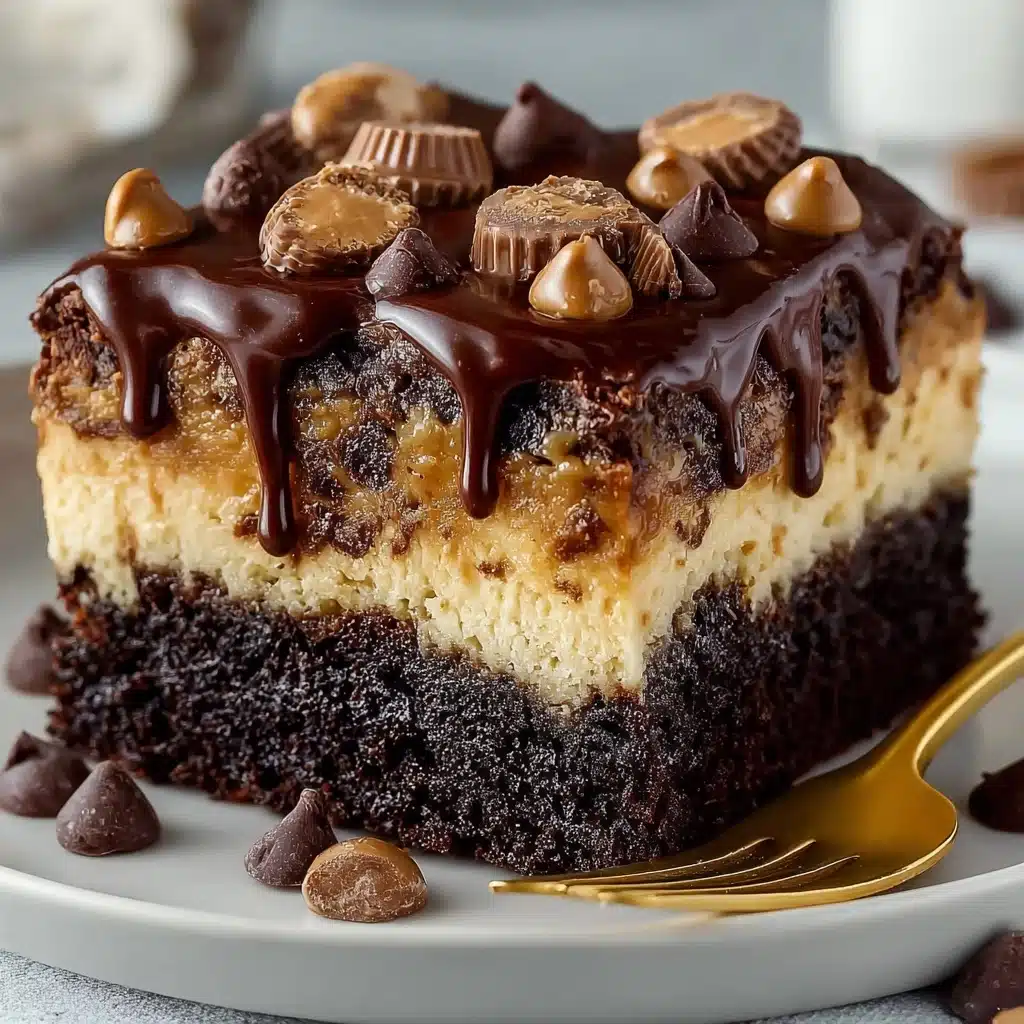
If you have a soft spot for chocolate and a wild love for peanut butter, Reese’s Peanut Butter Earthquake Cake is calling your name. This decadent dessert fuses a rich chocolate base with creamy, tangy peanut butter swirls, then loads up the top with gooey chocolate chips and halved mini Reese’s cups. With every bite, you’ll encounter pockets of melty chocolate, creamy cheesecake-like filling, and that unmistakable Reese’s flavor. Whether you’re baking for a birthday, potluck, or just craving a showstopping sweet treat, this cake is a guaranteed crowd-pleaser that looks as dramatic as it tastes.
Ingredients You’ll Need
These ingredients are simple but deliver maximum flavor, combining convenience with that irresistible homemade touch! Each one plays a pivotal role in creating the incredible texture, color, and taste that defines Reese’s Peanut Butter Earthquake Cake.
- Chocolate cake mix (plus eggs, oil, and water): The backbone of the cake; use your favorite box mix for fudgy, failproof results.
- Unsalted butter (melted): Adds rich flavor and gives the peanut butter swirl a luscious, velvety texture.
- Cream cheese (softened): Lends a creamy, tangy layer that balances the sweetness perfectly.
- Creamy peanut butter: The heart of this cake—choose a good-quality brand for extra smooth, nutty swirls.
- Vanilla extract: Enhances all the other flavors and brings warmth to the cake.
- Powdered sugar: Sweetens the peanut butter swirl and helps make it ultra-fluffy and light.
- Semi-sweet chocolate chips: Melt into gooey pools for pockets of chocolate with every bite.
- Mini Reese’s Peanut Butter Cups (halved): The star ingredient—each piece melts slightly and adds bursts of iconic Reese’s flavor and texture.
How to Make Reese’s Peanut Butter Earthquake Cake
Step 1: Prep Your Baking Dish
Start by preheating your oven to 350°F (175°C). Grease a 9×13-inch glass baking dish or line it neatly with parchment paper. This helps the cake release effortlessly once baked, making your life oh-so-much easier when it comes time to serve.
Step 2: Mix Up the Chocolate Cake Batter
Follow the directions on your chocolate cake mix box, using the specified eggs, oil, and water. Once your batter is smooth and rich, pour it straight into your prepped baking dish and gently spread it out to create an even chocolatey canvas for the swirls and toppings to come.
Step 3: Make the Creamy Peanut Butter Swirl
In a large bowl, use a hand mixer to beat together the softened cream cheese and melted butter until the mixture is completely smooth and fluffy. Add the creamy peanut butter and vanilla extract; continue beating until well incorporated. Gradually add in the powdered sugar, one cup at a time, mixing until everything transforms into a luscious, cloud-like peanut butter filling.
Step 4: Swirl and Top
Using a large spoon, dollop generous scoops of the peanut butter mixture all over the cake batter. Take a butter knife and gently swirl the two together to create a beautiful marbled effect—just a few gentle swirls does the trick! Scatter the mini Reese’s cups (cut in half) and chocolate chips evenly across the top, ensuring every piece will get a taste of that nutty, chocolate-studded bliss.
Step 5: Bake to Perfection
Slide the cake into the oven and bake for 45 to 55 minutes. You’ll know it’s ready when the edges are set, the middle still has a slight jiggle, and a toothpick comes out with a few moist crumbs (but not raw batter). Let your Reese’s Peanut Butter Earthquake Cake cool slightly—this helps everything set up and intensifies the gooey texture.
Step 6: Cool and Serve
Allow the cake to rest for at least 15–20 minutes before slicing. This short wait makes it easier to serve clean slices while still enjoying all the gooey decadence. Serve the cake warm for the ultimate, melt-in-your-mouth experience, or add a scoop of vanilla ice cream if you want to go totally over the top!
How to Serve Reese’s Peanut Butter Earthquake Cake
Garnishes
This cake is already loaded with texture and flavor, but a handful of extra mini chocolate chips, chopped roasted peanuts, or even a drizzle of warm chocolate or caramel sauce over each slice makes it spectacular. For a fun crunch, sprinkle toffee bits or sea salt on top right before serving.
Side Dishes
Because Reese’s Peanut Butter Earthquake Cake is incredibly rich, consider pairing it with light, refreshing sides: think a scoop of classic vanilla or peanut butter ice cream, a dollop of barely sweetened whipped cream, or even fresh strawberries or raspberries to cut through all that chocolatey sweetness. Coffee or cold milk also makes the perfect partner!
Creative Ways to Present
Try cutting the cake into smaller, bite-size squares for party trays, or layer chunks into a parfait glass with whipped cream and more chopped Reese’s cups for a playful dessert option. For an extra-indulgent twist, warm up slices and serve as the gooey centerpiece of a sundae bar, letting everyone choose their own toppings.
Make Ahead and Storage
Storing Leftovers
If you have leftovers (good luck!), allow the cake to cool completely, then cover the baking dish tightly with foil or plastic wrap. It keeps well in the fridge for up to 4 days, and the flavor only gets deeper and more irresistible as the chocolate and peanut butter meld together.
Freezing
Reese’s Peanut Butter Earthquake Cake freezes beautifully! Slice into portions and wrap each piece in plastic wrap, then place them in a freezer bag or airtight container. You can freeze for up to 2 months. When a craving hits, just thaw a slice overnight in the fridge or give it a quick warm-up in the microwave.
Reheating
Want that gooey, just-baked texture? Pop a slice onto a microwave-safe plate and heat in 10–15 second bursts until it’s warm and melty. Be careful not to overheat, or the chocolate can scorch and cream cheese swirl might dry out.
FAQs
Can I use homemade chocolate cake instead of a box mix?
Absolutely! If you have a favorite homemade chocolate cake recipe, use it as the base. Just make sure you use a quantity that fits a 9×13-inch pan so the swirl-to-cake ratio stays divine.
What kind of peanut butter works best?
Creamy, shelf-stable peanut butter gives the best consistency for swirling and blending with the powdered sugar and cream cheese. Natural or organic peanut butter can sometimes be too oily or separate, so stick with your favorite mainstream brand for best results.
Why is it called an “earthquake” cake?
The name comes from the way the fillings and toppings burst through the fluffy chocolate base as the cake bakes, creating cracks, swirls, and pockets—like little sweet tectonic shifts! It’s messy, dramatic, and totally irresistible.
Can I add more mix-ins to my Reese’s Peanut Butter Earthquake Cake?
Of course! Chopped roasted peanuts, white chocolate chips, or even a sprinkle of toffee bits can add crunch and extra bursts of flavor. Just avoid overloading with wet or gooey ingredients that could affect the cake’s bake.
Is this cake best served warm or cold?
It’s amazing both ways! Warm brings out the gooeyness and meltiness of the chocolate and peanut butter, while cold makes for thick, fudgy bites. If you can’t choose, try a slice each way and see which you like best!
Final Thoughts
There’s nothing quite like the sight (and smell!) of a fresh-from-the-oven Reese’s Peanut Butter Earthquake Cake, swirling with chocolate, peanut butter, and melty candies. Whether you’re feeding a crowd or just treating yourself, this is the kind of recipe that turns ordinary days into little celebrations. Grab your apron, raid your pantry for those iconic Reese’s cups, and let the magic begin—the only hard part is waiting for it to cool before you dig in!
Print
Reese’s Peanut Butter Earthquake Cake Recipe
- Total Time: 1 hour 10 minutes
- Yield: 12 servings
- Diet: Vegetarian
Description
Reese’s Peanut Butter Earthquake Cake is a rich chocolate cake with swirls of creamy peanut butter, topped with chocolate chips and Reese’s cups. It’s sweet, gooey, and perfect for peanut butter lovers.
Ingredients
For the Chocolate Cake:
- 1 box chocolate cake mix + ingredients required eggs, oil, water
For the Peanut Butter Swirl:
- ½ cup unsalted butter, melted
- 8 oz cream cheese, softened
- ½ cup creamy peanut butter
- ½ tsp vanilla extract
- 4 cups powdered sugar
For Topping:
- ½ cup semi-sweet chocolate chips
- 1 cup mini Reese’s Peanut Butter Cups, halved
Instructions
- Prepare the Chocolate Cake: Set your oven to 350°F (175°C). Grease a 9×13-inch glass baking dish or line it with parchment paper. Mix the chocolate cake batter according to the box directions. Pour it into the dish and spread evenly.
- Make the Peanut Butter Swirl: Beat softened cream cheese and melted butter until smooth. Add peanut butter and vanilla. Mix in powdered sugar one cup at a time until fluffy.
- Assemble the Cake: Spoon the peanut butter mix over the cake batter. Swirl gently with a knife—don’t overmix. Sprinkle chocolate chips and halved Reese’s cups on top.
- Bake: Bake for 45–55 minutes, or until mostly set. A toothpick should come out with just a few crumbs.
- Serve: Let the cake cool slightly. Slice and serve warm, plain or with vanilla ice cream or chocolate syrup.
- Prep Time: 15 minutes
- Cook Time: 45-55 minutes
- Category: Dessert
- Method: Baking
- Cuisine: American
Nutrition
- Serving Size: 1 slice
- Calories: 480
- Sugar: 48g
- Sodium: 380mg
- Fat: 24g
- Saturated Fat: 11g
- Unsaturated Fat: 10g
- Trans Fat: 0g
- Carbohydrates: 64g
- Fiber: 2g
- Protein: 5g
- Cholesterol: 45mg

