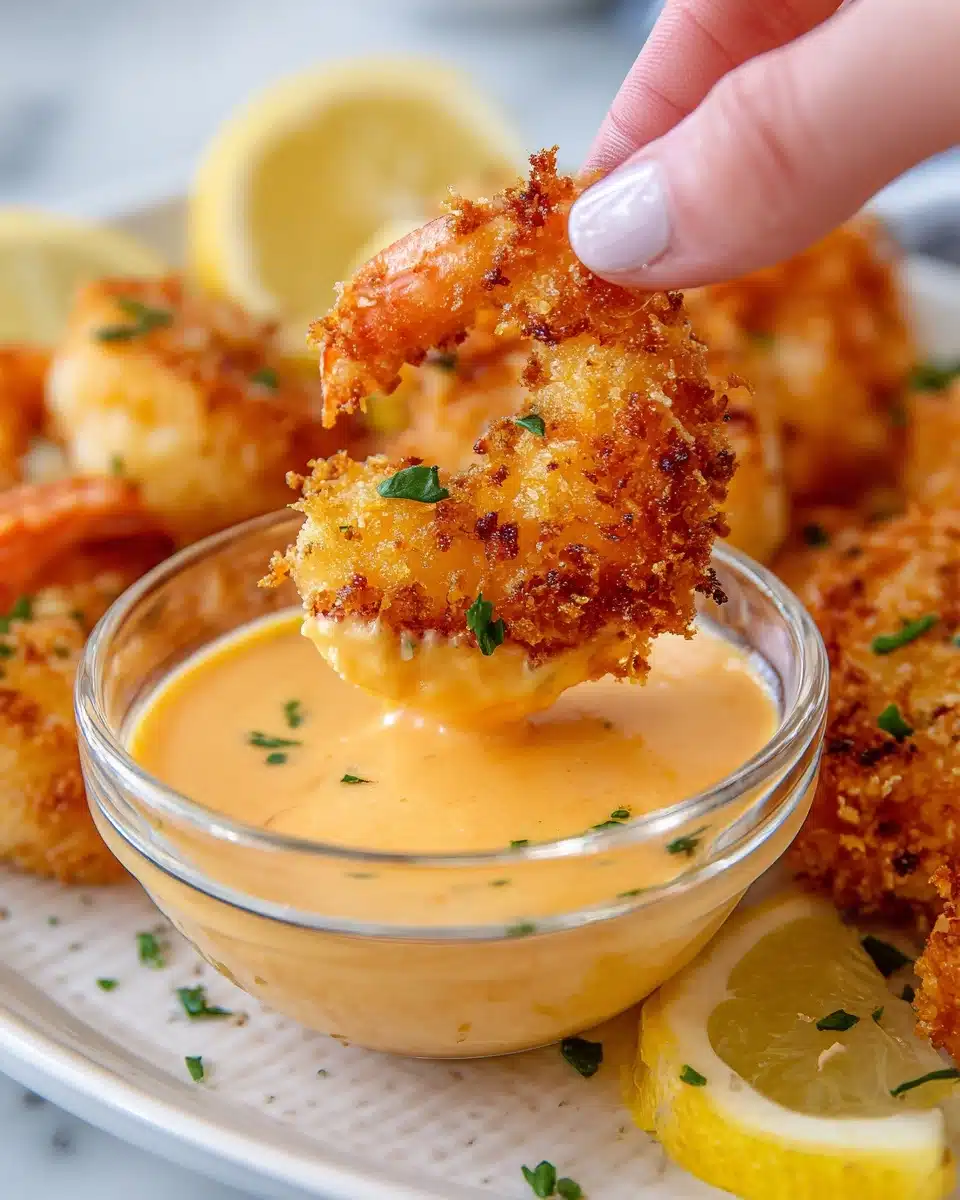
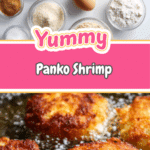
There’s something truly irresistible about the moment a platter of golden, crunchy Panko Shrimp hits the table. Each bite is crispy on the outside and sweet, tender on the inside, with that satisfying crackle you can only get from panko breadcrumbs. In just 30 minutes, you can bring restaurant-worthy Panko Shrimp into your own kitchen, no reservations required. Whether you’re cooking for friends, family, or just treating yourself, this easy method will have everyone reaching for seconds—and maybe even thirds!

Ingredients You’ll Need
This recipe is all about simple, quality ingredients working together to create a crave-worthy bite. Every item on this list adds a unique touch—whether it’s the panko’s trademark crunch or a simple dash of salt to bring out shrimp’s natural sweetness. Here’s what you’ll need for the ultimate homemade Panko Shrimp.
- Shrimp (1 lb, tails on, shelled & deveined): Go for the largest, freshest shrimp you can find—they’ll stand out beautifully under the crisp coating.
- Salt (1/2 tsp): Season both the shrimp and the batter for flavor in every mouthful.
- Black Pepper (1/4 tsp or to taste): Adds a gentle kick and depth to the seasoning.
- Eggs (2): Bind the flour and give the batter substance to cling to the shrimp.
- All-Purpose Flour (1/2 cup): Helps create a light, airy batter base.
- Water (1/4 cup): Loosens the batter just enough for the perfect coating.
- Kosher Salt (1/2 tsp): Enhances the overall flavor in the batter.
- Black Pepper (1/2 tsp): More pepper in the batter means more savory flavor throughout.
- Garlic Powder (1 tsp): Infuses each bite with a subtle, savory aroma.
- Panko Breadcrumbs (2 cups): Deliver the incredible crunch that makes Panko Shrimp so unforgettable—don’t substitute regular breadcrumbs!
- Frying Oil: Opt for a neutral oil with a high smoke point, like avocado, canola, or vegetable—olive oil isn’t ideal here.
- Fresh Lemon (optional): A quick squeeze adds brightness and draws out shrimp’s natural flavor.
How to Make Panko Shrimp
Step 1: Prepare and Season the Shrimp
Start by making sure your shrimp are prepped and ready—shells off, tails on, and deveined. If you really want that stunning presentation and straight shape, cut a shallow slit horizontally across the underside of each shrimp. Pat them as dry as possible with a paper towel to help the coating stick, then season generously with salt and pepper, tossing so every piece is covered. This quick prep unlocks maximum flavor and ensures a crispier result.
Step 2: Set Up Your Dredging Station
Create a smooth workflow with two bowls—one for wet batter, one for the panko coating. Whisk together the eggs, flour, water, kosher salt, black pepper, and garlic powder in the first bowl. You’re aiming for a batter just slightly looser than pancake batter. In the second bowl, pour in those all-important panko breadcrumbs—don’t skimp here, as you want every inch of shrimp coated for that telltale crunch.
Step 3: Coat the Shrimp
One by one, dip each seasoned shrimp into the batter. Let any excess drip away, then transfer immediately to the panko breadcrumbs. Gently press the panko onto the shrimp so every surface is covered. No bald spots allowed! Arrange your coated shrimp on a wire rack or tray as you work through the batch, letting the coating set while you heat the oil.
Step 4: Fry to Perfection
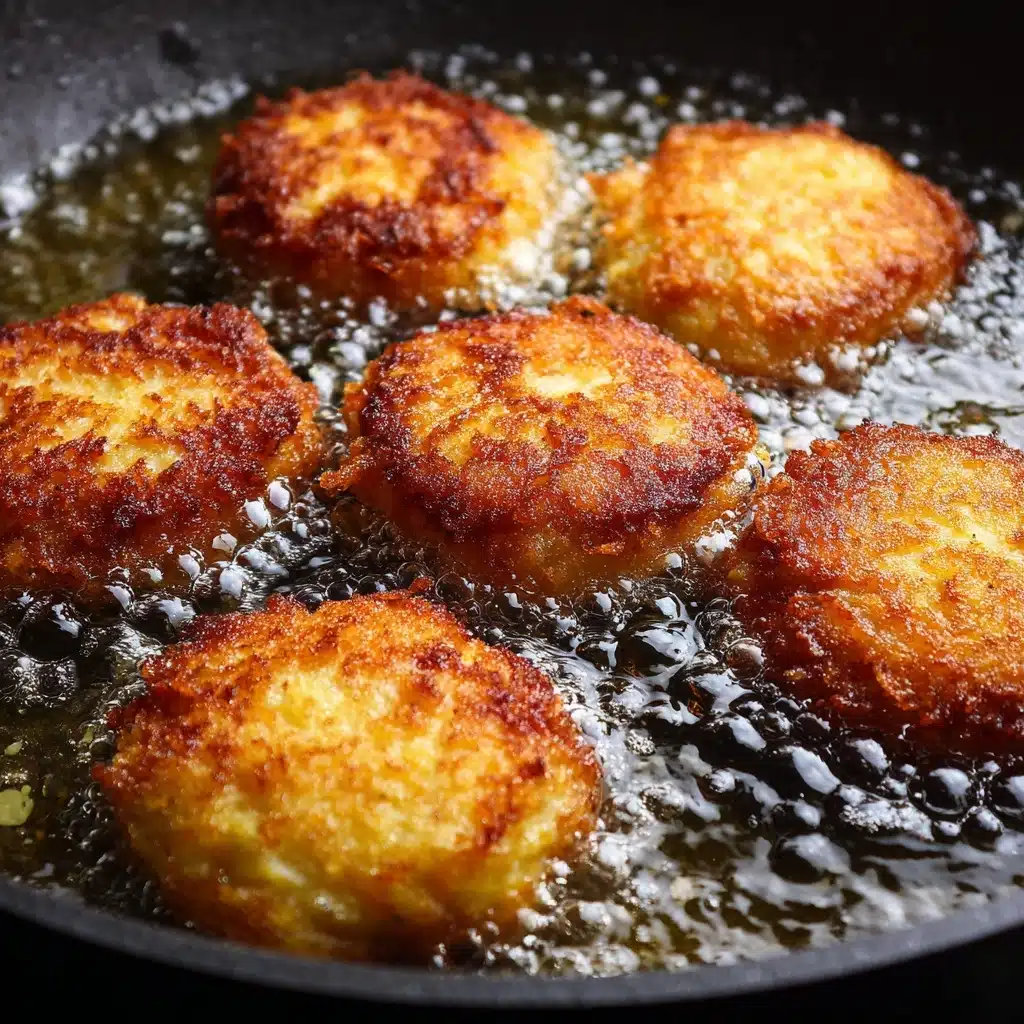
Pour enough neutral oil into a deep skillet or pan so the shrimp can float slightly, ideally about 1.5 to 2 inches deep. Heat the oil to 350°F, using a thermometer for accuracy—too cool and your shrimp will get soggy, too hot and they’ll burn. Fry the shrimp in batches for just 2–3 minutes until deeply golden and crisp. Resist the urge to overcrowd the pan, which can drop the oil’s temperature and sabotage your crunch factor. Drain the finished Panko Shrimp on a rack or paper towel-lined plate.
Step 5: Serve and Enjoy
Right when they’re hot and snappy, serve the shrimp with a fresh squeeze of lemon if you like, or your favorite dipping sauce. The magic is in the contrast between the delicate shrimp and the outrageous crunch of that panko shell!
How to Serve Panko Shrimp
Garnishes
A little bit of garnish goes a long way—try a scattering of fresh parsley or thinly sliced scallions for color and a gentle herbal lift. A few lemon wedges on the side brighten up the rich, fried flavor, and a quick dash of chili flakes or smoked paprika can add a playful twist.
Side Dishes
Panko Shrimp plays nicely with many sides! Keep it classic with steamed white rice or go tropical with a sweet mango salsa. For something heartier, a crisp green salad or Asian-style slaw provides a fresh crunch to complement the shrimp. And of course, don’t forget some dipping sauces: spicy mayo, sweet chili, or even a simple tartar sauce will all work wonders.
Creative Ways to Present
Want to impress? Skewer the Panko Shrimp for a passed appetizer platter, or stack them over a vibrant bed of greens for a stunning salad topper. You can even tuck them into soft taco shells with shredded cabbage and a drizzle of sriracha mayo for a fun, casual meal. No matter how you serve them, it’s hard to resist picking up just one more!
Make Ahead and Storage
Storing Leftovers
If you happen to have any Panko Shrimp left (and that’s a big “if”), let them cool completely, then store them in an airtight container in the refrigerator for up to two days. While they’ll lose some of their signature crunch, they’ll still be delicious with a quick reheat.
Freezing
To freeze, arrange cooled Panko Shrimp in a single layer on a baking sheet and place in the freezer until solid. Once frozen, transfer to a zip-top bag or freezer-safe container. They’ll keep well for up to two months. When the Panko Shrimp craving strikes, you’ll be ready!
Reheating
For best results, reheat in a 375°F oven or toaster oven until the shrimp are heated through and the coating crisps up again—about 8–10 minutes. Skip the microwave if possible; it tends to make the coating soggy. A quick stint under the broiler works wonders too for reviving that crunch factor.
FAQs
What size shrimp are best for Panko Shrimp?
Large shrimp (like U-12 or U-16) are ideal, giving you a perfect ratio of juicy shrimp to crisp coating. Smaller shrimp will still taste good but may not deliver the same satisfying bite.
Can I bake these instead of frying?
Absolutely! Arrange breaded shrimp on a parchment-lined baking sheet, spray lightly with oil, and bake at 425°F for about 10–12 minutes, flipping halfway. While you won’t get quite as much crunch as deep frying, it’s still a tasty, lighter option.
Why is panko better than regular breadcrumbs for this dish?
Panko breadcrumbs are extra light and flaky, which means they fry up even crispier than traditional breadcrumbs. That airy crunch is really what sets Panko Shrimp apart and makes the coating so appealing.
How do I make sure the coating sticks and doesn’t fall off?
Dry the shrimp well before breading, and don’t rush the process—let the coated shrimp rest 10–15 minutes before frying to help the batter firm up and stick like glue.
Which oil is best for frying Panko Shrimp?
Choose a neutral, high-heat oil such as avocado, canola, or vegetable oil. These oils won’t overpower the shrimp’s flavor and will help you get that gorgeous golden crust without burning.
Final Thoughts
There’s just something joyful about making and sharing Panko Shrimp—it’s a guaranteed crowd-pleaser, whether you’re having friends over or just want to treat yourself. Give this recipe a try, and you might find yourself reaching for panko far more often. Enjoy every crispy, succulent bite!
Print
Panko Shrimp Recipe
- Total Time: 30 minutes
- Yield: 3 servings
- Diet: Gluten Free
Description
These panko shrimp are crispy, delicious, and so easy to make at home! They are perfect for a quick and satisfying meal that the whole family will love.
Ingredients
Shrimp
- 1 lb shrimp tails on, shelled & deveined
- 1/2 tsp salt
- 1/4 tsp black pepper or to taste
Batter
- 2 eggs
- 1/2 cup all-purpose flour
- 1/4 cup water
- 1/2 tsp kosher salt
- 1/2 tsp black pepper
- 1 tsp garlic powder
- 2 cups panko breadcrumbs
Instructions
- Shell and devein the shrimp: If necessary, cut shrimp horizontally across the underside to straighten them out. Season with salt and pepper.
- Prepare the dredging station: Mix eggs, flour, water, salt, pepper, and garlic powder in one bowl. Place panko breadcrumbs in another bowl.
- Dip and coat shrimp: Dip shrimp in the wet batter, then coat with panko breadcrumbs, ensuring full coverage.
- Fry the shrimp: Heat oil to 350F, fry shrimp for 2-3 minutes, then serve with lemon.
Notes
- Use large shrimp for best results, such as U-12 or U-16 size.
- Ensure shrimp is raw and fully prepared before cooking.
- Pat shrimp dry to remove excess moisture for better frying.
- Let seasoned shrimp rest before frying to help batter adhere.
- Use panko breadcrumbs for a light, flaky texture; avoid substitutions.
- Preferably use avocado, canola, or vegetable oil for frying.
- Maintain oil temperature between 325-350F for crispy shrimp.
- Consider using a thermometer and fry in batches if needed.
- Prep Time: 20 minutes
- Cook Time: 10 minutes
- Category: Appetizer
- Method: Frying
- Cuisine: Asian
Nutrition
- Serving Size: 1 serving
- Calories: 409 kcal
- Sugar: 3g
- Sodium: 1292mg
- Fat: 6g
- Saturated Fat: 2g
- Unsaturated Fat: 4g
- Trans Fat: 0.02g
- Carbohydrates: 46g
- Fiber: 3g
- Protein: 42g
- Cholesterol: 353mg

