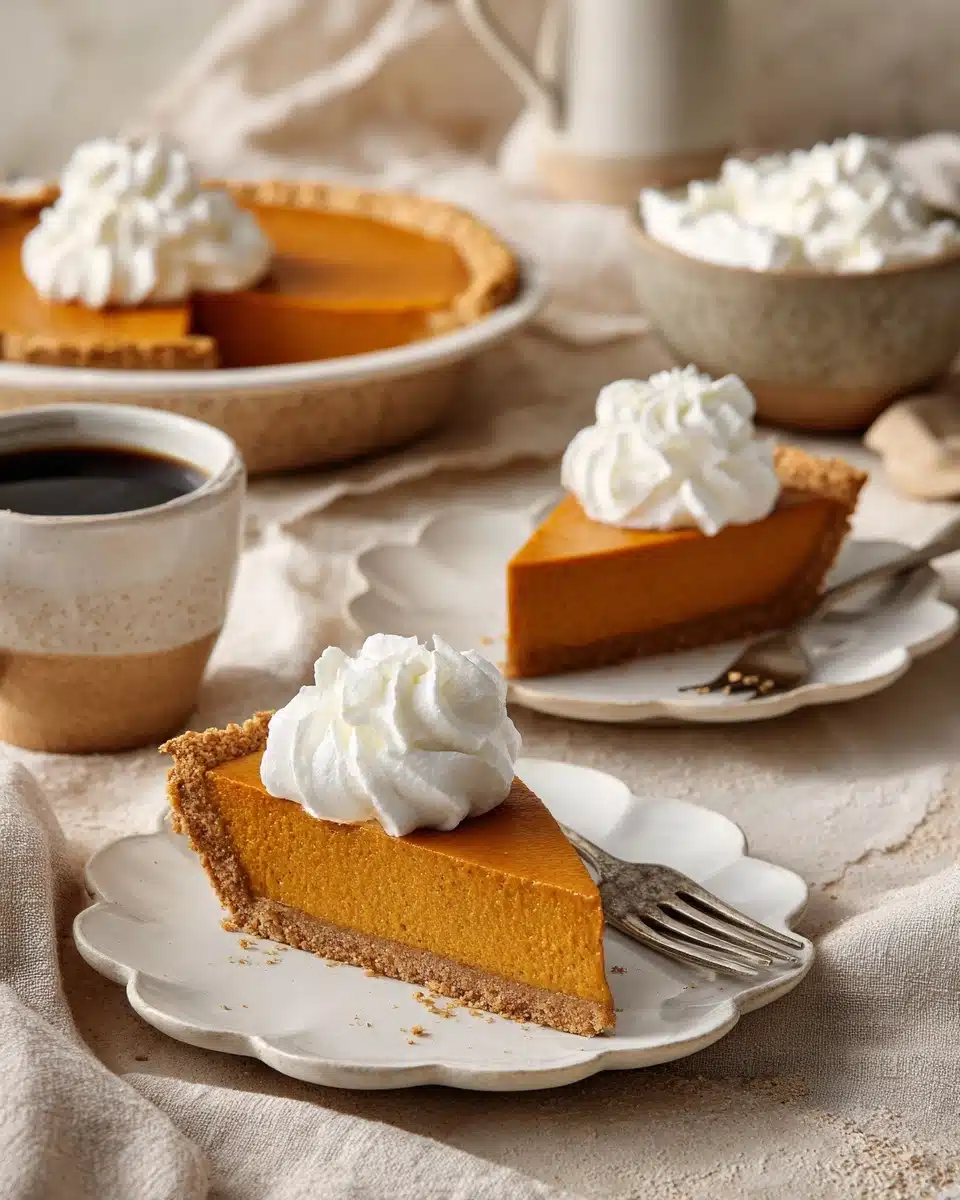
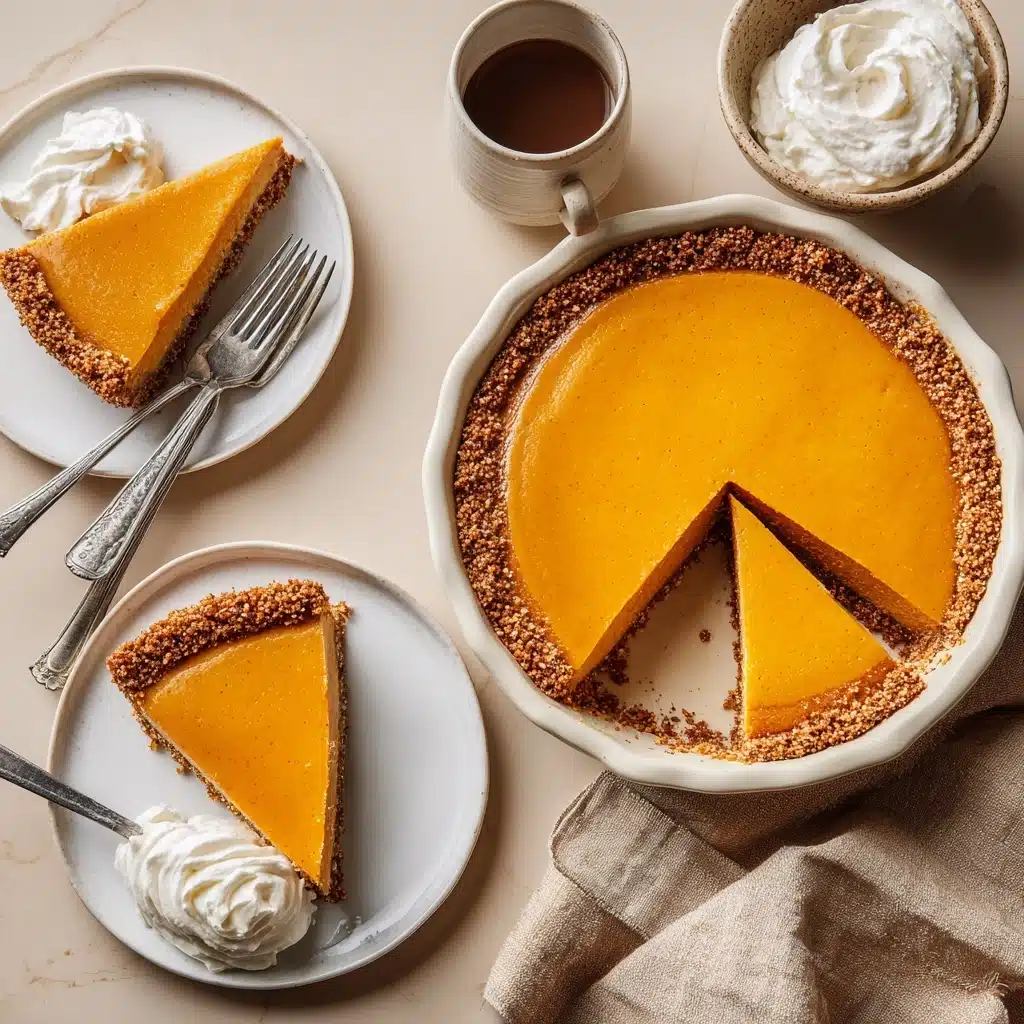
If you’re craving a super creamy, crowd-pleasing dessert that practically makes itself, look no further than this No-Bake Pumpkin Pie. With its velvety spiced pumpkin filling nestled in a crisp graham cracker crust, this pie delivers all the cozy flavors of fall—without ever turning on the oven for hours. Whether you’re short on time or just want that autumn magic in every bite, this is a recipe you’ll want in your back pocket year-round.
Ingredients You’ll Need
There’s nothing complicated about these ingredients, but each one plays an essential role in nailing the signature taste and texture of No-Bake Pumpkin Pie. From the buttery, crunchy crust to the pillowy whipped cream topping, here’s what you’ll need and why.
- Unsalted butter: Melted to bind your graham cracker crust and add a rich, nutty base of flavor. For depth, try brown butter!
- Graham crackers: Crushed into fine crumbs, these are the classic choice for a sweet, sturdy crust that holds up to the creamy filling.
- Sugar: Just enough to add a hint of extra sweetness and help the crust set up beautifully after baking.
- Kosher salt: A small but essential touch that brings out the flavor in both the crust and filling—never skip the salt!
- Pumpkin purée: The hero of the filling; opt for pure pumpkin, not pie filling, for full autumn flavor and proper texture.
- Cinnamon: Nothing says pumpkin pie like warming cinnamon—it adds a cozy spice to the filling.
- Nutmeg: Just a whisper of nutmeg adds depth and classic pumpkin pie vibes.
- Cloves: A pinch for richness—a little goes a long way!
- Marshmallows: This is the secret ingredient! They melt into the filling, making it silky-smooth, sweet, and wonderfully light.
- Heavy cream: Whipped to soft, billowy peaks, it’s folded into the filling for a mousse-like finish and also makes a luscious topping.
- Whipped cream (for serving): A dollop on top takes each slice into dreamy territory—use homemade or your favorite canned version.
How to Make No-Bake Pumpkin Pie
Step 1: Prepare the Graham Cracker Crust
Start by preheating your oven to 350°F. Melt the unsalted butter in a microwave-safe bowl—covering it with the wrapper prevents splatters and makes cleanup a breeze. In a food processor, blitz your graham crackers until they form fine crumbs, add in melted butter, sugar, and salt, and pulse until you get a sandy, well-combined mixture. Press this evenly into your 9-inch pie pan, focusing on the sides first, then the bottom, until compact and smooth. Bake the crust for just 8 minutes, then set it on a rack to cool completely. If you’re short on time, a store-bought graham cracker crust works perfectly, too.
Step 2: Make the Pumpkin Marshmallow Mixture
In a large pot over medium heat, combine the pumpkin purée, cinnamon, nutmeg, cloves, and a pinch of kosher salt. Stir until fully blended and the spices smell fragrant—about a minute. Reduce the heat to low, add your marshmallows, and stir constantly to prevent scorching. Once the marshmallows melt and blend into the pumpkin mixture, transfer everything to a bowl and chill it in the refrigerator to cool down quickly. This step is key for a smooth, fluffy No-Bake Pumpkin Pie filling.
Step 3: Whip the Cream
Pour the heavy cream into a large, chilled bowl and grab your hand mixer. If you pop the bowl and beaters in the freezer for 10 minutes first, the cream will whip up in no time! Start mixing, then increase the speed as it thickens, beating until stiff, billowy peaks form. This will give your pumpkin filling that lush, mousse-like finish.
Step 4: Fold Together Filling
Once your pumpkin-marshmallow mixture has cooled to room temperature (about ten minutes in the fridge), gently fold it into the whipped cream using a rubber spatula. The goal here is to preserve all that lightness, so mix just until there are no more streaks and your filling is a beautiful, creamy orange.
Step 5: Assemble & Chill the Pie
Spoon the creamy pumpkin filling into your prepared crust and smooth the top with a butter knife or offset spatula. Cover the pie with plastic wrap and refrigerate for at least 4 hours—it’s ready when the center feels firm to the touch. The wait is worth it!
Step 6: Serve and Enjoy
When it’s time to serve, remove the plastic wrap and smooth any ridges if you like. Cut generous slices, top with a swirl of whipped cream, and enjoy all the no-fuss, full-flavor magic of No-Bake Pumpkin Pie.
How to Serve No-Bake Pumpkin Pie
Garnishes
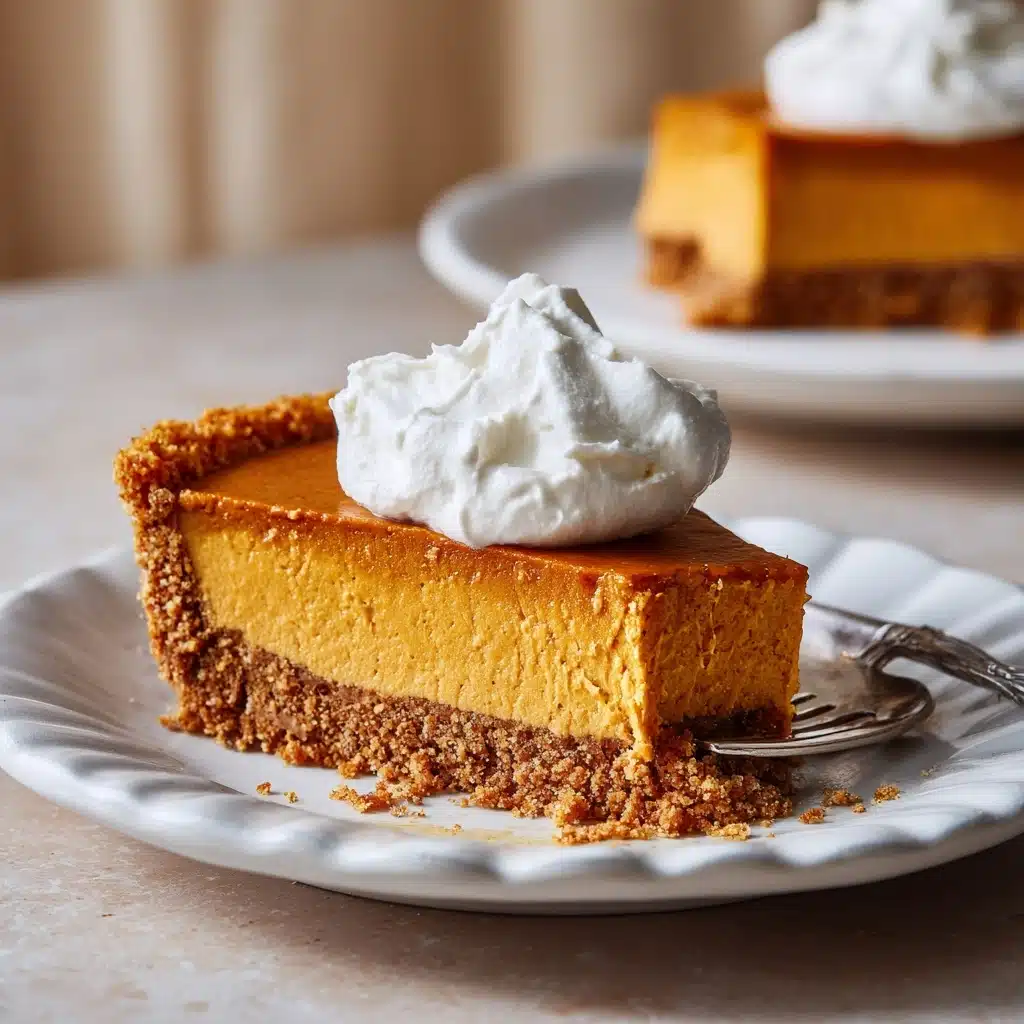
A classic heap of whipped cream on each slice is always a winner, but you can also add a sprinkle of cinnamon, crushed gingersnaps, chocolate shavings, or even a drizzle of caramel sauce for a decadent finish. If you’re feeling playful, top with mini marshmallows or toasted nuts to echo the filling and give every bite a little extra personality.
Side Dishes
No-Bake Pumpkin Pie plays beautifully with a cup of hot coffee or spiced chai tea. For autumn gatherings, fresh fruit or a simple pear salad offer a nice, crisp contrast to the creamy pie. If you’re bringing it to a potluck, it pairs perfectly with apple cider or a scoop of vanilla ice cream for the ultimate dessert duo.
Creative Ways to Present
If you’re entertaining, try making mini No-Bake Pumpkin Pies by pressing the crust and filling into ramekins or muffin tins for individual servings. Glass jars create a fun, portable dessert—great for picnics or lunchboxes. Want to impress at Thanksgiving? Layer cubes of pie with whipped cream in parfait glasses for a fancy, deconstructed treat!
Make Ahead and Storage
Storing Leftovers
Cover leftover No-Bake Pumpkin Pie tightly with plastic wrap or transfer slices to an airtight container. It will keep well in the fridge for up to 4 days, staying creamy and delicious. The crust might soften a bit after the first couple of days, but the flavors only get cozier as they meld together.
Freezing
Yes, you can freeze No-Bake Pumpkin Pie! Once it’s fully set in the fridge, wrap the whole pie or individual slices snugly in plastic wrap, then foil. Store in the freezer for up to 2 months. Thaw in the refrigerator overnight before serving. Note: whipped cream toppings are best added fresh just before serving.
Reheating
There’s no need to reheat No-Bake Pumpkin Pie—it’s meant to be enjoyed cold and creamy, straight from the fridge! If you’ve frozen it, let it thaw gently in the refrigerator and give it a quick touch-up with fresh whipped cream for best results.
FAQs
Can I use homemade pumpkin purée instead of canned?
Absolutely! Homemade pumpkin purée brings a wonderful, fresh flavor to No-Bake Pumpkin Pie. Just make sure your purée is thick (not watery), as excess liquid can affect the filling’s texture.
What other crust options can I try?
You can swap out the graham crackers for chocolate wafers, gingersnaps, or even vanilla wafers for a fun twist. If you want a shortcut, a store-bought graham cracker crust works great in this recipe.
Are marshmallows essential to the filling?
Marshmallows are the not-so-secret ingredient that gives No-Bake Pumpkin Pie its signature texture—they melt into the filling, making it smooth, sliceable, and just the right amount of sweet. Alternatives like marshmallow creme may work, but results can vary.
Can I make this pie dairy-free?
Yes! Try using a vegan butter and a dairy-free whipped cream (like coconut or almond-based). Just give everything enough time to set up in the fridge and keep an eye on any substitutions for flavor differences.
How do I know when the pie is set?
After chilling for at least 4 hours, gently press the center of the pie with your finger. If it feels firm and springs back just a bit, your No-Bake Pumpkin Pie is ready to slice and serve.
Final Thoughts
There’s nothing quite as satisfying as sharing a blissfully creamy, no-fuss dessert with friends and family. This No-Bake Pumpkin Pie is my go-to for instant Thanksgiving vibes or any time I want a delicious sweet treat without turning on the oven all day. I hope you fall in love with every spiced, fluffy bite—give it a try, and let this easy classic become a new favorite at your table!
Print
No-Bake Pumpkin Pie Recipe
- Total Time: 4 hrs 28 mins
- Yield: 1 (9-inch) pie
- Diet: Vegetarian
Description
Indulge in the creamy goodness of this easy no-bake pumpkin pie recipe. A perfect dessert for fall gatherings or any time you crave a delicious treat.
Ingredients
Graham cracker crust:
- 8 tablespoons unsalted butter
- 12 sheets (185g) graham crackers
- 2 tablespoons (28g) sugar
- 3/4 teaspoon kosher salt
Pie filling:
- 1 cup (244g) pumpkin purée
- 1 teaspoon cinnamon
- 1/8 teaspoon nutmeg
- Pinch of cloves
- 1/2 teaspoon kosher salt
- 10 ounces marshmallows (49 regular marshmallows or about 5 1/2 cups mini marshmallows)
- 1/2 cup heavy cream
Instructions
- Preheat the oven to 350°F.…
- Make the graham cracker crust:…
- Make the pumpkin mixture:…
- Whip the cream:…
- Finish the filling:…
- Assemble the pie:…
- Chill:…
- Serve and store:…
Notes
- For variations, try using chocolate wafers or gingersnaps for the crust.
- Feel free to top with whipped cream and a sprinkle of cinnamon before serving.
- Prep Time: 20 mins
- Cook Time: 8 mins
- Category: Dessert
- Method: No-Bake
- Cuisine: American
Nutrition
- Serving Size: 1 slice
- Calories: 405
- Sugar: 57g
- Sodium: Not Available
- Fat: 20g
- Saturated Fat: Not Available
- Unsaturated Fat: Not Available
- Trans Fat: Not Available
- Carbohydrates: 57g
- Fiber: Not Available
- Protein: 3g
- Cholesterol: Not Available

