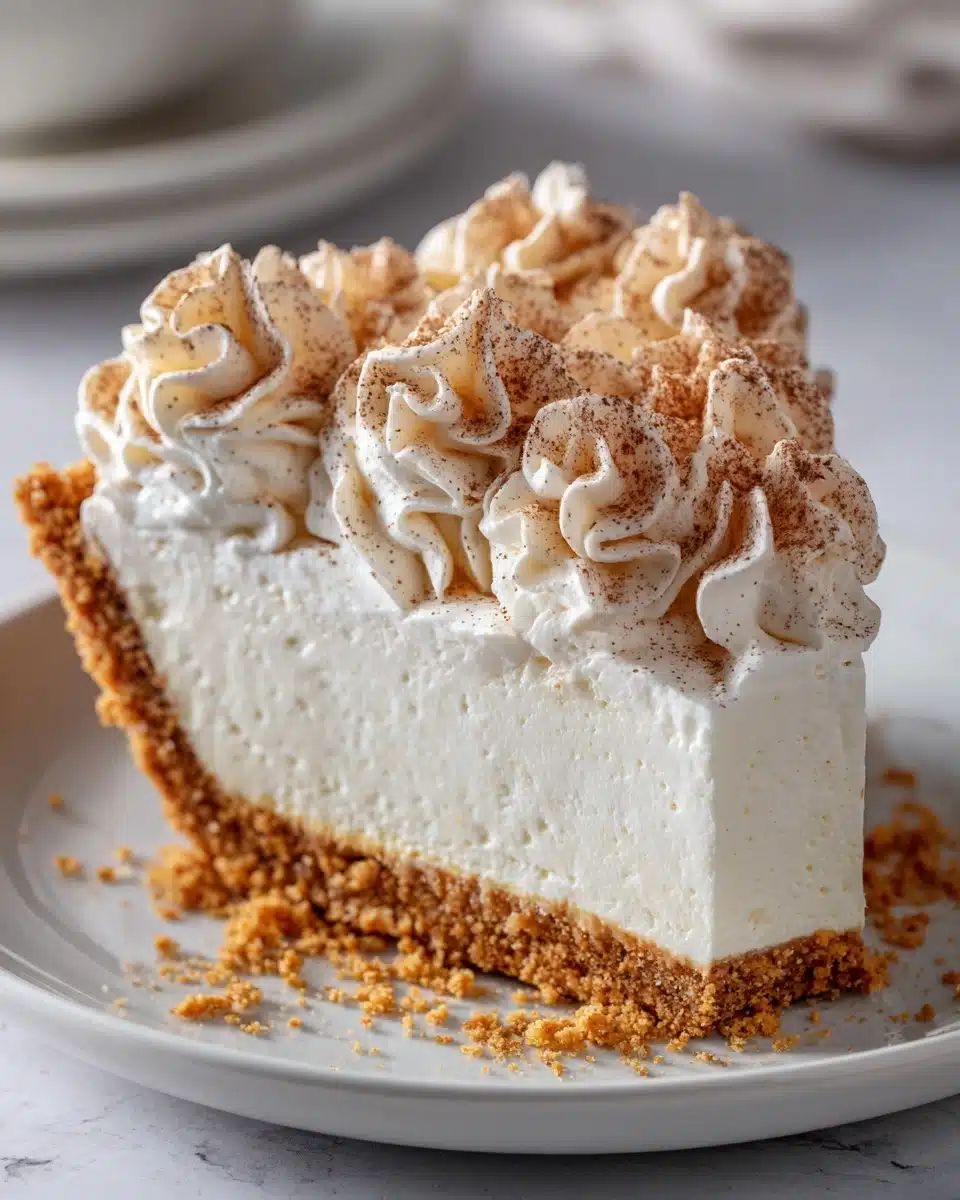
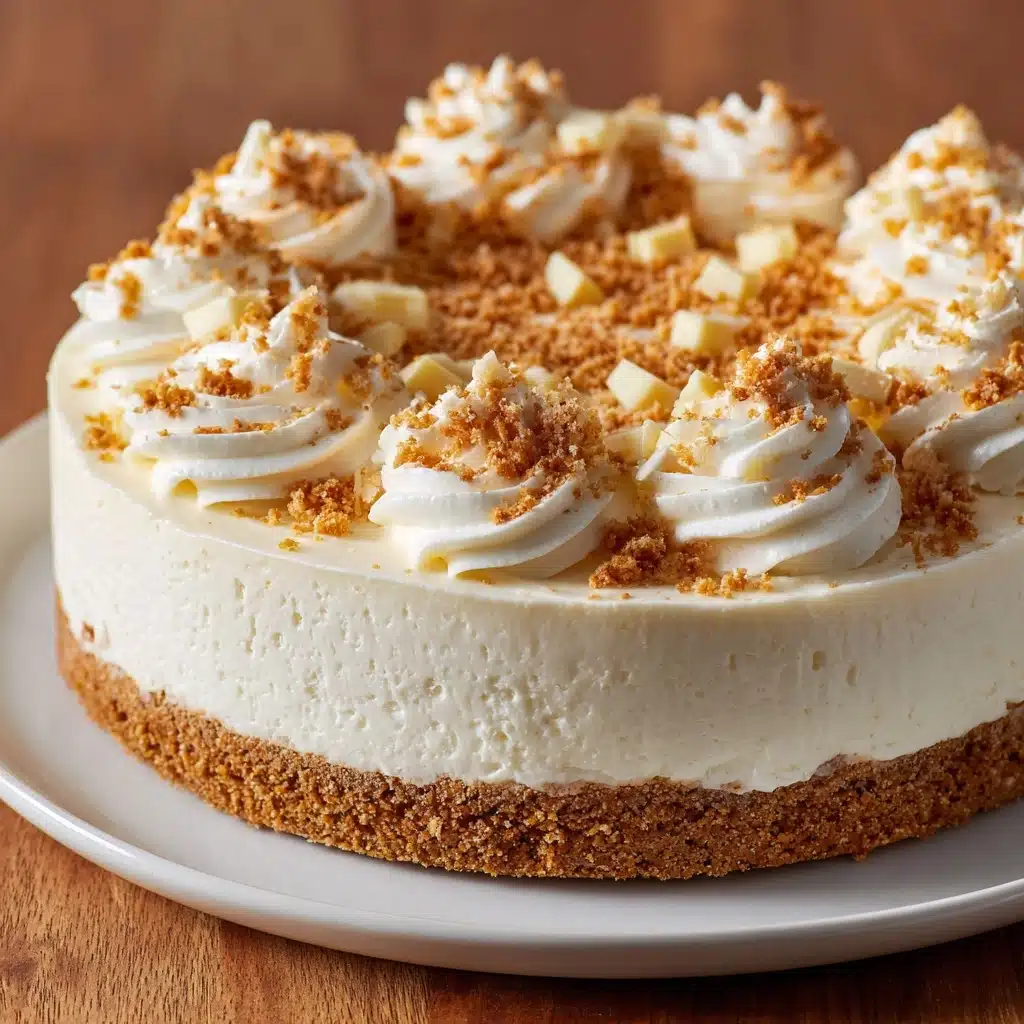
If there ever was a show-stopping treat that’s as easy to make as it is delicious, Marshmallow Whip Cheesecake : No-Bake Dream Dessert takes the cake – literally. This chilled cheesecake combines a cloud-like marshmallow filling with a buttery graham cracker crust, all without turning on your oven. The result? A slice of pure creamy bliss that’s perfect for parties, potlucks, or just those days when you want a sweet reward that won’t break a sweat.
Ingredients You’ll Need
Gather your ingredients and get ready to be amazed by how a handful of simple items can transform into a tangy, fluffy delight. Each component plays a crucial role in achieving that irresistible taste, luscious texture, and picture-perfect look that make Marshmallow Whip Cheesecake : No-Bake Dream Dessert so unforgettable.
- Graham cracker crumbs: These form the essential crunchy, golden base that perfectly balances the creamy filling.
- Granulated sugar: It sweetens the crust and enhances the graham cracker flavor, giving it a dessert-worthy finish.
- Unsalted butter (melted): Butter binds the crumbs and sugar together, ensuring your crust holds its shape with each slice.
- Cream cheese (softened): The tangy, rich backbone of the filling – be sure it’s soft for ultra-smooth blending.
- Marshmallow fluff: The star of the show, bringing sweet flavor and dreamy, fluffy texture to every bite.
- Vanilla extract: Just a splash adds a warm, aromatic note that makes the cheesecake filling sing.
- Whipped topping (thawed): Folds in unbeatable lightness and volume, giving the dessert its signature no-bake silkiness.
- Optional toppings: Fresh berries, mini marshmallows, chocolate shavings, or crushed graham crackers for a show-stopping finish and added flair.
How to Make Marshmallow Whip Cheesecake : No-Bake Dream Dessert
Step 1: Make the Crust
In a medium bowl, combine the graham cracker crumbs and sugar, then pour in the melted butter. Stir it all together until every crumb is coated and the mixture resembles damp sand. Press the crust firmly and evenly into a 9-inch springform pan; take a moment with this step, making sure it’s packed tight for the best base. Once finished, pop it in the fridge while you move on to the filling – a little chilling helps it set perfectly.
Step 2: Prepare the Filling
Grab a large mixing bowl and beat the softened cream cheese until it’s irresistibly smooth and fluffy. Next, add the marshmallow fluff and vanilla extract, blending until well combined. The marshmallow brings sweetness and a cloud-like lightness. Lastly, gently fold in the whipped topping so your filling stays ultra-airy – avoid overmixing, as this helps keep that dreamy, mousse-like texture we all love in Marshmallow Whip Cheesecake : No-Bake Dream Dessert.
Step 3: Assemble the Cheesecake
Spoon the velvety filling onto your chilled crust, spreading it into an even layer with a spatula. Smooth the top for a bakery-worthy look, then cover the pan with plastic wrap and refrigerate. It’s best to let it chill for at least four hours; overnight is even better, allowing the flavors and textures to meld and set to cheesecake perfection.
Step 4: Decorate and Serve
Once your cheesecake is chilled and firm, run a knife around the edges and carefully remove the springform ring. Now comes the fun part – decorating! Pile on fresh berries, scatter mini marshmallows, drizzle with melted chocolate, or sprinkle extra graham cracker crumbs. Each slice of Marshmallow Whip Cheesecake : No-Bake Dream Dessert is ready to wow, right out of the fridge.
How to Serve Marshmallow Whip Cheesecake : No-Bake Dream Dessert
Garnishes
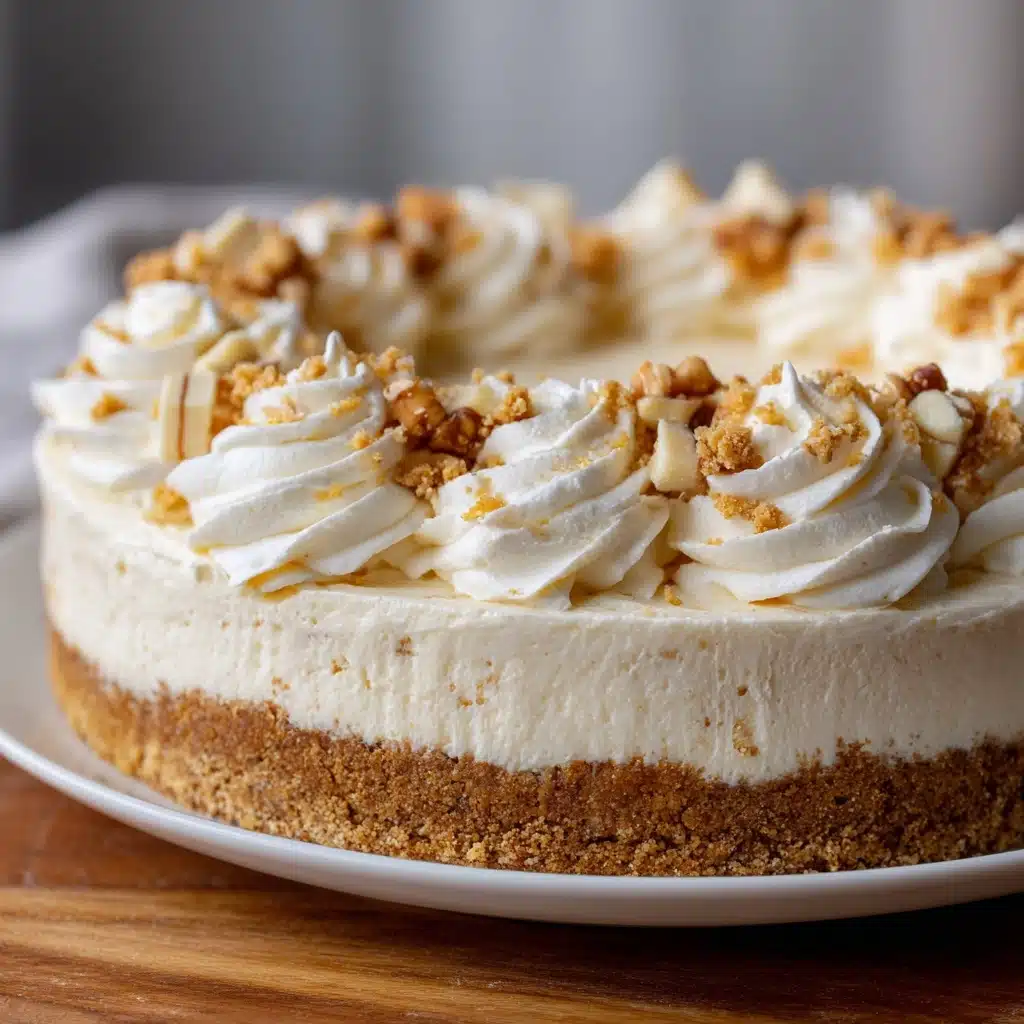
Go wild with toppings! A crown of plump strawberries, a handful of mini marshmallows, or a shower of chocolate curls each adds flavor and fun. For a classic look, keep it simple with crushed graham crackers or a dusting of powdered sugar. It’s totally customizable to your crowd and occasion.
Side Dishes
Since Marshmallow Whip Cheesecake : No-Bake Dream Dessert is rich and creamy, pair it with fresh seasonal fruit, a scoop of raspberry sorbet, or even a citrusy fruit salad. The slight tartness of berries or a tangy coulis beautifully complements each forkful.
Creative Ways to Present
Turn your dessert into individual cheesecake cups using muffin tins lined with paper cups – perfect for parties or potlucks! Or, layer cubes of cheesecake in parfait glasses with whipped cream and fruit for a stunning trifle twist. For extra panache, set out a topping bar and let everyone customize their own slice.
Make Ahead and Storage
Storing Leftovers
Any remaining Marshmallow Whip Cheesecake : No-Bake Dream Dessert stores beautifully. Simply cover leftover slices tightly in the refrigerator, where they’ll stay fresh and creamy for up to 4 days. Be sure to cover with plastic wrap or use an airtight container to keep things at peak lusciousness.
Freezing
If you’d like to freeze your cheesecake for later, first chill it fully in the fridge so it sets. Then wrap the whole cake or individual slices snugly in plastic wrap followed by foil, and freeze for up to a month. Thaw overnight in the fridge before serving – it’ll taste as delightful as the day you made it!
Reheating
No reheating required! This no-bake dream dessert is meant to be enjoyed chilled from the refrigerator. If frozen, allow it to fully thaw in the fridge. The creamy, mousse-like filling is at its best served cold.
FAQs
Can I use homemade whipped cream instead of whipped topping?
Absolutely! Whip heavy cream with a bit of sugar until stiff peaks form, and use it as a substitute. Just keep in mind that homemade whipped cream is less stable than store-bought topping, so the cheesecake may set a touch softer.
Is there a substitute for marshmallow fluff?
If you can’t find marshmallow fluff, you can gently melt regular marshmallows with a splash of milk until smooth, then let it cool before mixing it in. The flavor and texture will be spot on for Marshmallow Whip Cheesecake : No-Bake Dream Dessert.
What if I don’t have a springform pan?
No worries! You can use a regular 9-inch cake pan lined with parchment for easy lifting, or make individual portions in a muffin tin. Just be sure to chill thoroughly before removing from the pan so the cheesecake holds together.
How do I get clean, neat slices?
For picture-perfect slices, dip a sharp knife in hot water and wipe it clean between cuts. This keeps the filling smooth and helps avoid sticking for a gorgeous presentation.
Can I add flavors to the filling?
Definitely! Try folding in lemon zest for brightness, swirling a little raspberry or strawberry jam before chilling, or adding a splash of almond extract for a subtle twist. Making Marshmallow Whip Cheesecake : No-Bake Dream Dessert your own is half the fun.
Final Thoughts
This recipe for Marshmallow Whip Cheesecake : No-Bake Dream Dessert is just begging to become your next favorite treat – impossibly creamy, easy to make, and always a crowd-pleaser. Give it a try and share the sweetness with your favorite people; it’s a guaranteed hit at any gathering!
Print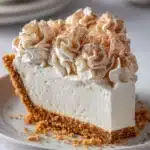
Marshmallow Whip Cheesecake : No-Bake Dream Dessert Recipe
- Total Time: About 4 hours 15 minutes
- Yield: 1 9-inch cheesecake
- Diet: Vegetarian
Description
Indulge in the creamy goodness of this no-bake Marshmallow Whip Cheesecake, a delightful dessert that’s perfect for any occasion. With a luscious cream cheese and marshmallow fluff filling atop a buttery graham cracker crust, this cheesecake is a dreamy treat that will satisfy your sweet tooth.
Ingredients
Graham Cracker Crust:
- 1½ cups graham cracker crumbs
- ⅓ cup granulated sugar
- ½ cup (1 stick) unsalted butter, melted
Cheesecake Filling:
- 16 oz cream cheese, softened
- 7 oz marshmallow fluff (1 jar)
- 1 tsp vanilla extract
- 1 container (8 oz) whipped topping (like Cool Whip), thawed
Optional Toppings:
- Fresh berries
- Mini marshmallows
- Chocolate shavings or drizzle
- Crushed graham crackers
Instructions
- Make the Crust: In a medium bowl, mix graham cracker crumbs and sugar. Stir in the melted butter until well combined. Press mixture firmly into the bottom of a 9-inch springform pan. Chill in the fridge while preparing the filling.
- Prepare the Filling: In a large mixing bowl, beat the cream cheese until smooth and fluffy. Add marshmallow fluff and vanilla extract, mixing until well combined and creamy. Gently fold in the whipped topping until the mixture is light and airy.
- Assemble the Cheesecake: Spread the cheesecake mixture over the chilled crust. Use a spatula to smooth the top evenly. Cover with plastic wrap and refrigerate for at least 4 hours, preferably overnight.
- Decorate and Serve: Before serving, add your choice of toppings — fresh strawberries, mini marshmallows, or a drizzle of chocolate sauce. Carefully remove the springform ring, slice, and serve chilled.
Notes
- Crust swaps: Try chocolate wafer cookies or crushed Oreos for a different base
- Flavor twists: Add lemon zest to the filling for a citrusy note, or swirl in raspberry jam before chilling
- Make it mini: Use a muffin tin and cupcake liners to create individual cheesecakes
- Prep Time: 30 minutes
- Cook Time: 0 minutes
- Category: Dessert
- Method: No-Bake
- Cuisine: American
Nutrition
- Serving Size: 1 slice (1/10 of cheesecake)
- Calories: 310 kcal
- Sugar: 7g
- Sodium: 220mg
- Fat: 22g
- Saturated Fat: 13g
- Unsaturated Fat: 7g
- Trans Fat: 0g
- Carbohydrates: 26g
- Fiber: 1g
- Protein: 3g
- Cholesterol: 55mg
