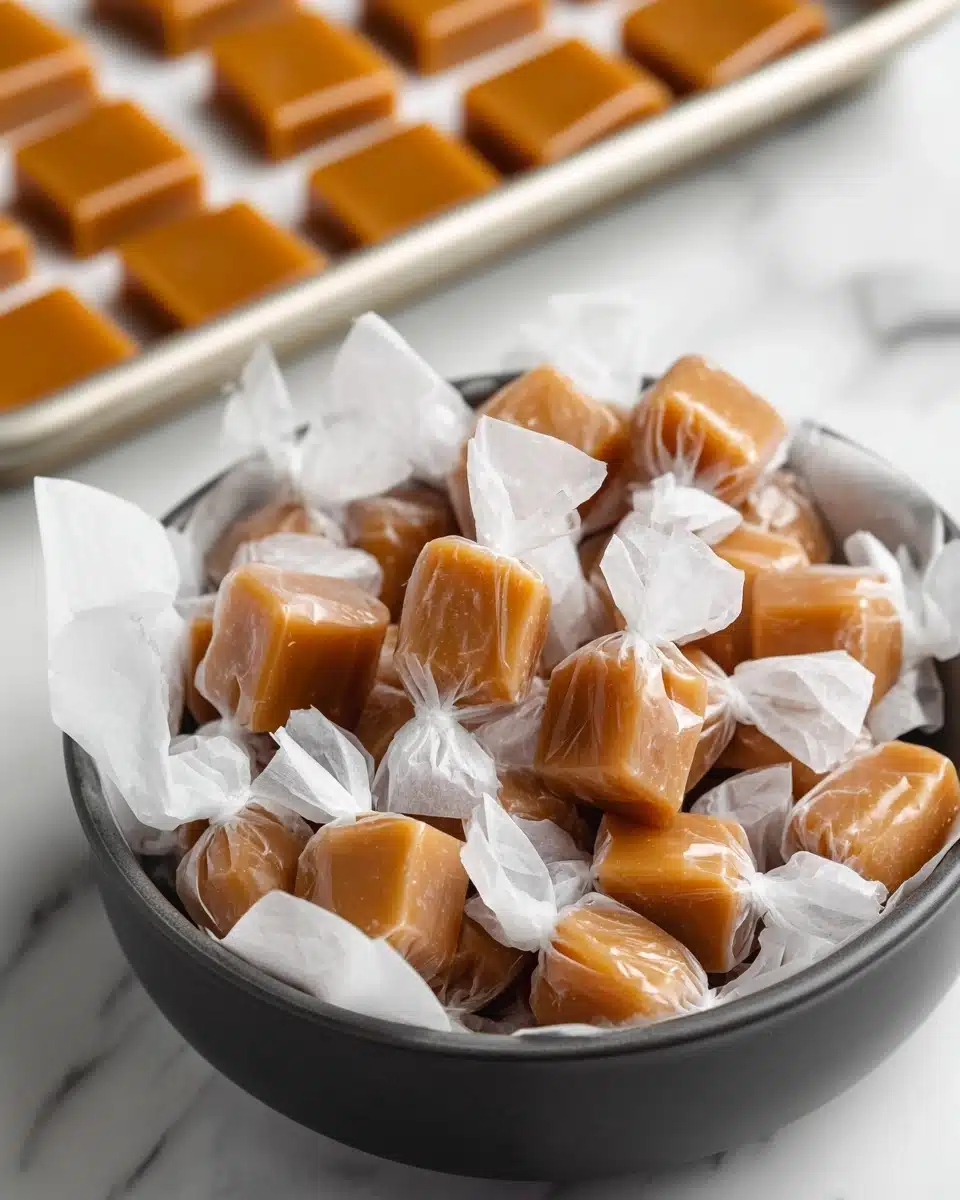
There’s just something magical about Homemade Caramels: the way they melt in your mouth with lush, buttery sweetness, the perfect chewy texture, that golden hue—it’s no wonder this recipe is a beloved classic in my kitchen! Whether you’re handing them out as thoughtful gifts or keeping a stash for yourself (no judgment here!), these caramels are unbelievably easy to make and deliver comfort with every bite. Trust me, Homemade Caramels have a way of making ordinary days feel truly special.
Ingredients You’ll Need
Surprisingly, creating your own Homemade Caramels doesn’t take a long list—just a few pantry staples that each play a starring role. Gather these key ingredients and let them work their magic for rich flavor, dreamy texture, and that signature caramel color.
- Butter (1 cup, 2 sticks): The base for the caramels, delivering luscious flavor and creating that irresistible silky feel.
- Granulated sugar (4 cups): This is where all the sweetness comes from, and the sugar caramelizes to give that classic toffee color.
- Light corn syrup (2 cups): Corn syrup keeps the caramels smooth and chewy, preventing any unpleasant crystallization.
- Evaporated milk (24 ounces, 2 cans): Adds richness and depth, resulting in a melt-in-your-mouth softness—don’t skip it! (You can substitute heavy cream if you’d like.)
- Vanilla extract (1 teaspoon): A splash of vanilla balances the caramel’s sweetness, giving each bite a warm, welcoming note.
How to Make Homemade Caramels
Step 1: Prepare Your Pan Like a Pro
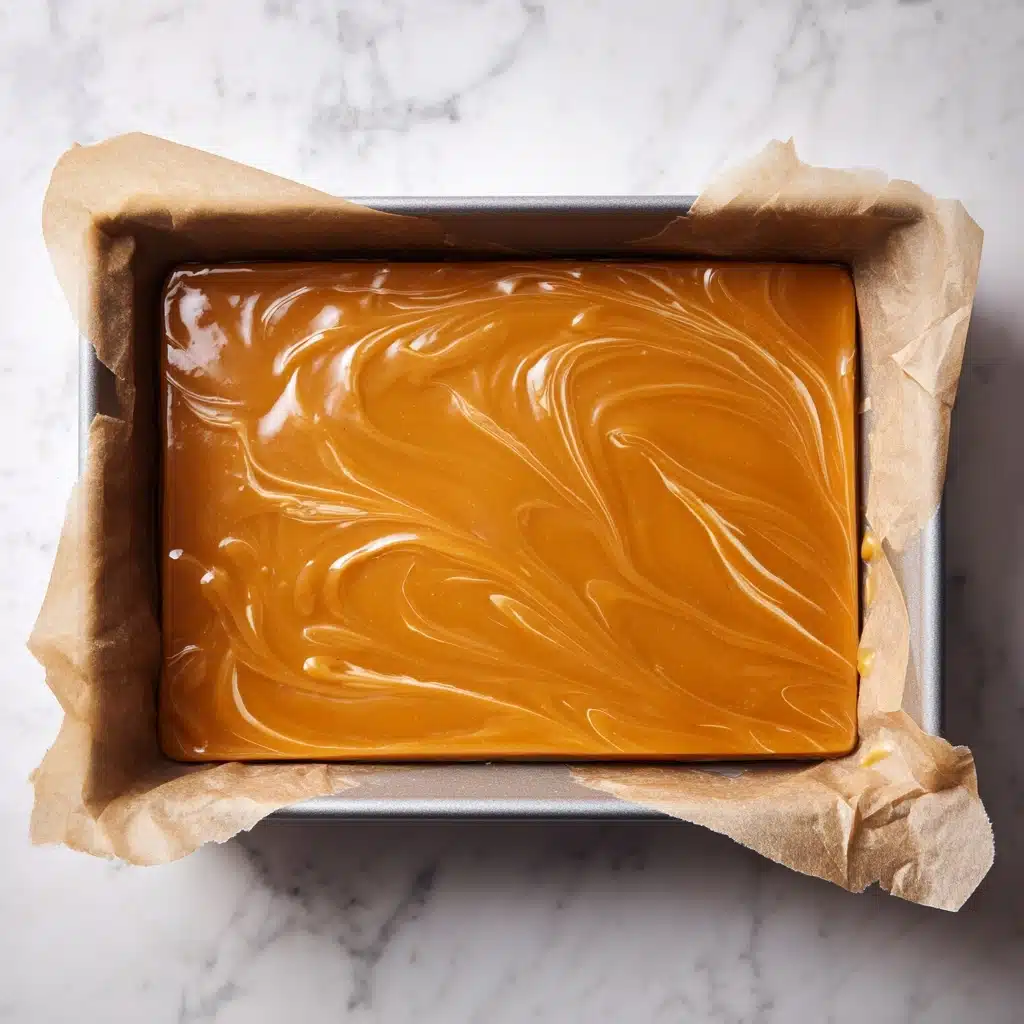
Start by lining a 9×13 inch pan or jelly roll pan with parchment paper. If parchment isn’t on hand, generously butter the pan. The parchment makes for easy, non-stick caramel removal, and if you use a 9×13 pan, your Homemade Caramels will be nice and thick!
Step 2: Combine the Main Ingredients
In a large, heavy-bottom saucepan set over medium heat, add your butter, sugar, and light corn syrup. Stir persistently until the mixture starts bubbling. Typically, this takes about 5 to 10 minutes—a gentle boil is what you’re after.
Step 3: Add the Evaporated Milk… Slowly!
This step is all about patience. Gradually add one can of evaporated milk at a time, taking around 12 to 15 minutes per can. Stir constantly and keep the mixture bubbling without letting the temperature fluctuate. This ensures your Homemade Caramels don’t curdle, setting you up for perfect texture.
Step 4: Cook to the Firm Ball Stage
Keep stirring the mixture constantly and scrape the sides of the pot every so often. You want to reach the “firm ball” stage—which is about 240 to 245 degrees F on your candy thermometer. If you’d like an old-school check, drop a spoonful of caramel into a cup of ice water and see if it molds into a firm, pliable ball. It’ll still be a bit sticky, but you’ll be able to shape it. This part takes some time and love, but your efforts will be rewarded!
Step 5: Add Vanilla & Finish
Once you’ve hit that perfect temperature or texture, remove the pan from the heat and stir in your vanilla extract. This moment is pure caramel-scented bliss!
Step 6: Pour & Set
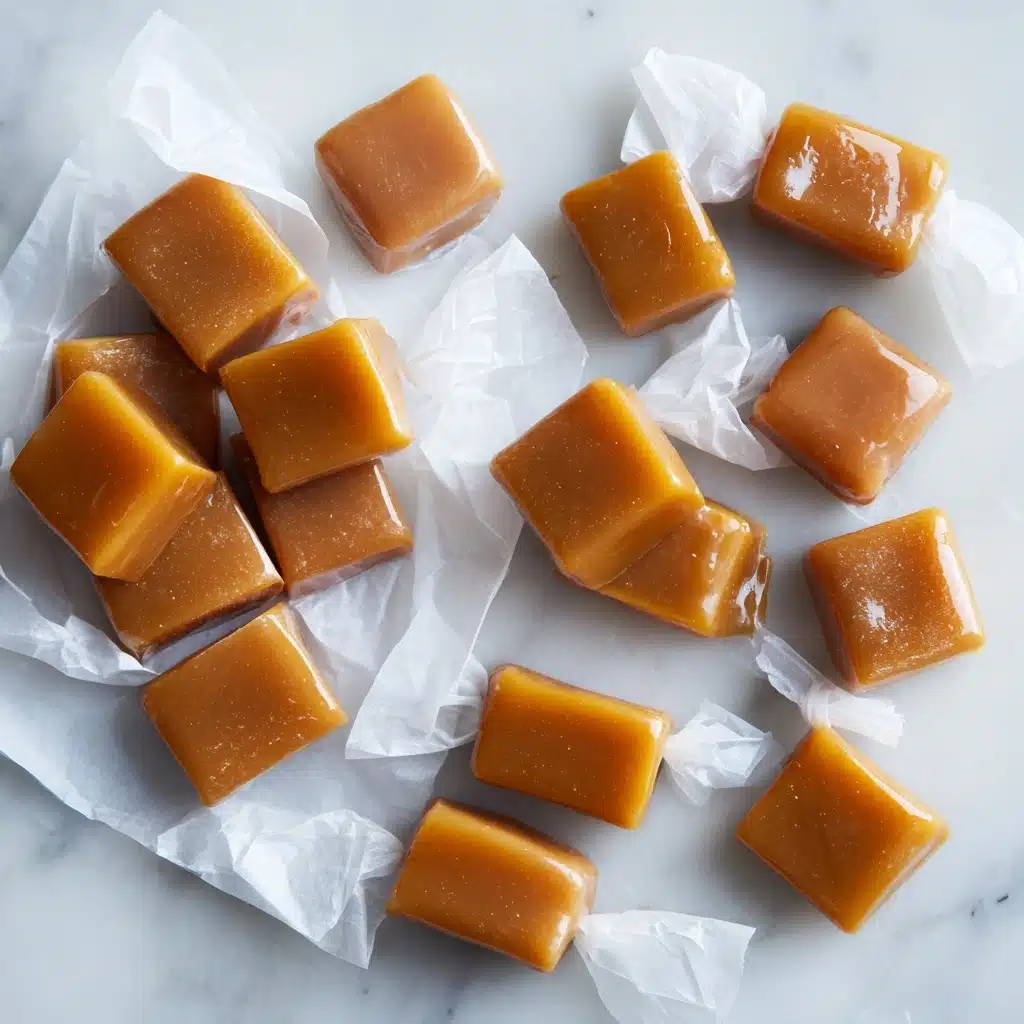
Pour the rich, golden caramel into your prepared pan and slide it into the refrigerator. For the easiest cutting and wrapping, let it chill for several hours or even overnight. Your patience will pay off with caramels that slice beautifully.
Step 7: Cut & Wrap
Once fully set, remove the caramel from the fridge. Cut it into small pieces—a multi-purpose cutter works wonders here! For that classic look, wrap each piece in wax paper, twisting the ends just like those nostalgic candies from your childhood.
How to Serve Homemade Caramels
Garnishes
The beauty of Homemade Caramels is how versatile they are. Sprinkle flaky sea salt on top for a trendy salty-sweet combo or drizzle with melted chocolate for a decadent treat. Chopped toasted nuts give each bite a lovely crunch if you’re feeling a little extra!
Side Dishes
Caramels shine on their own, but they’re also a charming addition to dessert boards alongside fresh apples, pears, or a bowl of popcorn. Pair them with coffee or hot cocoa for an old-fashioned afternoon pick-me-up.
Creative Ways to Present
Nothing beats the delight of receiving a box of Homemade Caramels wrapped in colorful wax paper. Layer them in pretty jars, tuck into gift bags, or create a DIY candy bouquet for birthdays and holidays—a sweet way to show you care.
Make Ahead and Storage
Storing Leftovers
Just pop any leftover Homemade Caramels into an airtight container or wrap them individually. Keep them chilled in the fridge, where they’ll stay soft and chewy for several weeks. They’re always ready to delight when the craving strikes!
Freezing
If you’re planning ahead, Homemade Caramels freeze beautifully. Place the wrapped caramels in a zip-top freezer bag or airtight container. They’ll keep for up to three months—just let them warm up to room temperature before serving so they’re tender and irresistible.
Reheating
Found your caramels a bit too firm after chilling? Leave them out at room temperature until they soften up. No need for microwaving; they’ll naturally regain that signature chewiness.
FAQs
How can I tell when the caramels have reached the firm ball stage?
The most reliable way is to use the classic ice water test: drop a small amount of hot caramel into a glass of ice water, then use your fingers to shape it into a ball. It should feel firm yet still slightly sticky and pliable. Of course, a candy thermometer reading between 240–245 degrees F is a sure sign you’ve hit the right stage for Homemade Caramels.
Can I substitute the evaporated milk with something else?
Absolutely! If you’re out of evaporated milk, heavy cream is a great substitute. It will yield Homemade Caramels that are just as creamy, rich, and delicious.
What should I do if my caramel turns out too soft or too hard?
If your finished caramel is too soft, it probably needed a bit more cooking time. The good news is you can return the batch to the pot, heat it again, and re-test. If it became too hard, it cooked too long—try to use the ice water test for perfect Homemade Caramels every time.
Why do my caramels sometimes curdle?
Curdling happens when the temperature is increased or decreased too quickly, or the milk is added too fast. To avoid this, add the evaporated milk slowly, maintain a steady boil, and stir continuously. Patience is your secret weapon!
How long will Homemade Caramels stay fresh?
Stored in the fridge and wrapped well, Homemade Caramels can stay fresh, soft, and full of flavor for weeks. They’re also freezer-friendly, perfect for making ahead for holidays or last-minute gifts!
Final Thoughts
There’s real happiness in sharing treats you’ve made with your own hands, and Homemade Caramels never fail to bring a smile. If you’ve never tried making candy at home before, give this recipe a whirl—it’s pure nostalgia and joy in every bite. Guaranteed, you’ll want to make them again and again!
Print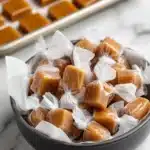
Homemade Caramels Recipe
- Total Time: 1 hour 10 minutes
- Yield: 80 caramels
- Diet: Vegetarian
Description
Learn how to make perfectly soft and chewy homemade caramels that are simple and delightful to prepare. These sweet treats are a classic favorite for any occasion!
Ingredients
For the Caramels:
- 1 cup butter (2 sticks)
- 4 cups granulated sugar
- 2 cups light corn syrup
- 24 ounces evaporated milk* (2 cans)
- 1 teaspoon vanilla extract
Instructions
- Prepare Pan: Line a 9×13” pan or jelly roll pan with parchment paper. Alternatively, you can butter the pan generously if parchment paper is not available.
- Cook Caramel Mixture: In a large heavy-bottom saucepan over medium heat, combine butter, sugar, and corn syrup. Stir until mixture boils, about 5-10 minutes.
- Add Evaporated Milk: Gradually add evaporated milk, one can at a time, stirring constantly for about 12-15 minutes per can until the mixture reaches a firm ball stage (240-245 degrees F).
- Finalize Caramel: Remove from heat, stir in vanilla, and pour into prepared pan. Refrigerate until set.
- Cut and Wrap: Once cooled, cut caramel into pieces and wrap in wax paper if desired.
Notes
- Evaporated milk can be substituted with heavy cream.
- For testing caramel consistency without a thermometer, use the ice water method to check for the firm ball stage.
- If caramel is too soft or hard, adjust cooking time accordingly using the ice water method as a guide.
- Prep Time: 10 minutes
- Cook Time: 1 hour
- Category: Dessert
- Method: Stovetop
- Cuisine: American
Nutrition
- Serving Size: 1 caramel
- Calories: 94 kcal
- Sugar: 17g
- Sodium: 34mg
- Fat: 2g
- Saturated Fat: 1g
- Unsaturated Fat: 1g
- Trans Fat: 0g
- Carbohydrates: 17g
- Fiber: 0g
- Protein: 0g
- Cholesterol: 8mg

