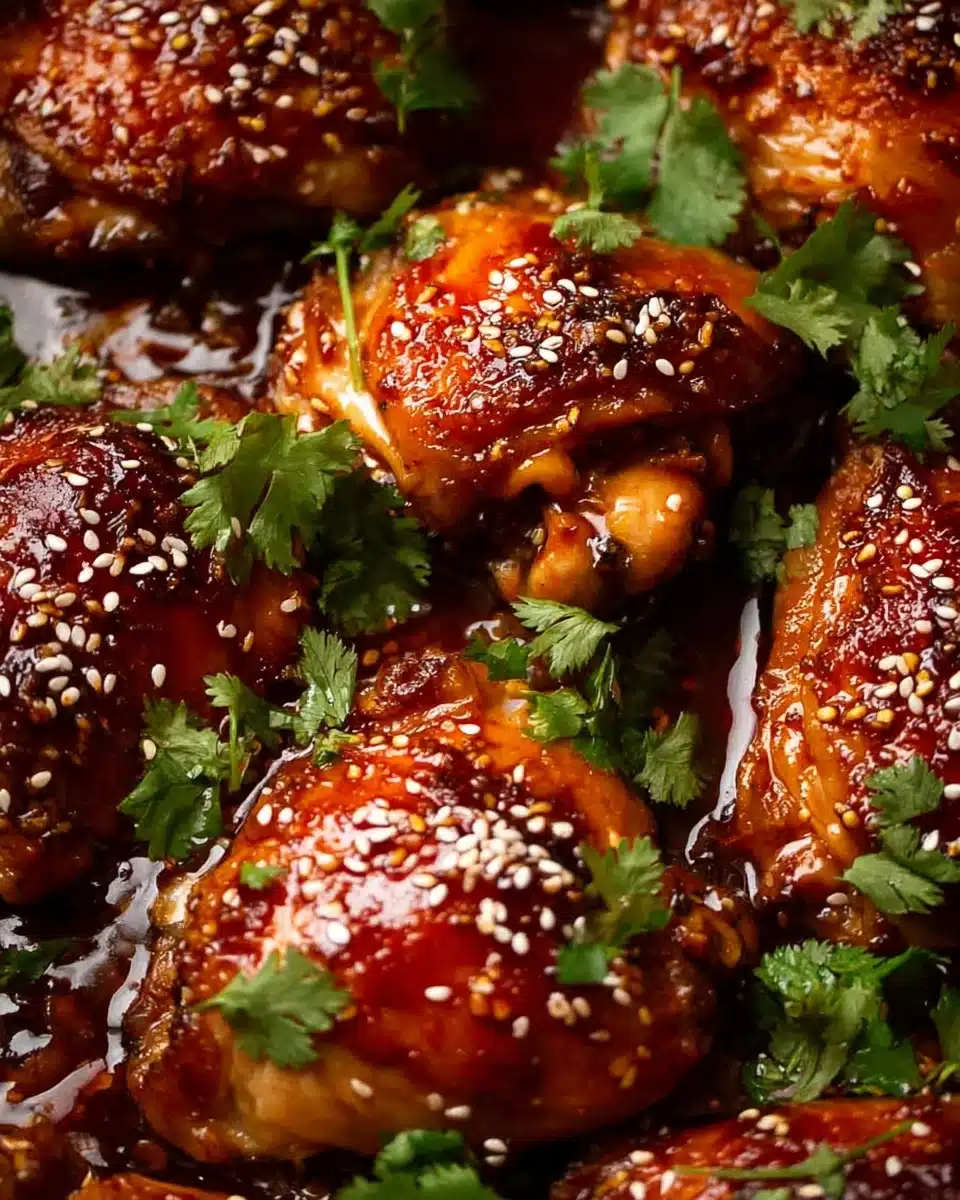
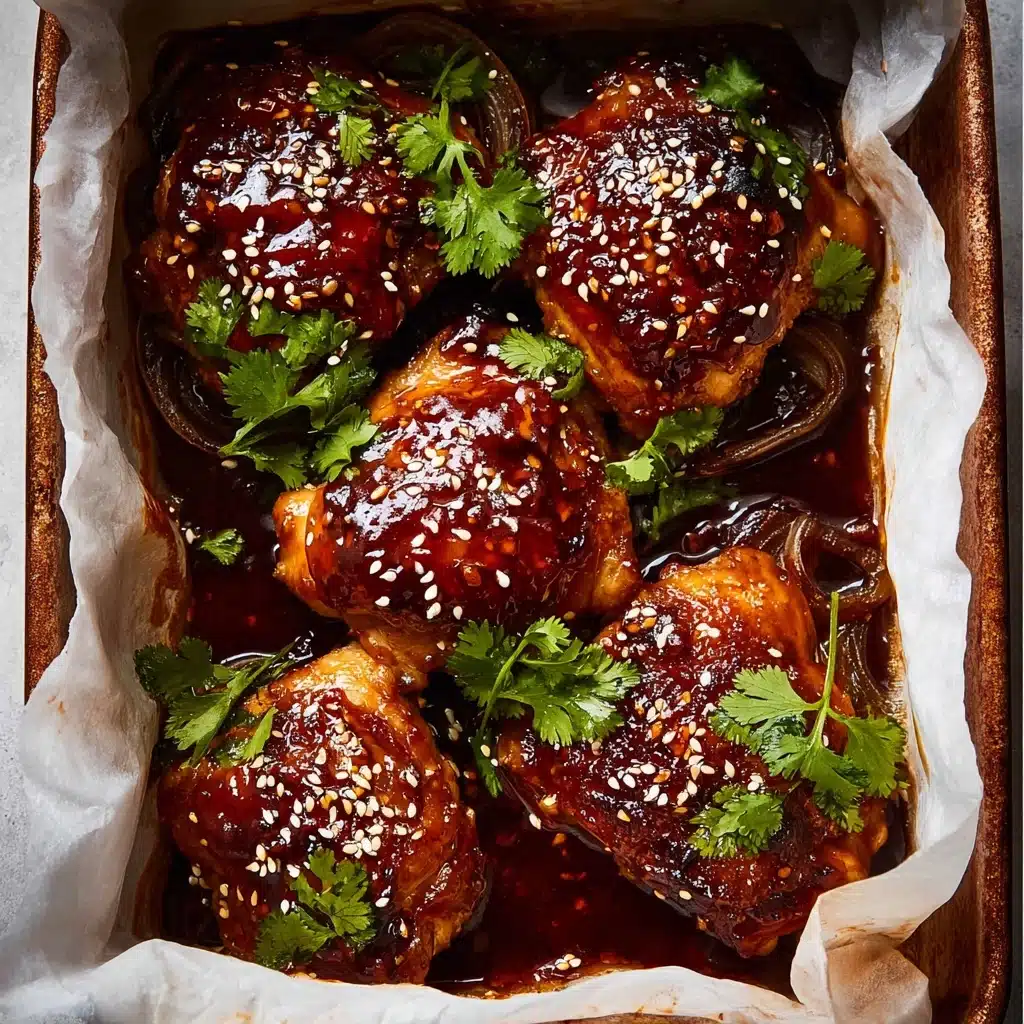
If you’re constantly searching for your next favorite quick-and-delicious chicken recipe, stop right here: this is hands-down the EASIEST sticky honey soy chicken you’ll ever make at home. Imagine golden, juicy chicken bathed in a sticky, glossy sauce that’s sweet, salty, and totally irresistible, all without standing over the stove. The magic truly happens in the oven as the impossibly thin sauce bubbles and transforms into a shiny, savory glaze. It’s fuss-free but packed with dynamite flavor—perfect for weeknights, meal prep, or whenever you need a crowd-pleaser that delivers every single time.
Ingredients You’ll Need
Let’s talk about the key players that make every bite of this dish pop! These pantry-friendly ingredients each bring their own signature punch: think savory depth, gorgeous color, lip-smacking sweetness, and just the right tang. Don’t skip anything—the balance is what makes this truly the EASIEST sticky honey soy chicken.
- Chicken thighs or drumsticks: Bone-in, skin-on pieces provide the juiciest texture and allow the glaze to really caramelize—thighs are especially flavorful, but drumsticks are a hit with kids, too!
- Red onion: Adds mellow sweetness and soaks up the delicious sauce while baking, becoming totally spoon-worthy on the side.
- Garlic: Minced fresh, it infuses the glaze with aromatic warmth that screams home-cooked comfort.
- Honey: The star sweetener—essential for that signature sticky, glossy finish and beautiful color.
- Soy sauce: Regular all-purpose soy brings all the savory, umami depth; steer clear of dark or sweet soy to avoid overpowering the balance.
- Apple cider or white vinegar: Just a splash cuts through the sweetness and keeps the glaze bright and lively.
- Sesame oil: For a luscious, nutty undertone that really elevates the sauce to something special.
- Black pepper: Just a hint adds gentle heat and rounds out the glaze beautifully.
- Sesame seeds (optional): Sprinkle on at the end for a little crunch and a visual pop!
- Fresh coriander/cilantro or other greens (optional): Brings color and a herbaceous, garden-fresh finish to each plate.
How to Make EASIEST sticky honey soy chicken
Step 1: Preheat and Prep Your Pan
First, set your oven to 200°C/390°F (or 180°C if using a fan oven) to give it time to get nice and hot—this is crucial for getting that sticky glaze! While it heats, line a baking dish with foil and then a layer of baking paper. The ideal pan size is roomy enough to fit your chicken pieces comfortably, but not too spacious; you want the sauce to puddle and reduce around the chicken, not dry out in a thin layer.
Step 2: Whisk Up the Magical Glaze
This is where the EASIEST sticky honey soy chicken gets its signature shine! In a bowl, simply combine your minced garlic, honey, soy sauce, vinegar, sesame oil, and black pepper. Give it a quick whisk until it’s all smoothly blended. Don’t worry if it looks thin—that’s exactly how it should be. It’ll thicken up dramatically in the oven, trust me.
Step 3: Arrange and Glaze the Chicken
Scatter your red onion wedges in the baking dish first. Lay the chicken pieces skin-side down among the onions, then pour the glaze evenly over everything. Let that sauce trickle down between the chicken and onions—it’s going to coat and flavor every bite as it bakes.
Step 4: Bake to Perfection
Pop your tray into the oven for 25 minutes. Then, flip the chicken to skin-side up (so you get a crackly, caramelized crust) and continue baking for another 25 to 35 minutes. By the end, the glaze transforms into a syrupy hug around each piece. If the glaze looks a little runny, just remove the chicken briefly and return the pan to the oven—it’ll reduce fast to that sticky dream you’re after.
Step 5: Squidge and Serve
With everything cooked to sticky perfection, turn the chicken in the glaze a few times to coat every nook and cranny—this step is pure joy and not to be skipped! Spoon extra glaze over the top, sprinkle with sesame seeds and fresh coriander if you like, and get it on the table while hot. This is the EASIEST sticky honey soy chicken at its saucy best!
How to Serve EASIEST sticky honey soy chicken
Garnishes
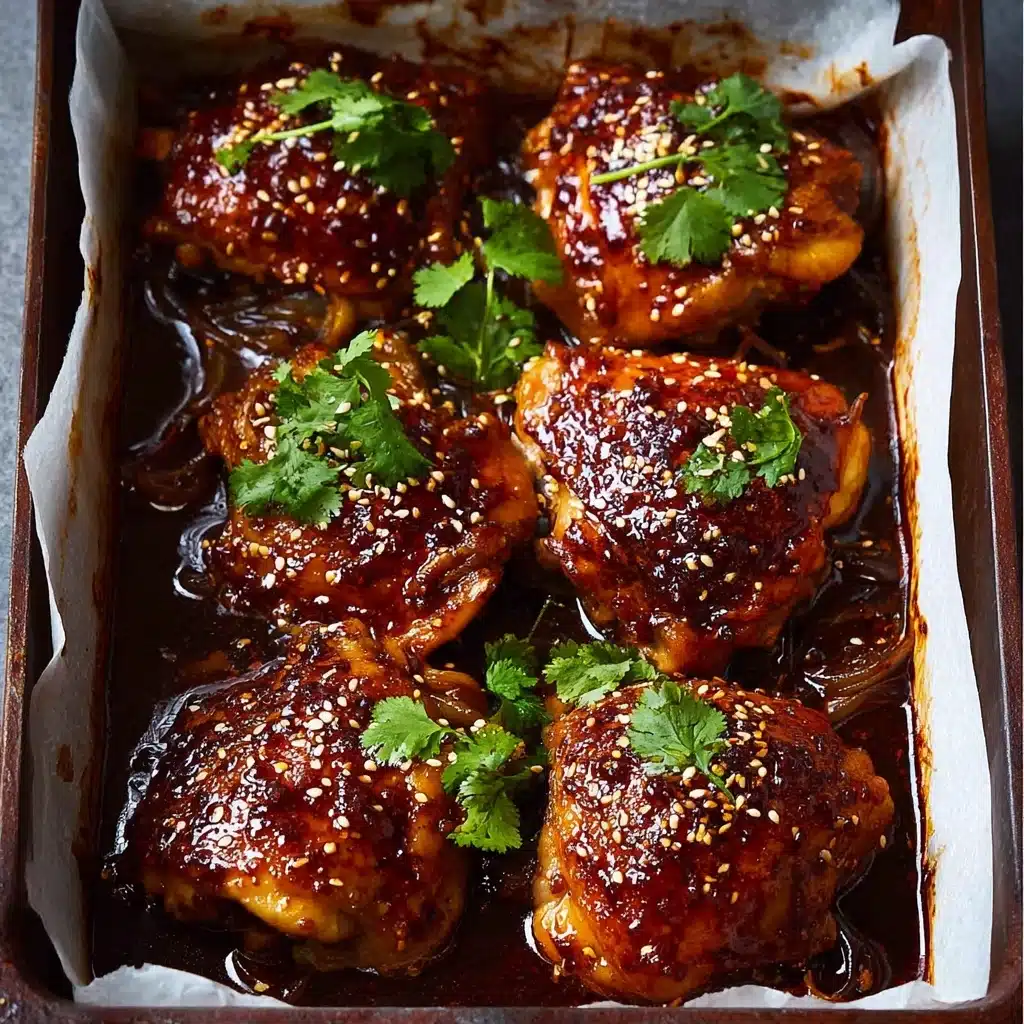
A generous dusting of toasted sesame seeds or a flurry of freshly chopped coriander/cilantro goes a long way. Not only do these garnishes add a pop of color and crunch, they also bring an added layer of aroma and freshness that balances the glossy chicken beautifully. Feel free to swap in sliced green onions, parsley, or chives for a twist—anything green and bright will make every plate look restaurant-worthy.
Side Dishes
This star needs sides that soak up its bold sauce! White rice is classic, soaking up every sticky drop. For extra goodness, serve with steamed greens like broccolini, bok choy, or snap peas—their crunch and bitterness play so well with the rich, glossy glaze. You could also pair with a cold cucumber salad for freshness, or even crispy roast potatoes for a comfort food spin.
Creative Ways to Present
If you’re after wow-factor, try piling the EASIEST sticky honey soy chicken on a platter, showered with herbs and extra glaze for dipping. Or, slice leftovers and tuck them into bao buns or tortillas for irresistibly sticky chicken wraps. Even over a vibrant grain bowl with edamame, avocado, and pickled vegetables, this chicken shines—let your tastebuds guide the way!
Make Ahead and Storage
Storing Leftovers
Leftover EASIEST sticky honey soy chicken stores beautifully in the fridge. Place cooled chicken (with every last bit of that precious glaze!) into an airtight container, and it’ll keep for up to 4 days. The flavor deepens as it sits, making it a lunchtime favorite the next day.
Freezing
This chicken freezes surprisingly well. Arrange pieces with plenty of glaze into freezer-safe bags or containers, getting rid of as much air as possible. Freeze for up to 2 months; when you’re ready for a quick dinner, thaw it overnight in the fridge for best texture and taste.
Reheating
To reheat, pop chicken and glaze into a covered baking dish and warm in a 180°C/350°F oven until hot through, around 15–20 minutes. Stir halfway to re-glaze everything. You can use the microwave for a quick fix, but for the best sticky finish, the oven wins out. Add a splash of water if the glaze is too thick—you want every bite saucy!
FAQs
Can I use boneless, skinless chicken breasts or thighs?
Absolutely! If you use boneless pieces, bake them in the glaze for around 15–20 minutes to thicken the sauce, then add the chicken and bake at a higher heat until cooked through. Keep in mind, you’ll miss out on the crispy skin (which does add a wonderful texture), but it’ll still be packed with sticky honey soy flavor.
Why shouldn’t I double the sauce?
It’s tempting, but don’t double the sauce—the magic happens when the sauce reduces and clings to the chicken in a thick, shiny glaze. If you make too much, it won’t reduce properly and you’ll miss out on that addictive stickiness that makes this the EASIEST sticky honey soy chicken!
Can I use another type of vinegar?
Of course! While apple cider or white vinegar work best, feel free to use rice vinegar if that’s what you have. Just steer clear of balsamic or aged vinegars, as their flavors are too intense for this balanced glaze.
Is this recipe gluten-free?
It’s easy to make gluten-free—just swap the regular soy sauce for a gluten-free tamari or coconut aminos. The flavor remains fantastic, and everyone at the table can enjoy every sticky, savory bite.
Can I prepare the EASIEST sticky honey soy chicken ahead for a party?
You sure can! Assemble the chicken and glaze ahead, cover, and refrigerate for a few hours before baking. This short marinating time only boosts the flavor. Just bake as directed when you’re ready and get ready for rave reviews from your guests.
Final Thoughts
If you love bold flavors and effortless dinners, the EASIEST sticky honey soy chicken truly deserves a spot in your regular rotation. With minimal prep and big reward, there’s every reason to treat yourself (and anyone you like enough to share with) to this saucy, satisfying dish. Give it a whirl—once you taste that sticky glaze, you’ll be coming back again and again!
Print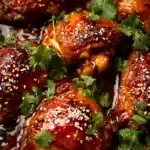
EASIEST sticky honey soy chicken Recipe
- Total Time: 55 minutes
- Yield: 5-6 servings
- Diet: Non-Vegetarian
Description
This sticky honey soy chicken recipe is incredibly easy to make and yields a deliciously flavorful dish. The sauce transforms into a sticky glaze during baking, coating the chicken with a perfect balance of sweet, salty, and sesame flavors.
Ingredients
Chicken:
- 1.2kg / 2.4lb bone-in, skin-on chicken thighs OR drumsticks (5 – 6 pieces)
- 1 red onion, peeled, cut into wedges
Glaze:
- 3 cloves garlic, minced
- 3 tbsp honey
- 3 tbsp soy sauce
- 1 tbsp apple cider vinegar or ordinary white vinegar
- 1 tsp sesame oil
- 1/2 tsp black pepper
Garnish (optional):
- Sesame seeds
- Fresh coriander/cilantro leaves (or other greens like green onion, parsley, chives)
Instructions
- Preheat oven to 200°C/390°F (180°C fan).
- Line pan: Line a baking dish with foil then baking paper.
- Glaze: Mix the Glaze ingredients together.
- Pour glaze over chicken: Place onion and chicken in the baking dish skin side down, then pour the Glaze over.
- Bake 50 – 60 minutes: Bake for 25 minutes, then turn and bake for a further 25 to 35 minutes, until the chicken is browned and the glaze is sticky.
- Squidge/coat chicken: Turn chicken and squidge in the glaze, then also spoon it over.
- Serve! Serve with rice and steamed greens, sprinkled with sesame seeds and fresh cilantro/coriander leaves.
Notes
- Chicken thighs or drumsticks with skin on work best for this recipe.
- Use ordinary, all-purpose soy sauce for the best results.
- Adjust sauce thickness by returning the pan to the oven if needed.
- This recipe yields a concentrated sauce that thickens to a sticky glaze.
- Prep Time: 5 minutes
- Cook Time: 50 minutes
- Category: Dinner
- Method: Baking
- Cuisine: Asian
Nutrition
- Serving Size: 207g
- Calories: 492cal
- Sugar: 10g
- Sodium: 658mg
- Fat: 34g
- Saturated Fat: 9g
- Trans Fat: 1g
- Carbohydrates: 12g
- Fiber: 1g
- Protein: 34g
- Cholesterol: 196mg

