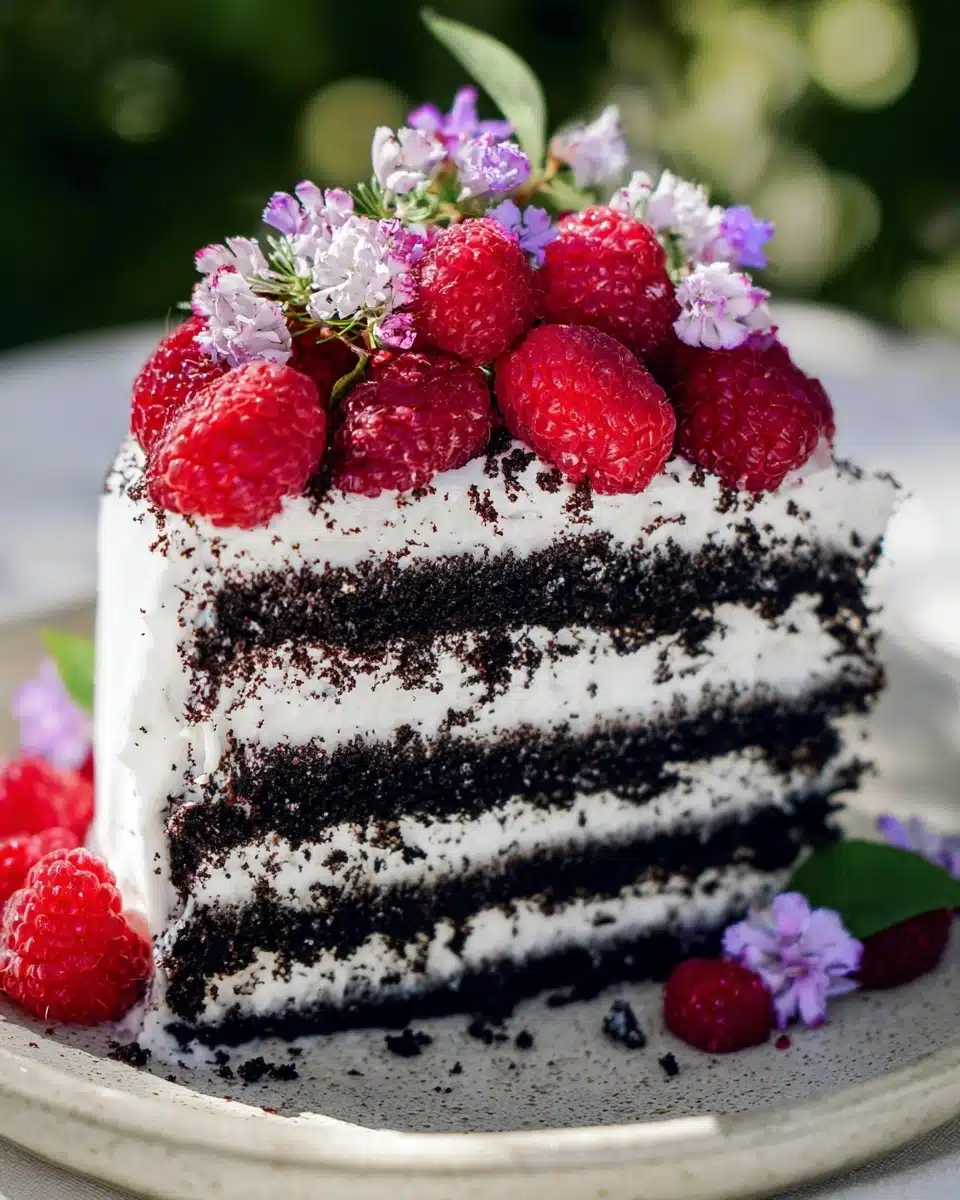
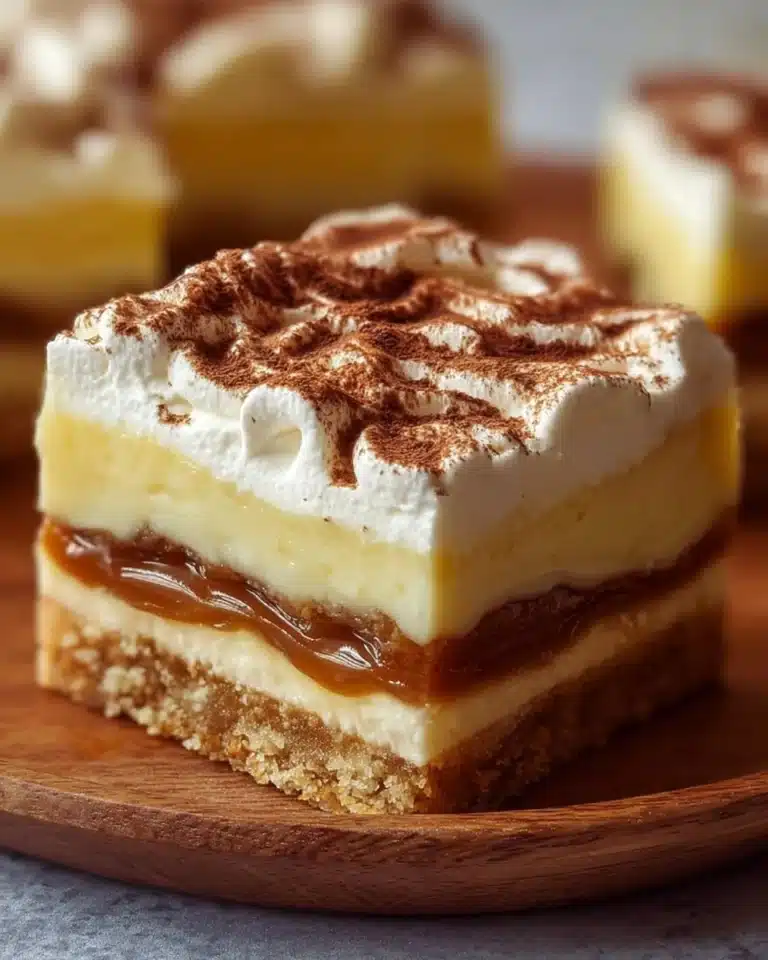
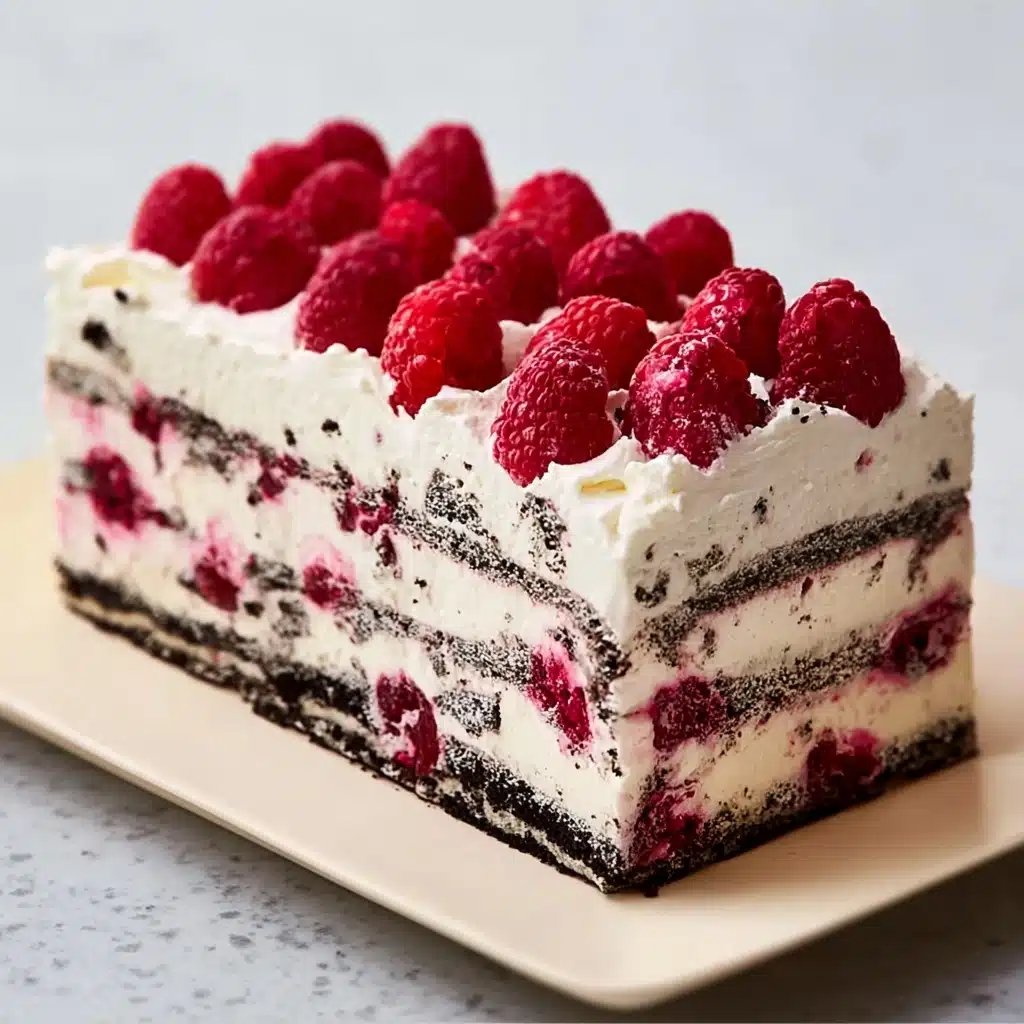
If you’ve got a soft spot for easy yet utterly show-stopping desserts, this Chocolate Raspberry Icebox Cake will instantly steal your heart. Layers of rich chocolate cookie wafers, luscious whipped cream, and juicy raspberries meld together into pure, creamy bliss, all without ever turning on your oven. In just 20 minutes of hands-on time, you can create a decadent treat that’s perfect for summer gatherings, birthday surprises, or anytime you want something delightfully cool and impressive with minimal effort.
Ingredients You’ll Need
The secret to this irresistible treat is starting with just a handful of straightforward ingredients, each bringing its own magic to the mix. Every element is essential, creating a dessert that’s far greater than the sum of its parts.
- 35% Whipping Cream: This is the backbone of your cake, giving airy lightness and creamy decadence to every bite.
- Powdered Sugar: Just a little bit sweetens the cream while dissolving effortlessly for a smooth texture.
- Vanilla Extract: Adds warm, aromatic depth that lifts the flavor of the cream and ties the chocolate and raspberry together.
- Fresh Raspberries: Their tart juiciness cuts through the richness and brings a beautiful pop of color and summery flavor.
- Chocolate Cookie Wafers: These crisp cookies will transform into cake-like layers after chilling, adding intense cocoa flavor.
- Fresh Mint Leaves or Edible Flowers (optional): For a gorgeous, fresh garnish that brightens your finished cake.
How to Make Chocolate Raspberry Icebox Cake
Step 1: Whip Up the Cream
Start by grabbing your stand or hand mixer, and beat together the whipping cream, powdered sugar, and vanilla extract. You’re aiming for stiff, billowy peaks here. Once whipped, scoop half of the cream into another bowl and set it aside for later—this will coat your finished cake in all its dreamy, creamy glory.
Step 2: Prepare the Raspberries
Set aside half of your raspberries for later use as a garnish. The rest you’ll mash with a fork until you’ve got a delightfully jammy, rustic mixture. These mashed berries will infuse the whipped cream with a fresh, tangy punch and gorgeous color.
Step 3: Make the Raspberry Cream
Take your mashed raspberries and very gently fold them into one bowl of whipped cream until you have a speckled pink and white mixture. Take care not to over-mix; you want to keep the cream nice and fluffy while distributing the raspberry goodness throughout.
Step 4: Layer the Cookies and Cream
Now the fun really begins. Spoon a couple of teaspoons of raspberry cream onto a chocolate wafer, then top with another wafer to make a little sandwich. Keep stacking raspberry cream and cookies until you’ve got a stack nine cookies tall. Repeat this process so you end up with four tall stacks—it’s a bit like assembling something between an eclair and a trifle, but so much easier.
Step 5: Assemble the Cake
Lay each of your cookie-cream stacks sideways, nestling them side by side on your serving platter so they form a log or a “train track”. If you have leftover raspberry cream, use it to help glue everything together. The stacks should fit snugly so the cake holds its shape and chills evenly.
Step 6: Frost With Whipped Cream
Take the reserved plain whipped cream and lavishly frost the entire surface of your log, covering up any hidden bits and rough spots. Don’t worry if it looks a touch messy—imperfections will vanish as the cookies soften and everything sets in the fridge.
Step 7: Chill and Transform
Pop the whole platter in your refrigerator and let it rest for at least four hours. During this time, the cookies soften into a luscious, cakelike texture as they absorb moisture from the cream, creating distinctive stripes when sliced. This is the magic of a true Chocolate Raspberry Icebox Cake!
Step 8: Decorate and Serve
Just before serving, adorn your icy cake masterpiece with the reserved raspberries and, if you wish, scatter on fresh mint or edible flowers for a finishing touch. Slice crosswise, as if slicing a loaf of bread, to reveal beautiful stripes in every piece.
How to Serve Chocolate Raspberry Icebox Cake
Garnishes
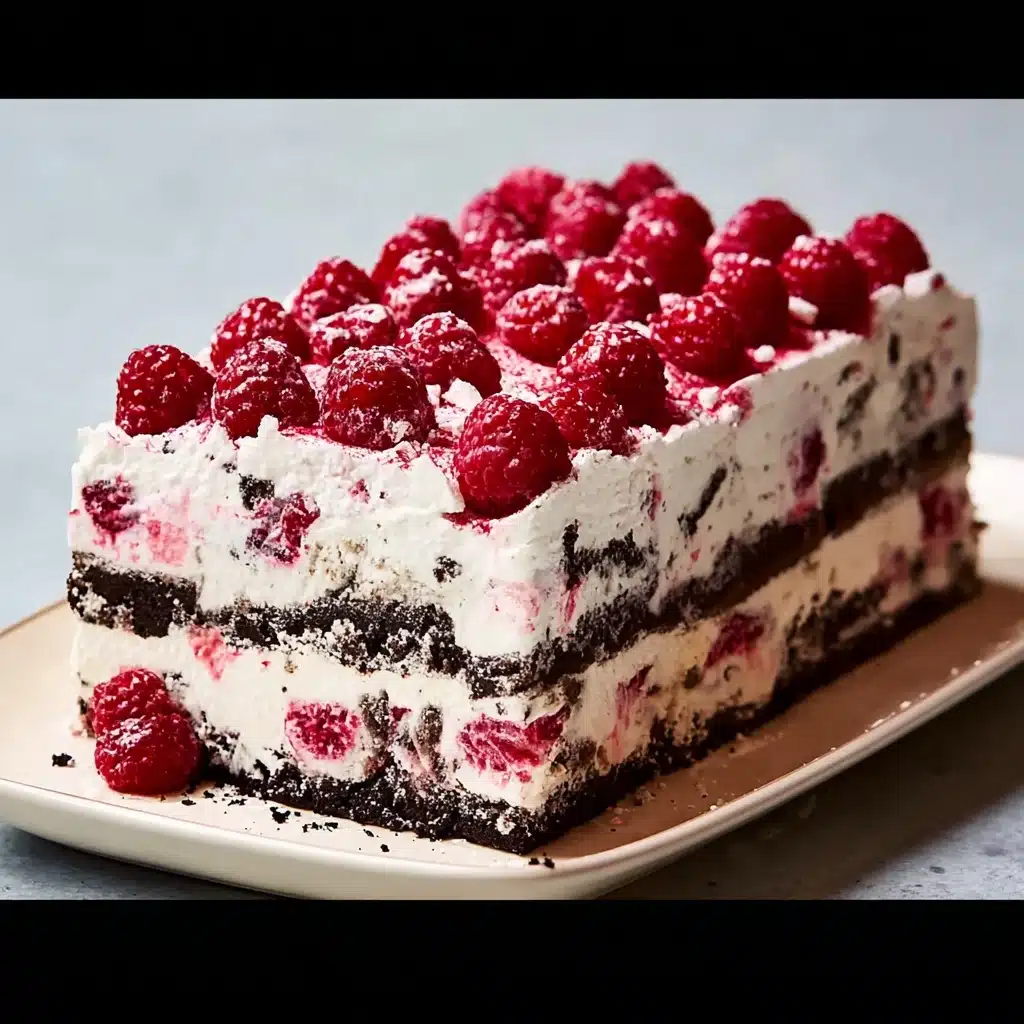
Once your cake is properly chilled, let your creativity have some fun with the finishing touches. Arrange the reserved fresh raspberries in artistic clusters, and add a handful of mint sprigs or a few edible flowers for garden-party flair. These simple garnishes make your Chocolate Raspberry Icebox Cake look like a professional bakery creation—no special skills required!
Side Dishes
Pair your cake with a scoop of vanilla bean ice cream or a small bowl of lightly sweetened whipped cream for extra indulgence. A cup of strong coffee or an iced espresso makes a fabulous counterpart, balancing the lushness of the cake with a little robust bitterness.
Creative Ways to Present
You can serve individual slices on elegant dessert plates with a drizzle of chocolate sauce, or try alternating Raspberry and Chocolate sauces for a restaurant-worthy twist. For a playful summer vibe, slice and serve the cake in small mason jars as icebox cake parfaits—guaranteed to wow any crowd!
Make Ahead and Storage
Storing Leftovers
If you’re lucky enough to have leftovers, simply keep your Chocolate Raspberry Icebox Cake tightly covered in the fridge. The flavors continue to meld and the texture stays dreamily soft for up to three days. Just be sure to store garnished cake in an airtight container to prevent it from absorbing any fridge odors.
Freezing
This cake freezes surprisingly well! Slice into portions, wrap each piece individually with plastic wrap or parchment, then place in an airtight container. Frozen pieces thaw beautifully in the fridge overnight, making it easy to sneak a sweet treat whenever you crave it.
Reheating
While there’s no need to reheat this cake (it’s all about that chilled, creamy texture), if you’d like to soften the cream slightly before serving, simply let your slice sit at room temperature for 10 to 15 minutes. It’ll taste just as fantastic as the day you made it.
FAQs
Can I use frozen raspberries instead of fresh?
Absolutely! Thaw frozen raspberries thoroughly and drain off excess moisture before mashing. The flavor will be just as vibrant, though you may want to use a touch less since frozen berries can be juicier.
What kind of chocolate wafers work best?
Classic thin chocolate cookie wafers are traditional, but any crisp chocolate biscuit will do the trick. You can even use homemade chocolate cookies if you’re feeling adventurous—just be sure they’re not too thick or soft.
Can I make this cake ahead of time?
Definitely! The Chocolate Raspberry Icebox Cake is happiest made a day before you plan to serve it. Chilling overnight lets the cookies and cream marry into perfection, making prep for parties and gatherings a breeze.
Is there a way to make this dessert gluten-free?
Yes, simply swap in your favorite gluten-free chocolate wafer cookies and double-check that all other ingredients are certified gluten-free. You’ll still get all the classic flavors and beautiful layers.
How should I slice the cake for best results?
For neat stripes and clean slices, use a long serrated knife and gently wipe it clean between cuts. Slice at a slight angle to best showcase the beautiful layers within your Chocolate Raspberry Icebox Cake.
Final Thoughts
If you’re ready to wow your friends and family with a chilled, chocolatey delight, give this Chocolate Raspberry Icebox Cake a try. It’s simple, stunning, and absolutely irresistible—perfect for any occasion where you want a little extra sweetness and a lot of smiles. Enjoy every blissful, berry-filled slice!
Print
Chocolate Raspberry Icebox Cake Recipe
- Total Time: 4 hours 20 minutes
- Yield: 8 servings
- Diet: Vegetarian
Description
Indulge in the perfect summer dessert with this Chocolate Raspberry Icebox Cake. Layers of creamy raspberry filling sandwiched between chocolate wafer cookies create a delightful treat that requires no baking!
Ingredients
Whipped Cream:
- 2 cups 35% whipping cream
- 2 tablespoons powdered sugar
- 1 teaspoon vanilla extract
Raspberry Filling:
- 2 cups fresh raspberries
- Fresh mint leaves or edible flowers for garnish, optional
Assembly:
- 7 oz. chocolate cookie wafers
Instructions
- Prepare the Whipped Cream: Beat whipping cream, vanilla, and powdered sugar until stiff peaks form. Set aside half of the whipped cream.
- Make Raspberry Filling: Mash raspberries until jam-like. Fold into one bowl of whipped cream.
- Assemble the Cake: Layer raspberry cream and chocolate wafers to form stacks. Refrigerate for at least 4 hours.
- Decorate and Serve: Top with remaining raspberries, mint leaves, and flowers before slicing and serving.
- Prep Time: 20 minutes
- Category: Dessert
- Method: No-Bake
- Cuisine: American
Nutrition
- Serving Size: 1 slice
- Calories: 349 kcal
- Sugar: 14g
- Sodium: 122mg
- Fat: 30g
- Saturated Fat: 18g
- Unsaturated Fat: 10g
- Trans Fat: 1g
- Carbohydrates: 17g
- Fiber: 1g
- Protein: 3g
- Cholesterol: 93mg

