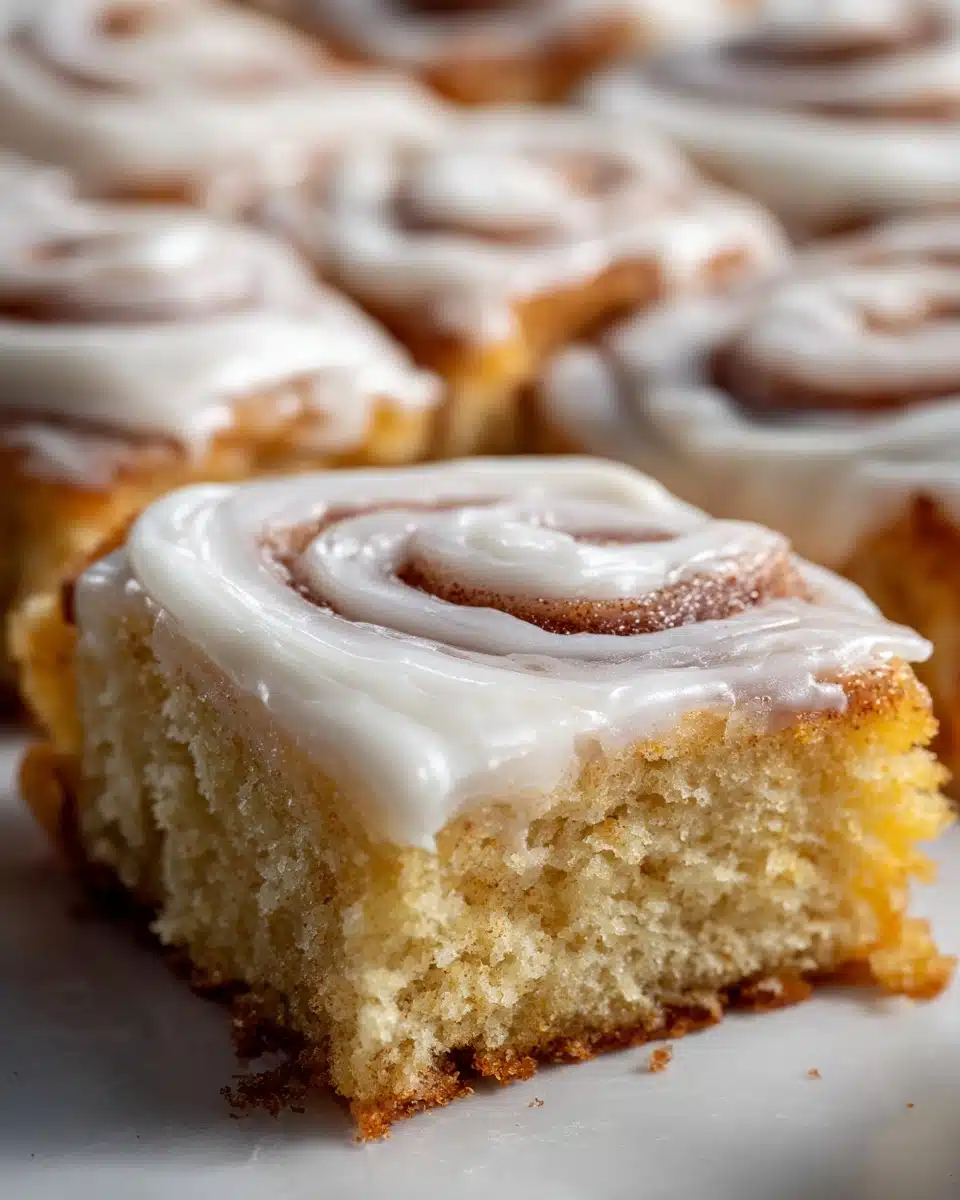
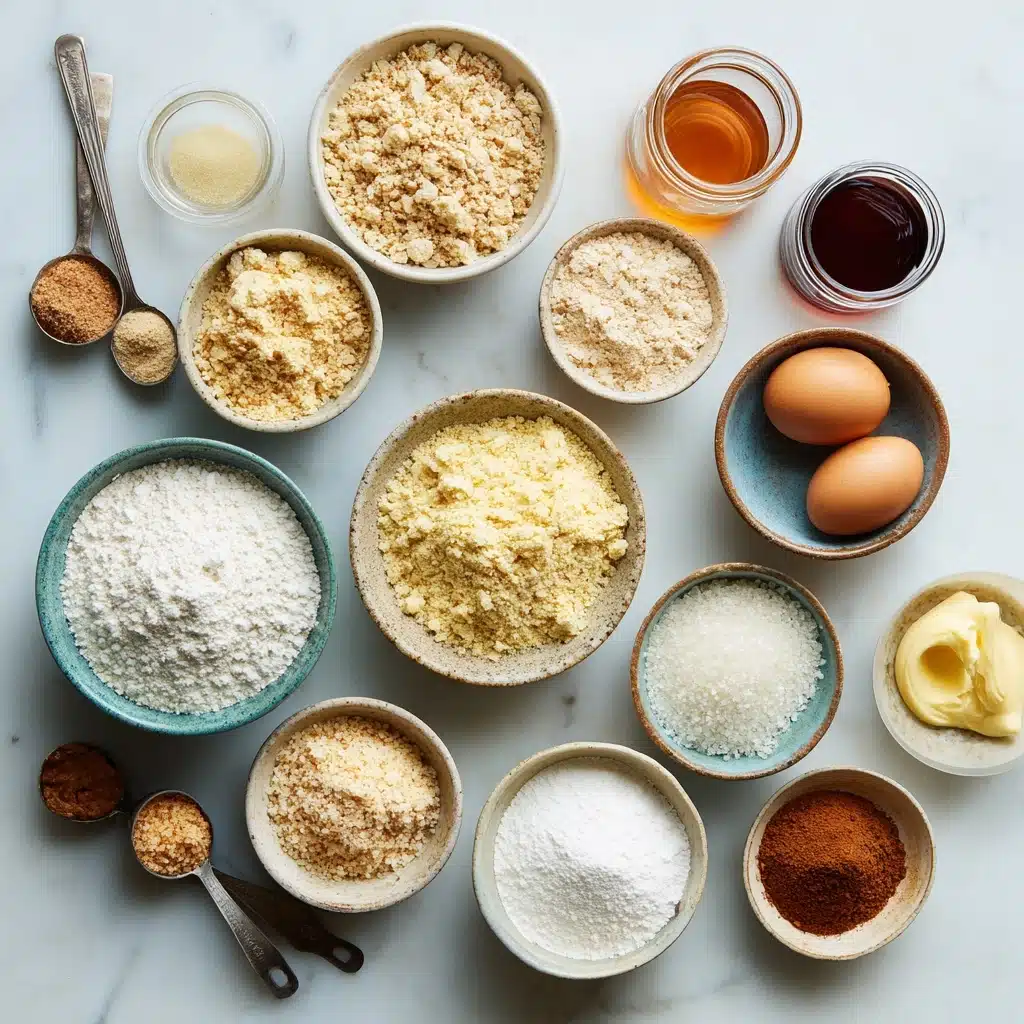
If you adore the aroma of a warm, cinnamon-infused kitchen but aren’t up for rolling dough, you will absolutely fall for these Chewy Cinnamon Roll Bars. All the nostalgia of classic cinnamon rolls is packed into these melt-in-your-mouth squares, featuring chewy edges, a gooey cinnamon swirl, and a sweet, creamy icing on top. The best part? They’re ready in under forty minutes and are totally gluten-free! This no-fuss dessert is perfect for any gathering or a quick afternoon treat, and once you make them, I promise you’ll crave Chewy Cinnamon Roll Bars more than the original rolls themselves.
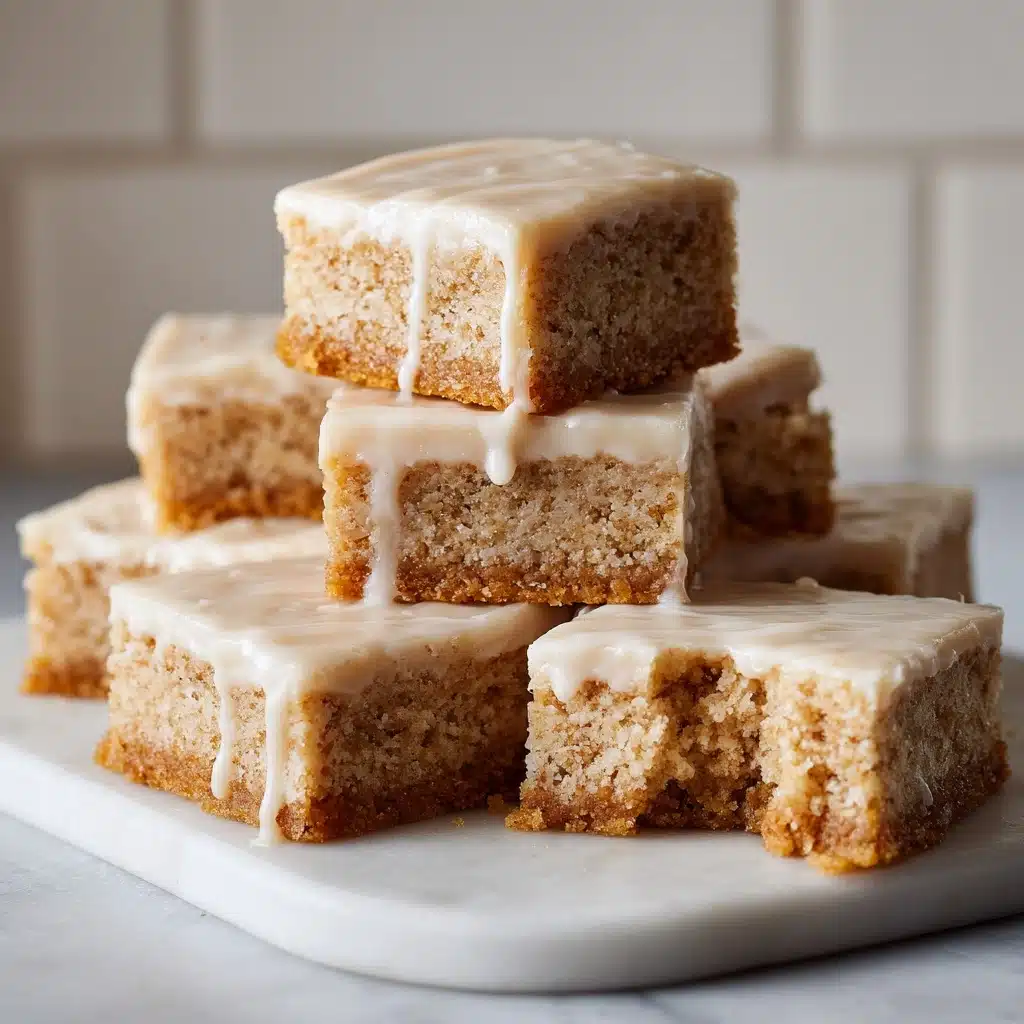
Ingredients You’ll Need
Making Chewy Cinnamon Roll Bars is a breeze, thanks to a handful of simple pantry staples. Every ingredient here serves a purpose, whether it adds flavor, creates the perfect texture, or delivers that crave-worthy swirl. Here’s what you’ll need, along with a few helpful notes for guaranteed success.
- Almond Flour: Delivers a soft, slightly nutty crumb that’s naturally gluten-free.
- Coconut Flour: Helps with structure and adds a slight chew; a little goes a long way.
- Coconut Sugar: Brings a mild, caramel sweetness and gorgeous color to the bars.
- Kosher Salt: Rounds out the sweetness and intensifies all the flavors.
- Maple Syrup: Adds deep natural sweetness and moisture, both in the base and filling.
- Coconut Oil (melted & cooled): Ensures the bars are extra tender and rich.
- Vanilla Extract: A must for true cinnamon roll flavor—use pure vanilla if you can!
- Egg (room temperature): Binds the bars perfectly without making them cakey.
- Almond Butter: Creates a creamy, nutty cinnamon-sugar ribbon inside each bite.
- Cinnamon: The starring spice that makes these bars taste like everyone’s favorite roll.
- Powdered Monk Fruit Sweetener (or powdered sugar): For the icing—pick whichever you prefer for a naturally sweet or traditional finish.
How to Make Chewy Cinnamon Roll Bars
Step 1: Preheat and Prepare the Pan
Start by preheating your oven to 325 F. Line an 8×8-inch baking dish with parchment paper; this is crucial for easy lifting (and clean-up) once the bars are baked. Set the pan aside while you gather your ingredients—preparation truly is key!
Step 2: Mix the Base Dry Ingredients
In a large mixing bowl, whisk together the almond flour, coconut flour, coconut sugar, and salt. I like to make sure there are no lumps and everything is evenly combined, as this ensures the bars bake up perfectly uniform with a chewy texture throughout.
Step 3: Add Wet Ingredients to the Base
Pour in the maple syrup, melted and cooled coconut oil, vanilla extract, and the room temperature egg. Mix until the batter comes together smoothly—don’t rush this step. You want it nice and cohesive with no dry pockets.
Step 4: Layer the Batter and Prepare the Filling
Spread half of the base batter in an even layer in your prepared pan. Use a spatula to press it out to the corners for an even bake. Set it aside, and move on to the filling: Simply grab a medium bowl and whisk together the almond butter, maple syrup, cinnamon, and vanilla extract until creamy and smooth.
Step 5: Add Filling and Remaining Batter
Gently spread the cinnamon-almond butter filling over your base layer, using a spatula to get an even distribution of that gorgeous swirl. Then, dollop the remaining dough mixture on top. Gently spread it as best as you can—it’s okay if it’s not perfect, as some swirl is part of the charm!
Step 6: Bake to Perfection
Slide your pan into the preheated oven and bake for 25 to 26 minutes, or until the top looks set and lightly golden. There’s nothing quite like the aroma of cinnamon wafting through your kitchen while these bars bubble away! Remove from the oven and let them cool completely; this helps the bars set up with that signature chewy bite.
Step 7: Make the Icing and Finish
While the bars cool, prepare the icing by whisking powdered monk fruit sweetener (or powdered sugar), maple syrup, and cinnamon together until smooth. If needed, add a splash of water, one tablespoon at a time, to reach your preferred consistency. Once the bars are completely cool, drizzle or spread the icing over the top and let it set before slicing into squares. Now you’re ready to savor your homemade Chewy Cinnamon Roll Bars!
How to Serve Chewy Cinnamon Roll Bars
Garnishes
A generous swirl of homemade icing is all you need, but for a little extra flair, sprinkle the bars with a dusting of cinnamon, shaved chocolate, or some finely chopped toasted nuts. This adds a lovely visual pop and a bit of crunch that pairs perfectly with the soft, chewy interior.
Side Dishes
Chewy Cinnamon Roll Bars are naturally the star of any brunch spread but also shine as a cozy dessert. Pair them with a cup of strong coffee, chai, or even a cold glass of almond milk for the full cinnamon roll effect. For a more decadent moment, serve them with vanilla ice cream—it’s pure comfort in every bite.
Creative Ways to Present
If you want to wow a crowd (or just yourself!), try cutting the bars into bite-sized squares and arranging them on a platter. For parties, pop them onto skewers, or use mini cupcake liners for individual servings. You can also package them in parchment and twine for a charming homemade hostess gift or lunchbox treat.
Make Ahead and Storage
Storing Leftovers
Once the Chewy Cinnamon Roll Bars are completely cool and iced, transfer them to an airtight container. They store beautifully in the fridge for up to one week—perfect for quick snacks or surprise guests. If you layer the bars, place parchment between each layer to prevent sticking.
Freezing
These bars freeze like a dream! Once the icing is set, wrap individual bars in plastic wrap and store them in a freezer-safe container. They’ll keep for up to three months. Thaw overnight in the fridge, and you’ll have “just-baked” flavor anytime you want it.
Reheating
If you love that “fresh from the oven” vibe, just microwave a bar (unwrapped, of course) for about 10-15 seconds. It lightly warms the icing and revives that lovely chewy texture. Don’t overheat or the icing may melt off—but you’ll still have the comfort of a gooey cinnamon treat!
FAQs
Can I substitute another nut butter for almond butter?
Absolutely! Peanut butter or cashew butter both work wonderfully and offer a slightly different flavor. If allergies are a concern, sunflower seed butter is a fantastic swap and keeps these Chewy Cinnamon Roll Bars delightfully nut-free.
Is there a vegan option for these bars?
Yes, you can replace the egg with a flax egg (1 tablespoon ground flaxseed mixed with 3 tablespoons water) and make sure your sweeteners are vegan. The texture may be a touch softer, but the bars are still delicious.
What if I don’t have powdered monk fruit sweetener?
No problem! Regular powdered sugar works perfectly for the icing. If you want a lower-sugar or keto option, use any powdered sugar replacement you have on hand, adjusting for sweetness to taste.
How do I know when the bars are done baking?
The top should look set and lightly golden brown, and if you gently touch it, it should feel springy but not gooey. Remember, the bars will firm up as they cool, so don’t overbake.
Can I double the recipe?
Definitely! Just use a 9×13-inch pan and keep a close eye on the bake time; you may need to add a few extra minutes. Doubling is ideal for parties, potlucks, or anytime you want to share the magic of these Chewy Cinnamon Roll Bars with a crowd.
Final Thoughts
These Chewy Cinnamon Roll Bars are proof that you don’t need hours in the kitchen or fancy ingredients to enjoy all the best parts of a cinnamon roll. Whether you’re baking for family, friends, or just treating yourself, these bars are sure to bring smiles and requests for seconds. So go ahead, turn on the oven and discover just how irresistible homemade Chewy Cinnamon Roll Bars can be!
Print
Chewy Cinnamon Roll Bars Recipe
- Total Time: 35 minutes
- Yield: 12 Bars
- Diet: Gluten Free
Description
These Chewy Cinnamon Roll Bars are a quick and easy alternative to traditional cinnamon rolls, with all the delicious flavors and a delightful icing on top. Perfect for a hassle-free treat!
Ingredients
For the Base:
- 3 Cups Almond Flour
- ¼ Cup Coconut Flour
- ⅓ Cup Coconut Sugar
- ½ tsp Kosher Salt
- ½ Cup Maple Syrup
- ⅓ Cup Coconut Oil, melted & cooled
- 2 Teaspoons Vanilla Extract
- 1 Egg, room temperature
For the Filling:
- ⅓ Cup Almond Butter
- ⅓ Cup Maple Syrup
- 2 Teaspoons Cinnamon
- 1 Teaspoon Vanilla Extract
For the Icing:
- 1 ¼ Cups Powdered Monk Fruit Sweetener or substitute regular powdered sugar
- 2 Tablespoons Maple Syrup
- ½ Teaspoon Cinnamon
Instructions
- Preheat the oven: Begin by preheating your oven to 325°F.
- Prepare the pan: Line an 8×8 baking pan with parchment paper.
- Make the base: Combine all dry base ingredients in a bowl, then mix in the wet ingredients until smooth.
- Layer the base: Spread half of the batter in the pan.
- Prepare the filling: Mix almond butter, maple syrup, cinnamon, and vanilla; spread over the base.
- Add remaining batter: Top the filling with the remaining batter.
- Bake: Bake for 25-26 minutes.
- Prepare the glaze: Whisk together sweetener, maple syrup, and cinnamon until smooth.
- Finish: Pour glaze over cooled bars, slice, and serve!
- Prep Time: 10 minutes
- Cook Time: 25 minutes
- Category: Dessert
- Method: Baking
- Cuisine: American
Nutrition
- Serving Size: 1 Bar
- Calories: 350 kcal
- Sugar: 20g
- Sodium: 114mg
- Fat: 24g
- Saturated Fat: 7g
- Unsaturated Fat: 4g
- Trans Fat: 0g
- Carbohydrates: 43g
- Fiber: 5g
- Protein: 8g
- Cholesterol: 0.01mg

