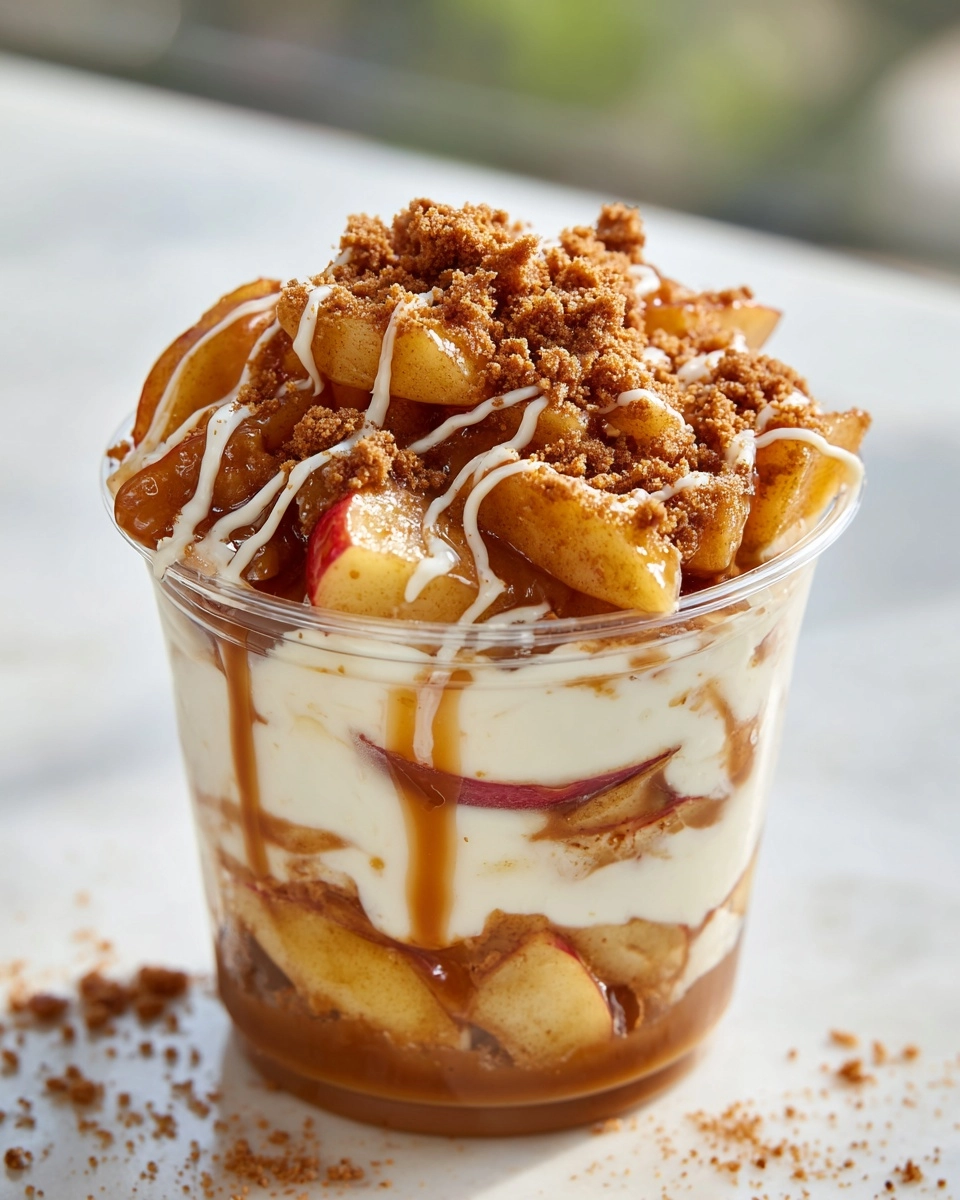
If you’re searching for an easy, crowd-pleasing treat, Caramel Apple Dessert Cups are about to become your new go-to. Imagine tender, cinnamon-kissed apples layered with airy whipped cream and crowned with a generous caramel drizzle. Every bite channels cozy fall fair vibes and nostalgic apple pie — but comes together in minutes, no oven or fuss required. Whether you want a last-minute dessert for guests or a sweet reward all for yourself, these layered dessert cups are a showstopper with just the right balance of fruity freshness, rich caramel, and pillowy cream.
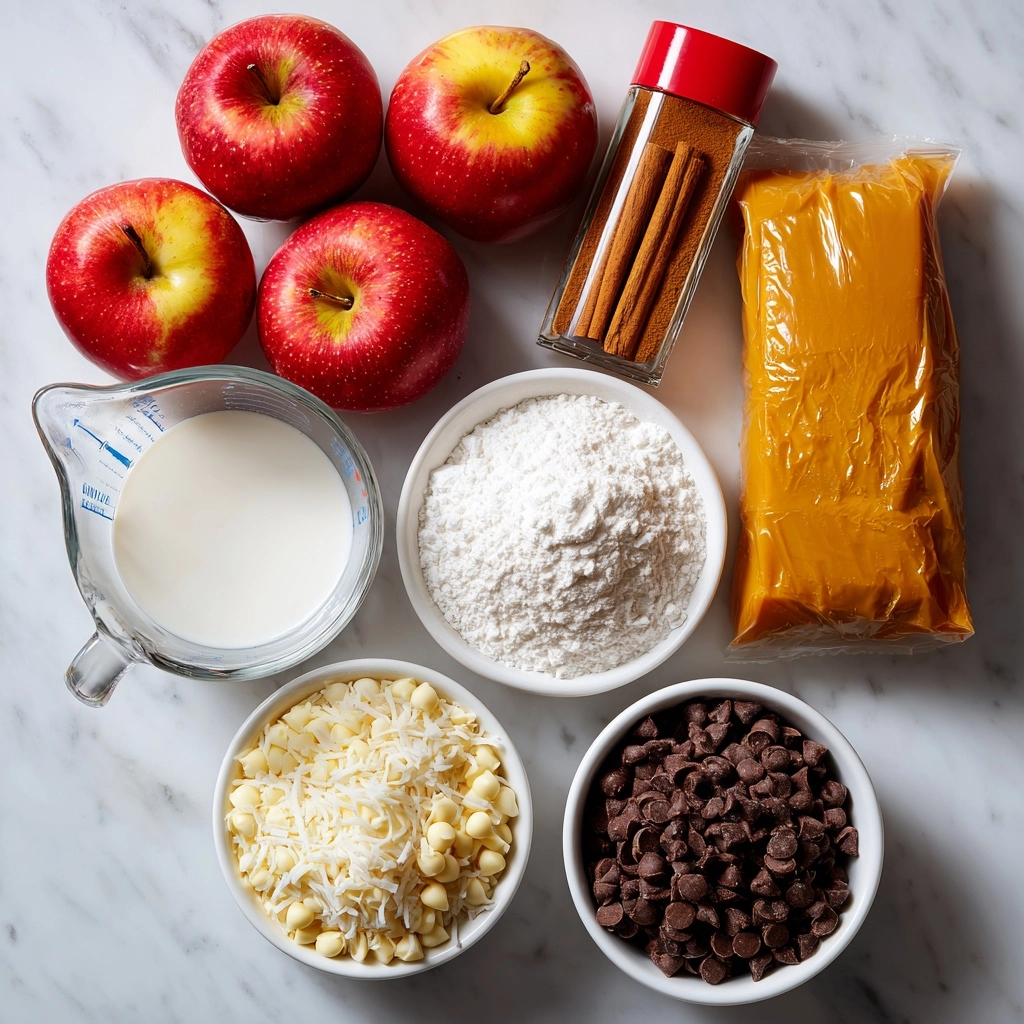
Ingredients You’ll Need
Part of the charm of Caramel Apple Dessert Cups is just how simple the ingredient list is. Each element brings something special, creating gorgeous color, lush layers, and unforgettable flavor. Here’s what you’ll need—and why each one matters:
- Apples: Fresh, peeled, and chopped apples bring a crisp bite and a naturally tart sweetness that stands up to the caramel.
- Brown sugar: Adds warm, toasty notes and helps the apples caramelize richly in the skillet.
- Ground cinnamon: Just half a teaspoon infuses the dessert with cozy, autumnal spice.
- Butter: Melts to coat the apples, lending them a decadent, glossy finish and a hint of richness.
- Whipped cream: Fluffy, cloud-like whipped cream balances the intensity of the caramel and apples, making every spoonful dreamy.
- Caramel sauce: The finishing touch that ties everything together, adding addictive sweetness and a gorgeous golden look.
How to Make Caramel Apple Dessert Cups
Step 1: Melt the Butter
Start by placing a skillet on medium heat. As the butter melts, it’ll begin to sizzle softly, releasing that telltale aroma that signals something delicious is about to happen. This step ensures your apples won’t stick—and it sets the stage for the caramelization magic.
Step 2: Cook the Apples with Sugar and Spice
Toss in your chopped apples, brown sugar, and cinnamon. Stir everything together, watching as the sugar melts and clings to the fruit. Cook for 8 to 10 minutes, stirring occasionally, until the apples are soft and glossy, the sugar forms a syrup, and your kitchen smells like an apple orchard in autumn.
Step 3: Cool the Caramelized Apples
Remove the skillet from heat and let the apple mixture cool slightly. Giving it a few minutes to rest not only keeps the whipped cream from melting in the next step but also lets the flavors meld beautifully.
Step 4: Layer Apples and Whipped Cream
Now for the fun part! Spoon a layer of those syrupy apples into each dessert cup, then follow with a generous dollop of whipped cream. Repeat if your cups are tall—each layer should be distinct and tempting, like a parfait!
Step 5: Drizzle with Caramel Sauce
Take that irresistible caramel sauce and generously drizzle it over each cup. Don’t be shy—a good swirl of caramel is what transforms these into true Caramel Apple Dessert Cups!
Step 6: Chill Before Serving
For the best results, refrigerate your assembled dessert cups for at least 30 minutes. This quick chill lets the flavors blend while ensuring every spoonful is cool, creamy, and refreshing.
How to Serve Caramel Apple Dessert Cups
Garnishes
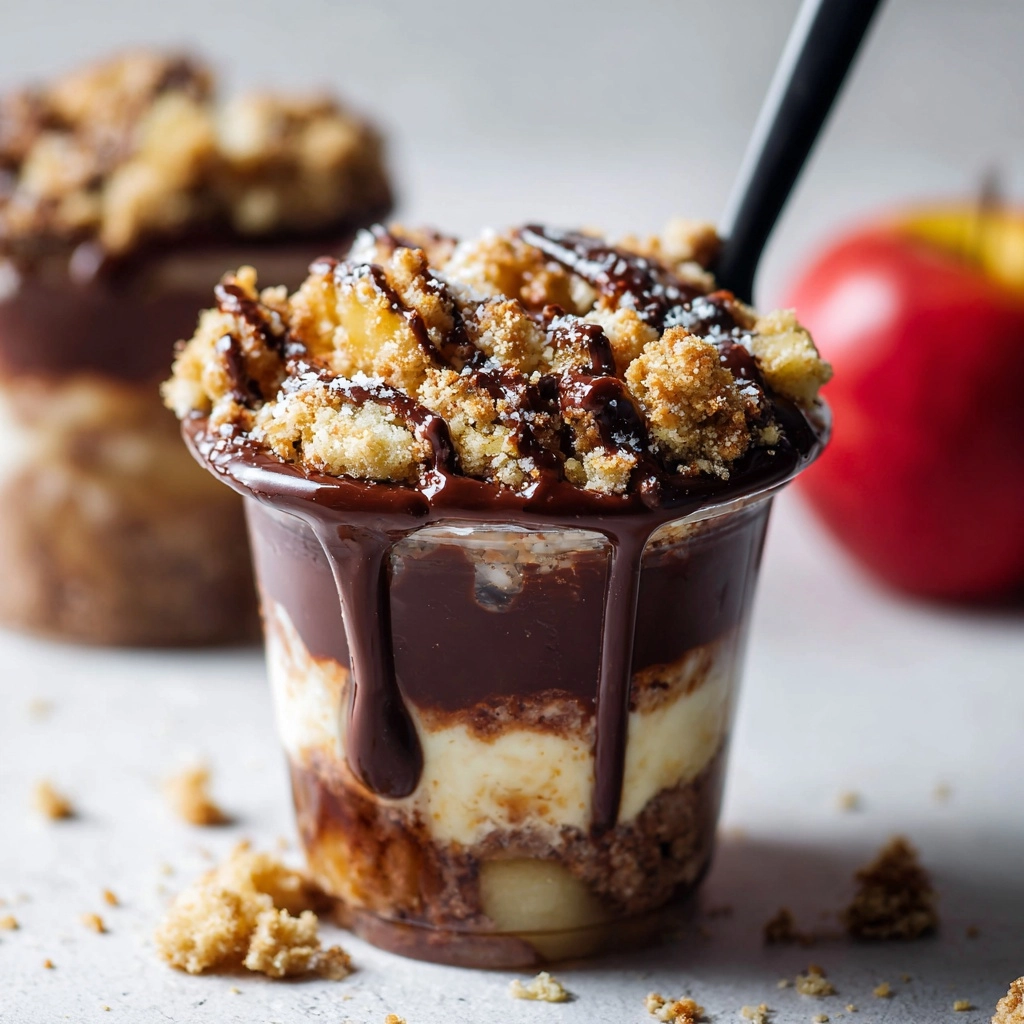
Try sprinkling the finished cups with a touch of extra cinnamon, a few crushed graham crackers, or even candied pecans for a lovely crunch. A slice of apple or a cinnamon stick on top makes these Caramel Apple Dessert Cups look picture-perfect and bakery-worthy.
Side Dishes
Pair your Caramel Apple Dessert Cups with a hot cup of spiced chai or a freshly brewed coffee for a complete dessert experience. They’re also quite at home alongside a crisp, simple shortbread cookie or a scoop of vanilla ice cream on the side for those who like their treats ultra-decadent.
Creative Ways to Present
Turn any gathering into a celebration by serving in mini mason jars, clear wine glasses, or even little hollowed-out apples for an edible “bowl.” For parties, try assembling bite-sized versions in shot glasses so everyone gets their own perfect portion of Caramel Apple Dessert Cups!
Make Ahead and Storage
Storing Leftovers
Cover any leftover Caramel Apple Dessert Cups tightly with plastic wrap or lids and store them in the refrigerator for up to two days. The whipped cream may lose a bit of volume, but the flavors will continue to deepen.
Freezing
Freezing is not recommended for these creamy, layered desserts, as the whipped cream can separate and the apples may change texture. For best results, enjoy them freshly made or refrigerated.
Reheating
Because these cups are served chilled, there’s no need to reheat. If you prefer warm apples, you can rewarm the apple mixture gently before layering, then add cooled whipped cream and caramel just before serving for a delicious temperature contrast.
FAQs
Can I use different types of apples in my Caramel Apple Dessert Cups?
Absolutely! Tart apples like Granny Smith give you a nice contrast to the sweet caramel, but feel free to mix in Honeycrisp, Gala, or Fuji for added depth and sweetness.
Can I make Caramel Apple Dessert Cups in advance for a dinner party?
You sure can. Prepare the caramel apple mixture and keep it in the fridge, then assemble the layers and add caramel sauce just before serving for the freshest, prettiest result.
Is there a way to make these dairy-free?
Definitely! Substitute the butter with plant-based margarine, use a dairy-free whipped topping, and check your caramel sauce for dairy ingredients to make vegan-friendly Caramel Apple Dessert Cups.
What’s the best way to layer the ingredients so they look nice?
Use a clear glass or jar for a visual effect: start with apples, add whipped cream, and repeat if space allows. Swirling the caramel sauce in between layers can add dramatic, mouthwatering stripes.
Can I use homemade caramel instead of store-bought?
Of course! A homemade caramel sauce adds that extra touch of personal love, richness, and buttery flavor, making your Caramel Apple Dessert Cups even more special.
Final Thoughts
Once you treat yourself to a batch of these Caramel Apple Dessert Cups, it’s impossible not to crave them again and again. They’re quick, simple, and seriously fun to put together—guaranteed to steal the spotlight at any table. Give them a try and see how fast they become a favorite in your own kitchen!
Print
Caramel Apple Dessert Cups Recipe
- Total Time: 25 minutes
- Yield: 4 servings
- Diet: Vegetarian
Description
Indulge in these delightful Caramel Apple Dessert Cups that perfectly balance the sweetness of caramel with the tartness of apples. A simple yet elegant treat for any occasion.
Ingredients
For the Caramelized Apples:
- 3 cups peeled and chopped apples
- 1/2 cup brown sugar
- 1/2 teaspoon ground cinnamon
- 1 tablespoon butter
For Assembly:
- 4 cups whipped cream
- 1/2 cup caramel sauce
Instructions
- In a skillet, melt the butter over medium heat. Add the chopped apples, brown sugar, and cinnamon.
- Cook, stirring occasionally, until the apples are tender and caramelized, about 8-10 minutes.
- Remove from heat and let cool slightly.
- Layer the caramelized apples and whipped cream in dessert cups.
- Drizzle caramel sauce over the top.
- Refrigerate for at least 30 minutes before serving.
- Prep Time: 15 minutes
- Cook Time: 10 minutes
- Category: Dessert
- Method: Stovetop
- Cuisine: American
Nutrition
- Serving Size: 1 dessert cup
- Calories: 320 kcal
- Sugar: 25g
- Sodium: 120mg
- Fat: 18g
- Saturated Fat: 11g
- Unsaturated Fat: 6g
- Trans Fat: 0g
- Carbohydrates: 38g
- Fiber: 2g
- Protein: 2g
- Cholesterol: 55mg

