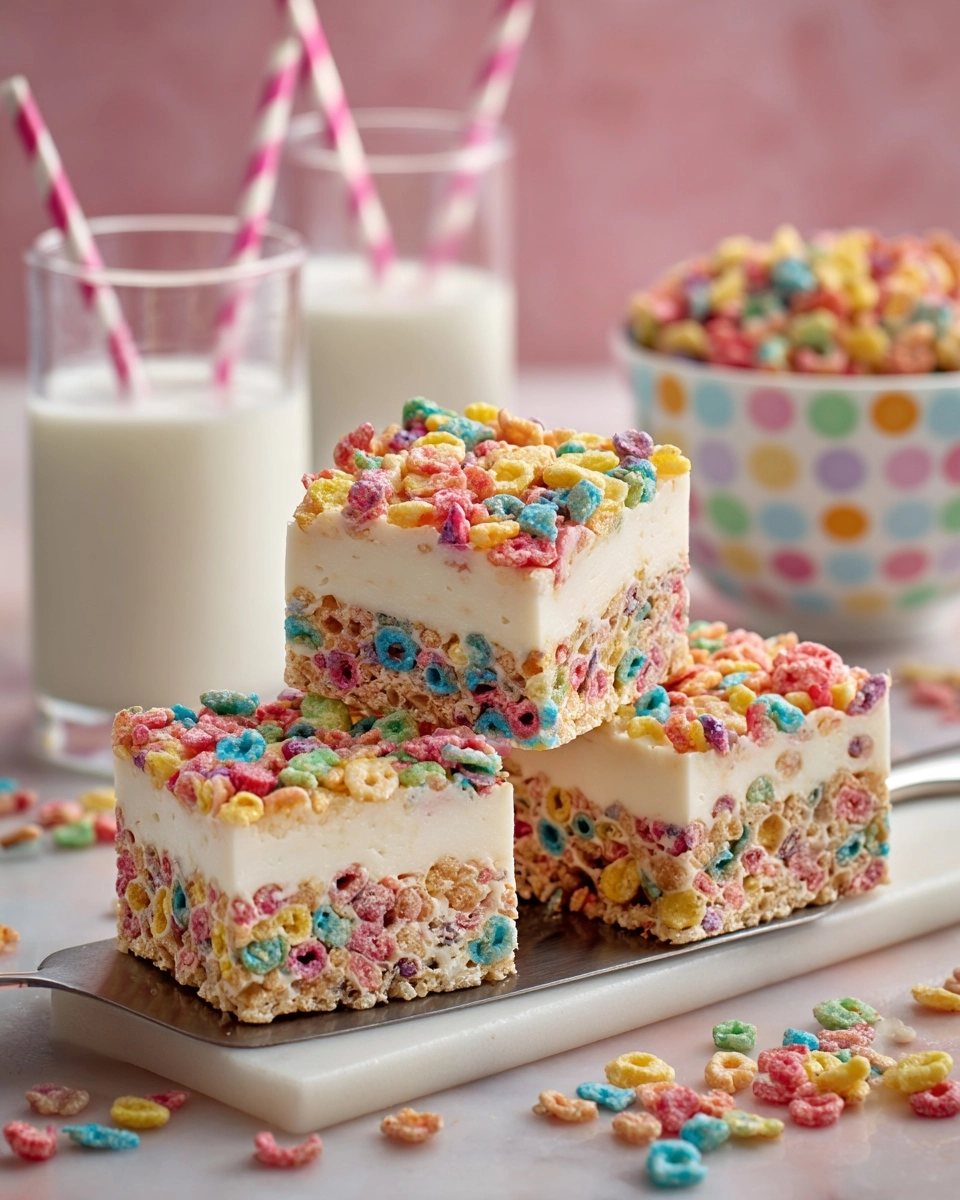
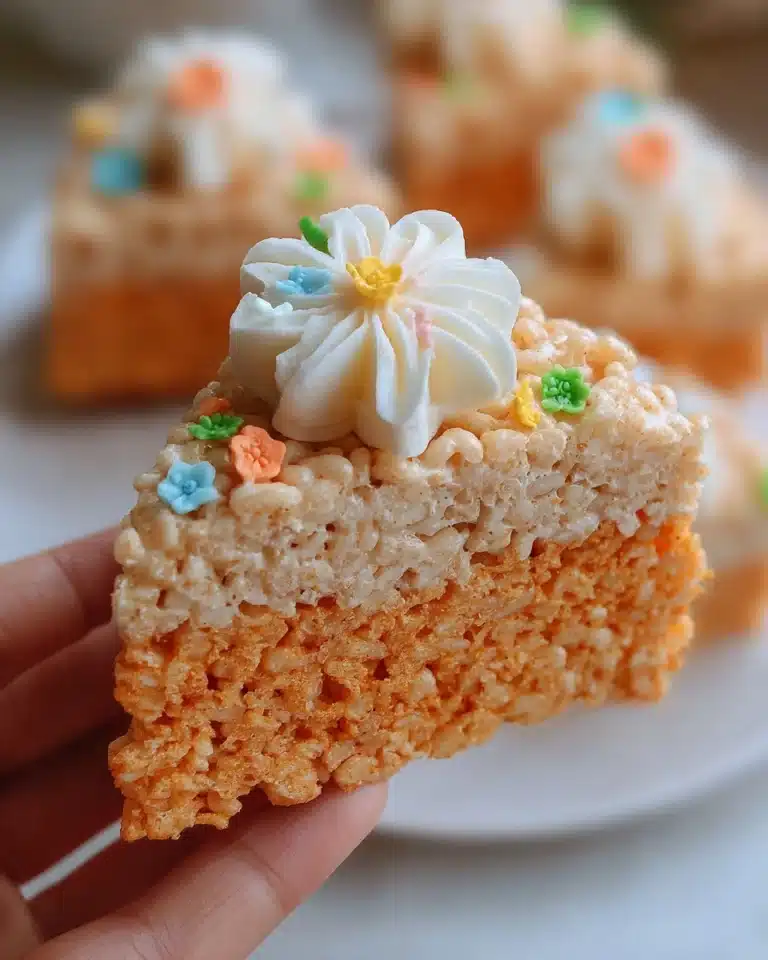
If you’re searching for a joyful, technicolor twist on classic cheesecake, you’re about to fall in love with this No-Bake Fruity Pebbles Cheesecake. It’s vibrant, fun, and an absolute breeze to prepare—perfect for parties or a playful weekend treat. Fruity Pebbles cereal brings a whimsical crunch to both the crust and filling, while fluffy marshmallow creme and rich cream cheese make every bite creamy, tangy, and just downright delightful. If nostalgia had a flavor, it would taste exactly like this cheerful dessert!
Ingredients You’ll Need
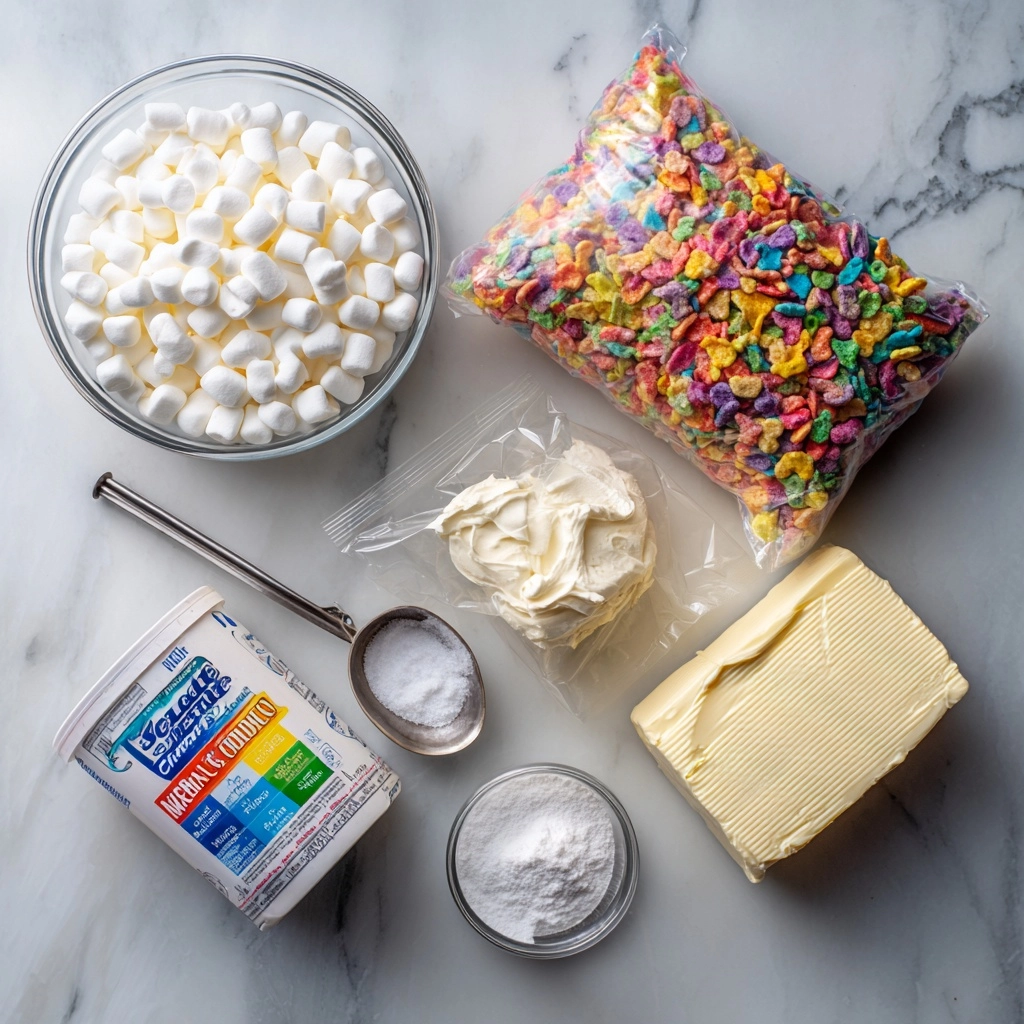
The beauty of this No-Bake Fruity Pebbles Cheesecake is how a handful of simple ingredients can create such magic. Every component plays a key role: from the cereal’s pop of color and crunch, to the dreamy filling’s creamy sweetness. Here’s what you’ll want to gather before you get started:
- Fruity Pebbles cereal: Adds playful color and fruity crunch to both the crust and the filling, making every slice irresistible.
- Mini marshmallows: Acts as the binder in the crust, giving it a sweet chew and helping it hold its shape perfectly.
- Unsalted butter: Brings richness to the crust while keeping it soft yet sturdy, balancing the sweetness from the marshmallows.
- Cream cheese (softened): The heart of the filling; make sure it’s softened for easy mixing and extra creaminess.
- Powdered sugar: Sweetens the filling without any grittiness, keeping the texture super smooth.
- Vanilla extract: Enhances the overall flavor, making the cheesecake taste extra comforting and delicious.
- Marshmallow creme: Adds a lush, pillowy sweetness and helps stabilize the creamy filling.
- Cereal (lightly chopped): Folding in more cereal gives every bite a gentle crunch and a rainbow-speckled look.
How to Make No-Bake Fruity Pebbles Cheesecake
Step 1: Make the Crust
In a large microwave-safe bowl, combine Fruity Pebbles cereal, mini marshmallows, and unsalted butter. Microwave everything uncovered on high for about two to three minutes, just until the marshmallows puff up and melt fully. The scent at this stage is downright tempting!
Step 2: Stir and Coat the Cereal
Once the marshmallows are soft and pillowy, remove the bowl from the microwave (careful, it’s hot!) and stir the mixture immediately. Make sure every little cereal bit is coated thoroughly with melty marshmallows and butter. This ensures a crust that holds its shape and tastes incredible.
Step 3: Press the Crust
Grab a pie plate that’s been lightly greased or sprayed. Transfer the cereal mixture into the plate and, with buttered fingers or a spatula, firmly press it into the bottom and up the sides to create a thick, even crust. Set this aside to firm up while you move on to the luscious filling.
Step 4: Mix the Cheesecake Filling
In a fresh large bowl, combine the softened cream cheese, powdered sugar, and vanilla. Beat or mix until everything is smooth and dreamy. Next, add the marshmallow creme and mix again—your filling should look glossy and thick. Finally, gently fold in the extra lightly chopped fruity cereal, distributing those rainbow pops all throughout the filling.
Step 5: Assemble the Cheesecake
Spoon the cheesecake filling over your cooled Fruity Pebbles crust and smooth it out with a spatula. Make sure to cover every bit of crust evenly. Once filled, move the cheesecake to the refrigerator to let it firm up for at least 1-2 hours (or give it a quick set in the freezer for about 30 minutes if you’re short on time).
Step 6: Add Finishing Touches
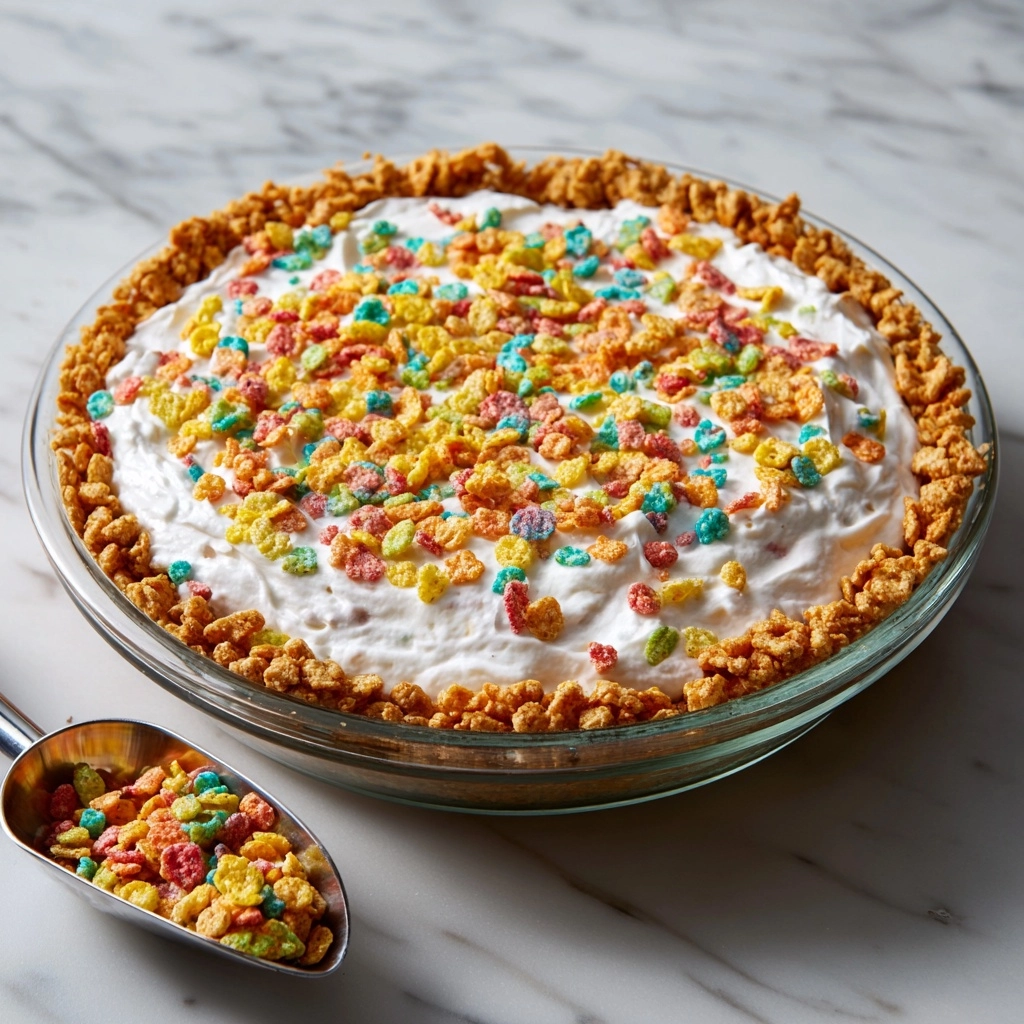
For the crowning touch, sprinkle extra Fruity Pebbles cereal (or festive sprinkles) over the top of your chilled No-Bake Fruity Pebbles Cheesecake. This adds an irresistible crunch and makes your dessert look even more like a party on a plate.
How to Serve No-Bake Fruity Pebbles Cheesecake
Garnishes
Don’t be shy with the toppings! Scatter more Fruity Pebbles cereal right before serving for a fresh, crunchy bite. Alternatively, a dollop of whipped cream, a drizzle of white chocolate, or even a few candy sprinkles can transform each slice into edible confetti—perfect for birthdays or special celebrations.
Side Dishes
No-Bake Fruity Pebbles Cheesecake is such a showstopper, it pairs wonderfully with lighter sides like a fresh fruit salad or a scoop of vanilla ice cream. If you’re hosting a brunch or dessert bar, add coffee or a fruity punch to keep the vibe playful and refreshing.
Creative Ways to Present
Feeling crafty? Try making mini cheesecakes in muffin tins for individual servings. Or, serve in dessert jars for a whimsical twist. If you want an interactive dessert experience, set out bowls of different toppings and let everyone top their own slice. However you serve it, fun is part of the package!
Make Ahead and Storage
Storing Leftovers
If you find yourself with leftovers (hard to believe!), simply cover the cheesecake tightly with plastic wrap or foil and store it in the refrigerator. It’ll keep fresh and delicious for up to three days—though don’t be surprised if it disappears sooner.
Freezing
To freeze, slice the No-Bake Fruity Pebbles Cheesecake and wrap each piece separately in plastic wrap, then foil. Store in an airtight container or freezer bag. It’ll stay tasty for up to a month. When ready to enjoy, thaw in the fridge overnight for best texture.
Reheating
There’s actually no need to reheat this dessert! No-Bake Fruity Pebbles Cheesecake is best served chilled. If it’s been in the freezer, just let it soften in the fridge before slicing and serving.
FAQs
Can I use other cereals instead of Fruity Pebbles?
Absolutely! The No-Bake Fruity Pebbles Cheesecake celebrates color and crunch, but you can experiment with other fun cereals like Cocoa Pebbles or even Trix for a new flavor spin. Just make sure to use cereals with similar size and sweetness for the best results.
How do I prevent the crust from sticking to the pan?
A quick spritz of nonstick spray or a very light coating of butter on your pie plate does wonders. If you want even easier release, line the bottom of the pan with parchment before pressing in the crust mixture.
What if I don’t have marshmallow creme?
If marshmallow creme isn’t available, try substituting it with an equal amount of extra room-temperature cream cheese and a little more powdered sugar. The texture will be slightly different, but your cheesecake will still be creamy and delicious.
Can this cheesecake be made ahead of time?
Yes! No-Bake Fruity Pebbles Cheesecake is a fantastic make-ahead dessert. You can prepare it the night before and let it chill overnight so it’s ready to serve at a moment’s notice.
Why is my filling runny?
If your filling isn’t setting up, it’s probably due to under-mixing or not enough chilling time. Make sure your cream cheese is at room temperature before mixing, and don’t skimp on the minimum two hours of chill time in the fridge.
Final Thoughts
This No-Bake Fruity Pebbles Cheesecake is what dessert dreams are made of—colorful, creamy, and a total crowd-pleaser. Whether you’re baking with kids or just want to bring a bit of nostalgia and fun to your table, give this recipe a try and watch the smiles roll in. Happy (no-)baking!
Print
No-Bake Fruity Pebbles Cheesecake Recipe
- Total Time: 2 hours 15 minutes
- Yield: 8 servings
- Diet: Vegetarian
Description
Indulge in the deliciousness of this No-Bake Fruity Pebbles Cheesecake that combines the crunch of Fruity Pebbles cereal with a creamy, marshmallow-infused filling. Perfect for a sweet treat that’s easy to make and sure to impress!
Ingredients
Cereal Crust:
- 3 ½ cups Fruity Pebbles Cereal
- 3 cups mini marshmallows
- 2 tablespoons unsalted butter
Cheesecake Filling:
- 16 oz cream cheese (softened)
- ¼ cup Powdered sugar
- 1 teaspoon vanilla
- 7 oz tub marshmallow creme
- 1 ½ cup cereal lightly chopped
Instructions
- Prepare Cereal Crust: In a large microwave-safe bowl, combine the Fruity Pebbles, mini marshmallows, and butter. Microwave on high for 2-3 minutes until marshmallows are soft and puffed. Stir to coat cereal, then press into a pie plate.
- Make Cheesecake Filling: In a separate bowl, mix cream cheese, powdered sugar, and vanilla until smooth. Add marshmallow creme and additional cereal. Spread over crust.
- Chill and Serve: Refrigerate for 1-2 hours (or freeze for 30 mins) until firm. Garnish with extra cereal or sprinkles before serving.
Notes
- You can customize this recipe by using different flavored cereals for the crust or adding fruit toppings.
- For a firmer filling, chill the cheesecake longer before serving.
- Store any leftovers covered in the refrigerator for up to 3 days.
- Prep Time: 15 minutes
- Cook Time: 2 hours
- Category: Dessert
- Method: No-Bake
- Cuisine: American
Nutrition
- Serving Size: 1 slice
- Calories: 380
- Sugar: 26g
- Sodium: 320mg
- Fat: 19g
- Saturated Fat: 11g
- Unsaturated Fat: 6g
- Trans Fat: 0g
- Carbohydrates: 45g
- Fiber: 1g
- Protein: 6g
- Cholesterol: 60mg

