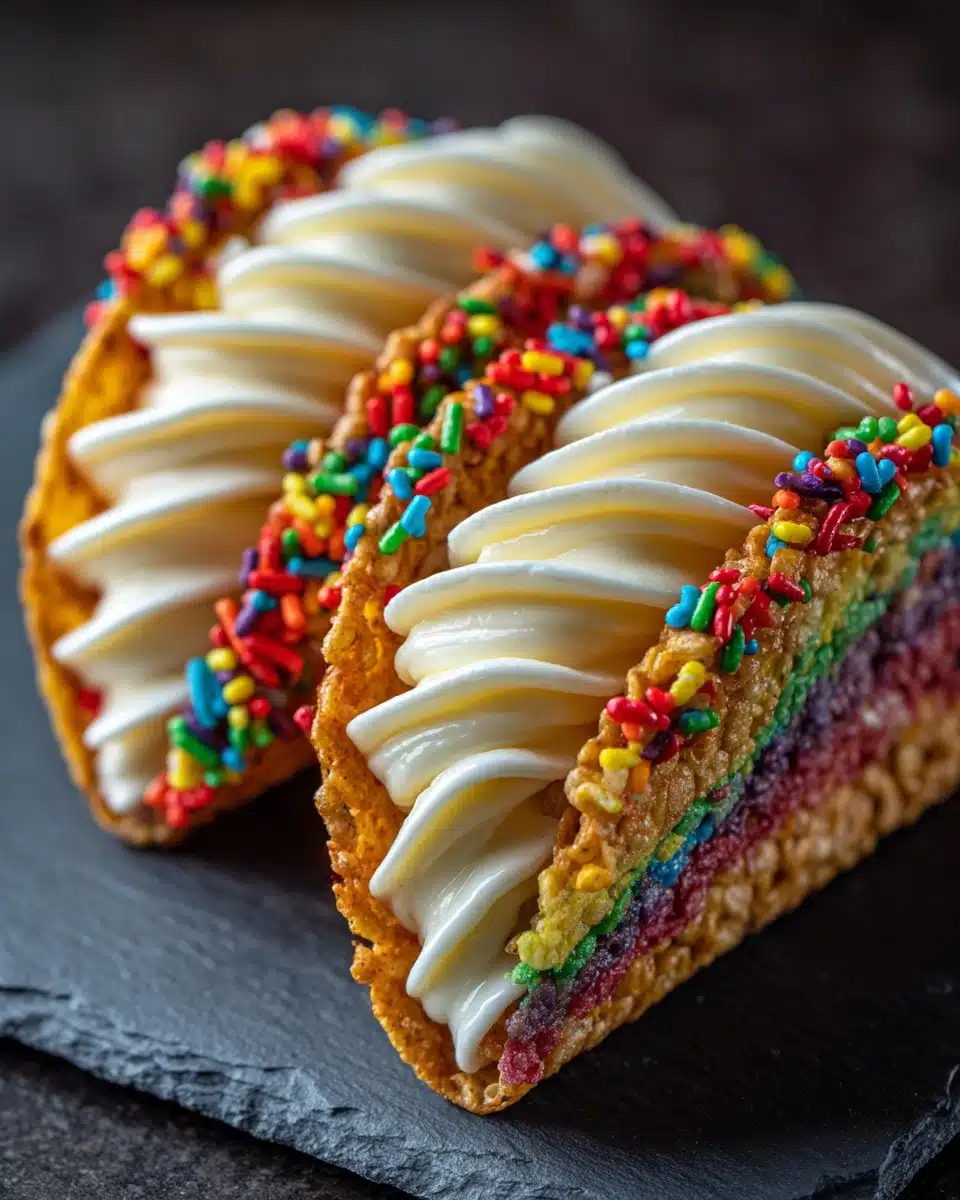
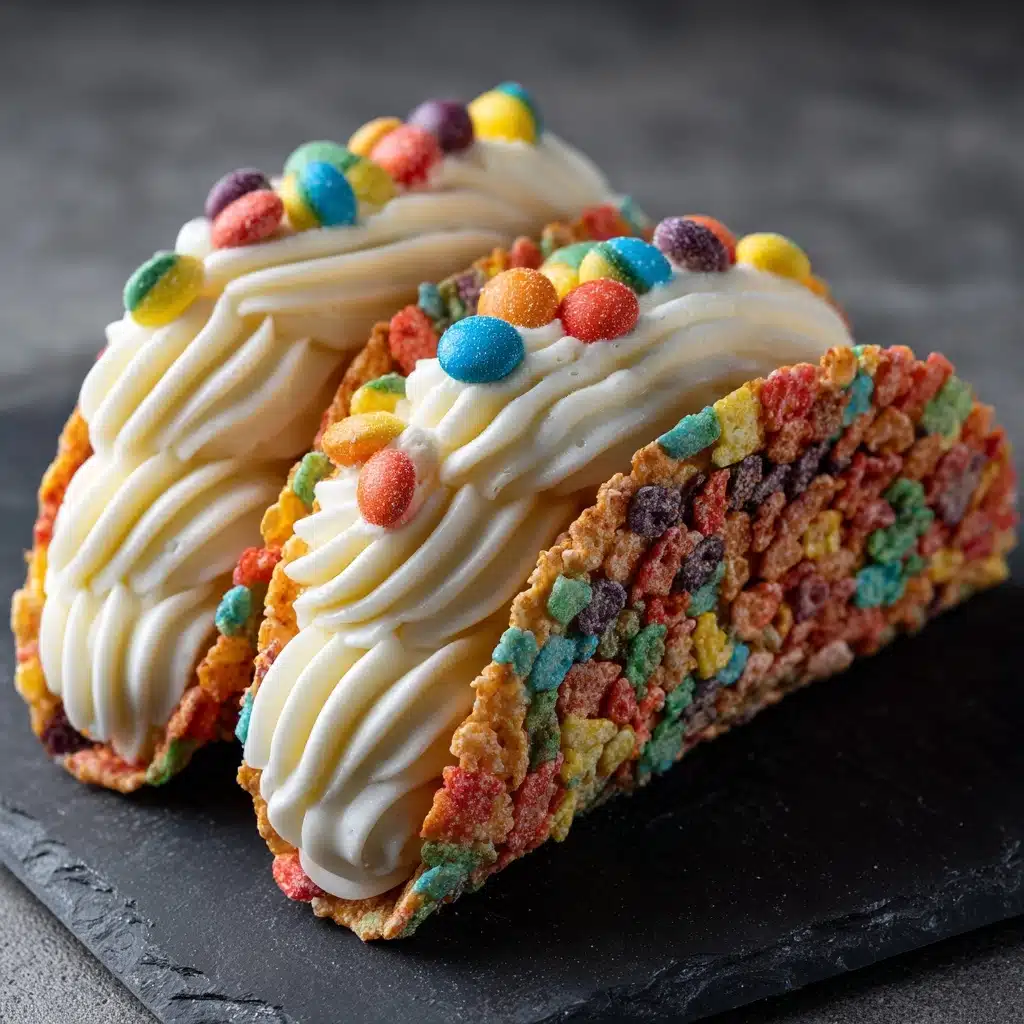
When you’re craving a mashup of nostalgia and whimsy, look no further than Fruity Pebbles Cheesecake Tacos. These dazzling treats combine the snap of a technicolor cereal shell with the luscious tang of rich cheesecake, all in a playful taco shape! They’re a show-stopping dessert that’s both fun to make and irresistible to eat, bringing big smiles to family, friends, and anyone in need of a burst of sweetness.
Ingredients You’ll Need
The best part about Fruity Pebles Cheesecake Tacos is how a few essential ingredients become a vibrant, crowd-pleasing dessert. Every item brings something special: the cereal turns into an edible rainbow shell, while creamy filling and colorful toppings make these tacos truly unforgettable.
- Fruity cereal (3 cups): Choose your favorite vibrant cereal to form the crispy taco shells; this is what gives our dessert that iconic splash of color and crunch.
- Unsalted butter (1/2 cup, melted): Helps bind the cereal together and adds a rich, buttery flavor to the shells.
- Cream cheese (8 oz, softened): The creamy base for our cheesecake filling; make sure it’s at room temperature for smooth blending.
- Powdered sugar (1/2 cup, sifted): Sweetens the filling while keeping it silky and lump-free.
- Pure vanilla extract (1 tsp): Deepens the flavor of the cheesecake filling with warm, aromatic notes.
- Whipped cream (1 cup): Lightens and fluffs the cheesecake mixture, making each bite airy and decadent.
- Additional fruity cereal: For that final, playful garnish that adds crunch and color to your creations.
How to Make Fruity Pebbles Cheesecake Tacos
Step 1: Prepare the Cereal Shells
In a large mixing bowl, toss the fruity cereal with the melted butter until every bit is perfectly coated and glossy. The mixture should look bright and feel sticky – that’s when the magic happens!
Step 2: Shape and Chill the Taco Shells
Firmly press the buttery cereal mixture into small taco molds or muffin tins, shaping them into those irresistible taco forms. Compacting is key here, so press down well! Pop them into the refrigerator for at least 30 minutes – this chill time lets the shells set up into the ideal, crunchy base for your filling.
Step 3: Whip Up the Cheesecake Filling
With your cream cheese softened, use a hand mixer to beat it until fluffy and pillowy. As you gradually blend in the powdered sugar and vanilla extract, the mixture will become creamy and smooth – the heart of your Fruity Pebbles Cheesecake Tacos!
Step 4: Fold in the Whipped Cream
Switch to a spatula and gently fold the whipped cream into the cheesecake base. This keeps everything light, airy, and deliciously mousse-like. Careful folding preserves the dreamy texture that makes the filling so satisfying.
Step 5: Fill and Decorate the Tacos
Spoon or pipe the cheesecake filling generously into each chilled cereal shell. There’s no such thing as too much! Finish with a brilliant shower of extra fruity cereal on top, for crunch and color. Serve immediately or give them another quick chill for a firmer bite – either way, they’re utterly irresistible.
How to Serve Fruity Pebbles Cheesecake Tacos
Garnishes
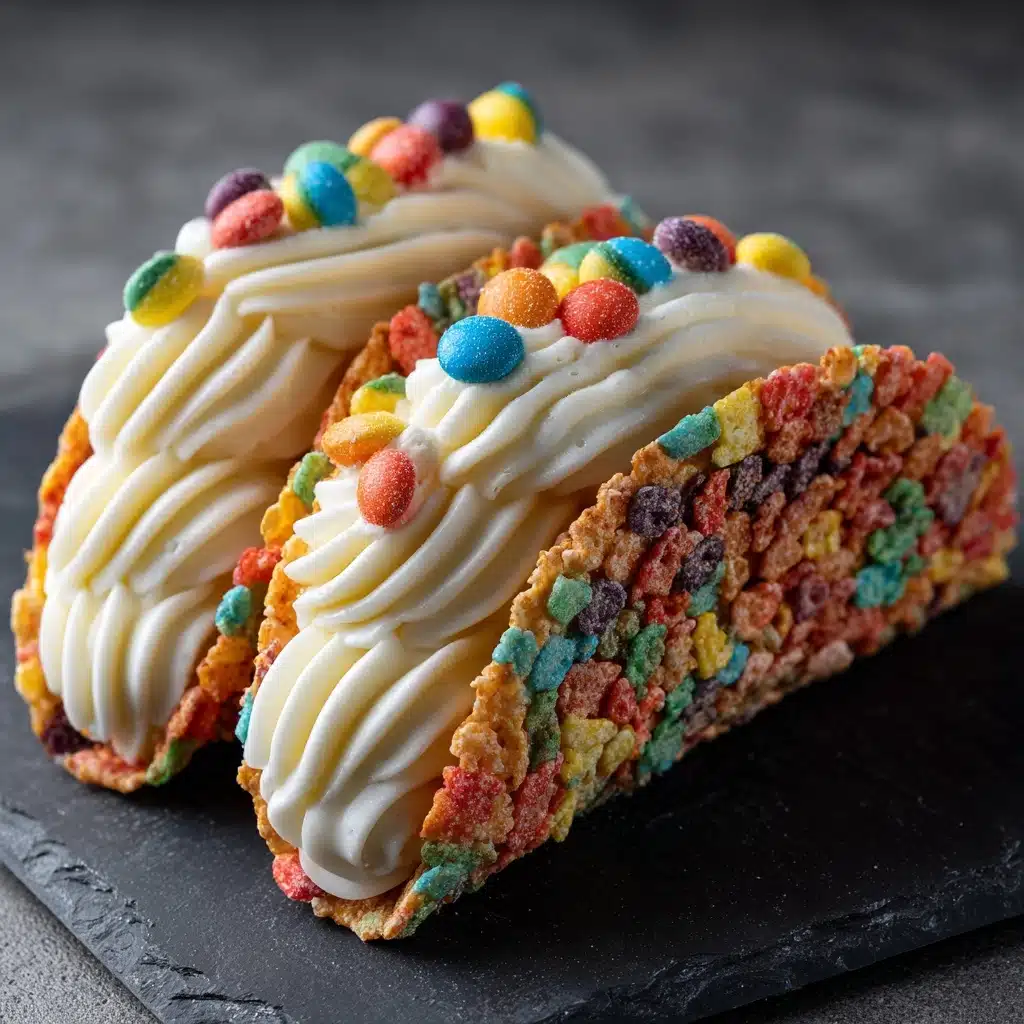
Don’t hold back with extra fruity cereal over the finished tacos! A final sprinkle creates a gorgeous, rainbow effect and extra crispy excitement. You can also try a dollop of whipped cream, a drizzle of white chocolate, or even edible glitter for maximum pizazz.
Side Dishes
Since Fruity Pebbles Cheesecake Tacos are the star of the show, keep sides simple: serve them with fresh berries, a scoop of vanilla ice cream, or a creamy fruit dip. This lets the tacos shine while adding a refreshing contrast.
Creative Ways to Present
Stack your tacos upright in a festive taco holder, arrange on a wooden platter, or build a colorful dessert “taco bar” where everyone customizes their own. For parties, serve them in cupcake liners for easy grabbing. However you serve them, they make any event feel like a celebration!
Make Ahead and Storage
Storing Leftovers
Store leftover Fruity Pebbles Cheesecake Tacos in an airtight container in the refrigerator. They’ll stay fresh for up to 2 days, but the cereal shells are best enjoyed within the first 24 hours for ultimate crunch.
Freezing
If you want to enjoy these later, freeze the unfilled cereal shells in a zip-top bag for up to 2 months. Thaw at room temperature before filling. The cheesecake filling can also be frozen separately in a sealed container; just thaw in the fridge and remix for creaminess before assembling.
Reheating
Since these are meant to be served chilled, reheating isn’t necessary. However, if your shells lose some crunch in the fridge, pop them in the freezer for 10 minutes to crisp up before filling and serving.
FAQs
Can I make Fruity Pebbles Cheesecake Tacos gluten-free?
Absolutely! Just swap in a certified gluten-free fruity cereal, and double-check that all other ingredients are gluten-free for a treat everyone can enjoy.
How do I keep the taco shells from getting soggy?
Be sure to chill the shells thoroughly before filling, and add the cheesecake filling just before serving. This keeps everything crisp and delicious for your guests.
Can I use store-bought whipped topping instead of fresh whipped cream?
Yes, store-bought whipped topping works great and saves time. Just fold it in gently to maintain that light, fluffy cheesecake texture.
What can I use if I don’t have taco molds?
Muffin tins are a perfect hack—just shape the cereal mixture over the backside of the muffin cups to form shells. You can also use any rounded kitchen tool to mimic the taco shape.
Can I add mix-ins to the filling?
Absolutely! Try mini chocolate chips, freeze-dried fruit, or even a spoonful of citrus zest folded into the cheesecake for an extra flavor twist that complements the Fruity Pebbles Cheesecake Tacos perfectly.
Final Thoughts
If you’re ready for a dessert that’s pure fun and flavor, give Fruity Pebbles Cheesecake Tacos a try. They’re simple yet spectacular, and bound to spark joy for everyone at the table. Go ahead, bring a little sprinkle-filled happiness into your kitchen – you won’t regret it!
Print
Fruity Pebbles Cheesecake Tacos Recipe
- Total Time: 50 Minutes
- Yield: 6 Servings
- Diet: Vegetarian
Description
Fruity Pebbles Cheesecake Tacos are a delightful dessert featuring crunchy cereal shells filled with a creamy cheesecake mixture and topped with colorful fruity cereal.
Ingredients
Shells
- 3 cups fruity cereal
- 1/2 cup unsalted butter, melted
Filling
- 8 oz cream cheese, softened to room temperature
- 1/2 cup powdered sugar, sifted
- 1 tsp pure vanilla extract
- 1 cup whipped cream
Garnish
- Additional fruity cereal
Instructions
- Combine the fruity cereal and melted butter: In a mixing bowl, stir thoroughly until every piece is evenly coated.
- Press into molds: Press the cereal mixture firmly into small taco-shaped molds or muffin tins, compact tightly, and chill in the refrigerator for at least 30 minutes.
- Prepare the filling: Beat the cream cheese until light and fluffy, gradually add powdered sugar and vanilla extract, blend until smooth. Gently fold in whipped cream to maintain a light texture.
- Fill the shells: Once firm, spoon the cheesecake filling into each shell generously.
- Add garnish: Sprinkle additional fruity cereal over the filled shells. Serve immediately or chill for a firmer texture.
Notes
- Ensure the cereal shells are compacted well for a sturdy base.
- Feel free to customize toppings with fresh fruits or chocolate drizzle.
- Prep Time: 20 Minutes
- Cook Time: 30 Minutes
- Category: Desserts
- Method: Baking, Mixing
- Cuisine: American
Nutrition
- Serving Size: 1 Taco
- Calories: 320
- Sugar: 22g
- Sodium: 220mg
- Fat: 23g
- Saturated Fat: 14g
- Unsaturated Fat: 7g
- Trans Fat: 0g
- Carbohydrates: 28g
- Fiber: 1g
- Protein: 3g
- Cholesterol: 70mg

