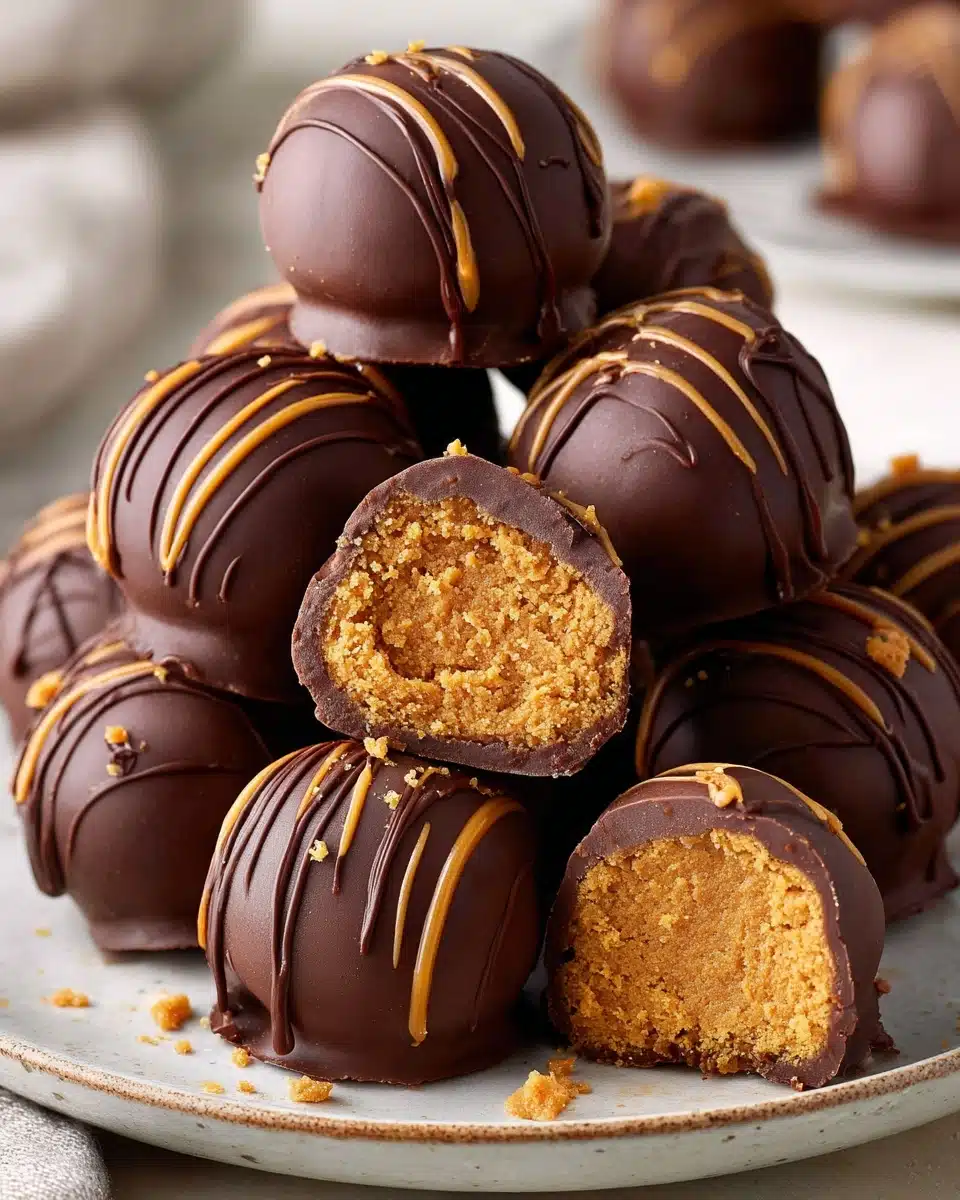
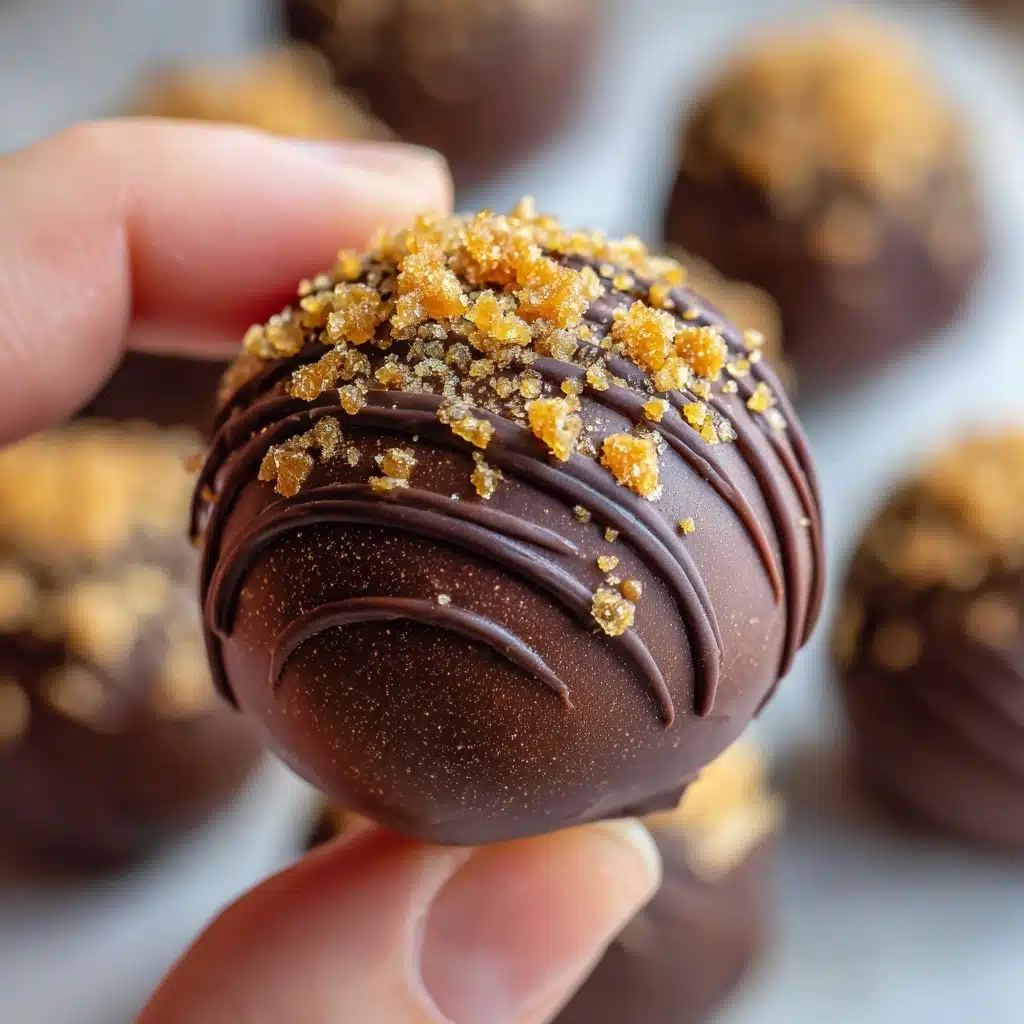
If you’re searching for a no-fuss, show-stopping treat, Butterfinger Balls deserve a spot at the top of your dessert list! These bite-sized wonders are packed with creamy peanut butter, crunchy graham crackers, crushed up Butterfinger bars (yes, those iconic candy bars!), and a shell of luscious melted chocolate. The result is a candy shop-worthy delight that vanishes in seconds at parties and holiday gatherings—I can vouch for that from many personal experiences. Butterfinger Balls are pure nostalgia and decadence in every bite!
Ingredients You’ll Need
Making Butterfinger Balls is delightfully simple, especially with pantry staples that each add their own magic. Every ingredient has a purpose: some give velvety richness, others pack a crispy crunch, and a few even add a pop of color and fun.
- Creamy peanut butter: The base for that incomparable smooth, nutty flavor (stick to Jif or Skippy, and leave the all-natural stuff for another recipe).
- Butter: Softened butter melds everything together and adds that satisfying richness.
- Vanilla extract: Just a splash gives the dough a little lift and a cozy, home-baked aroma.
- Powdered sugar: Brings the perfect touch of sweetness and helps the mixture set just right.
- Graham cracker crumbs: Introduce a little crunch and keep the centers from getting too sticky.
- Crushed Butterfinger bars: The star ingredient for unmistakable flavor and extra crispiness with every bite.
- Chocolate bark or chips: The shell that brings it all together—use chocolate bark for a silky coating or blend with chips for bold chocolate flavor.
- Optional Garnishes: A little extra Butterfinger, fun holiday sprinkles, or a sprinkle of flaky salt for contrast.
How to Make Butterfinger Balls
Step 1: Cream Peanut Butter and Butter Together
Grab a medium-sized bowl and combine the peanut butter with the softened butter. Use an electric mixer (or a stand mixer with the paddle attachment) and beat together on medium speed until the two are one smooth, dreamy mixture. This sets up your Butterfinger Balls with the perfect creamy base.
Step 2: Add Vanilla
Pour in the vanilla extract and give everything another quick blend. It’ll smell incredible in your kitchen at this point—promise!
Step 3: Incorporate Powdered Sugar
To avoid clouds of sugar everywhere, add the powdered sugar in batches, blending on low each time. Take your time here and scrape down the sides—it makes the dough uniform and ensures a soft, melt-in-your-mouth texture.
Step 4: Mix in Graham Cracker Crumbs and Butterfinger Bars
Switch to a spatula or spoon and gently blend in the graham cracker crumbs and those irresistible crushed Butterfinger bars. Every bit should be flecked with candy crunch!
Step 5: Roll Into Balls
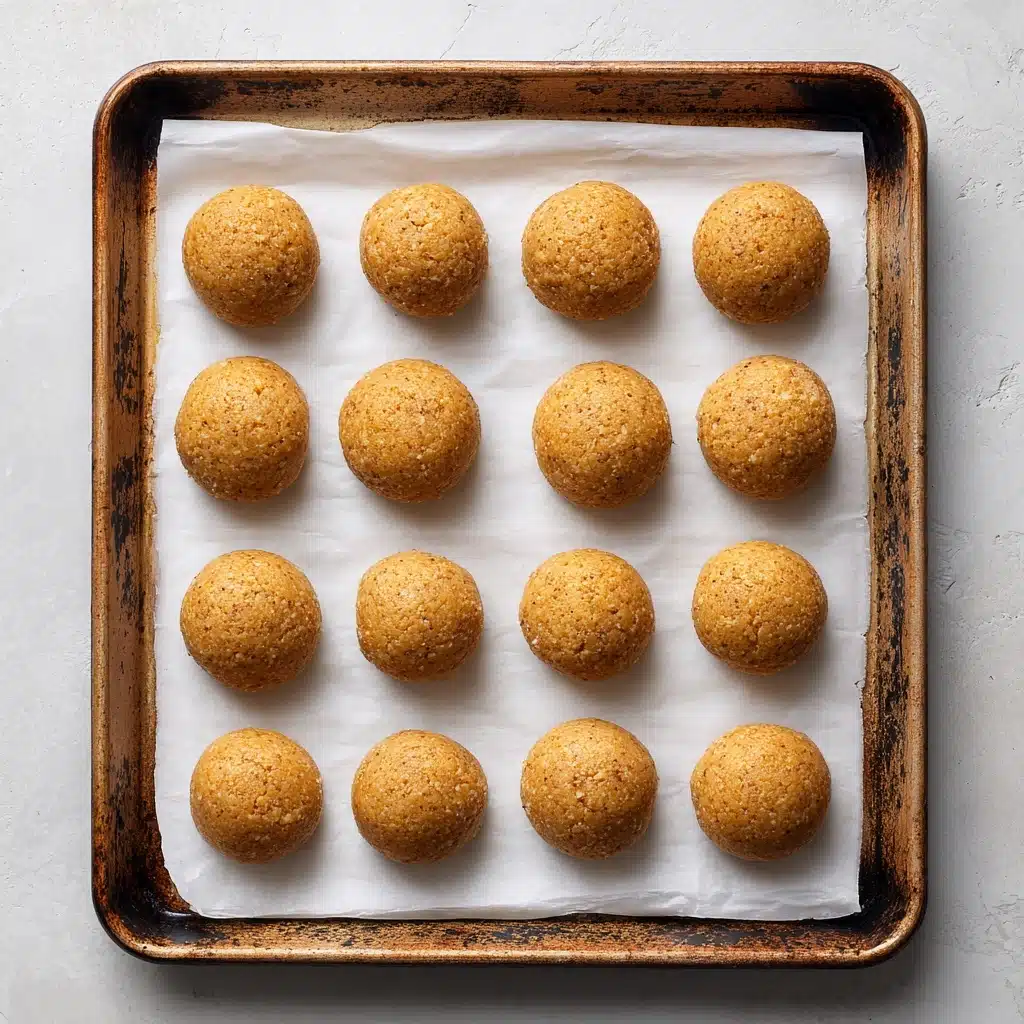
Line a large baking sheet with parchment paper. Scoop about 1 to 1 ½ tablespoons of dough and roll them in your hands into smooth balls. Place each one on the baking sheet, giving them lots of space to chill.
Step 6: Chill the Dough
Pop the tray in the freezer for about 30 minutes. Chilling firms up the Butterfinger Balls, making them so much easier to dip in chocolate and resulting in that satisfying “snap” when you bite in.
Step 7: Melt the Chocolate
In a microwave-safe bowl, melt the chocolate bark or chips in 30-second intervals on 50 percent power. Stir between each interval, and stop heating when a few lumps remain—then stir until smooth. This keeps the chocolate silky and easy to work with.
Step 8: Dip and Garnish
One by one, dip each chilled ball into the chocolate. You can coat them completely or leave a little peanut butter peeking out on top. Before the chocolate sets, sprinkle extra crushed Butterfinger, add some playful sprinkles, or a pinch of flaky salt.
Step 9: Set, Serve, and Enjoy!
Let the chocolate harden at room temperature, or speed things up by slipping the tray back into the fridge. Once set, your Butterfinger Balls are ready to wow your tastebuds (and impress every guest lucky enough to snag one!).
How to Serve Butterfinger Balls
Garnishes
Dress up your Butterfinger Balls by showering them with extra crushed Butterfinger bars, colorful holiday sprinkles, or just a hint of flaky sea salt. These little touches add both sparkle and a burst of flavor that contrasts beautifully with the sweet chocolate shell.
Side Dishes
Pair these treats with a spread of fresh berries or a platter of cut fruit for balance. If you’re putting out a dessert tray, add a few sugar cookies or chocolate-dipped pretzels so guests can mix and match their sweet cravings alongside Butterfinger Balls.
Creative Ways to Present
Try piling your Butterfinger Balls into a glass trifle bowl for a mountain of goodies, or nestle them in mini cupcake liners for easy grab-and-go snacking. For special occasions, tuck them into little boxes tied with ribbon as the cutest edible gift.
Make Ahead and Storage
Storing Leftovers
Place any extra Butterfinger Balls in an airtight container and store them in the refrigerator. They’re at their best for up to a week, staying fresh and fabulously flavorful every time you sneak one for an after-dinner treat.
Freezing
Need to plan ahead? Freeze your Butterfinger Balls in a single layer until solid, then transfer them into a freezer-safe bag or container. They’ll keep beautifully for up to three months—just thaw in the fridge before serving.
Reheating
Good news: Butterfinger Balls don’t need reheating! If they’ve been frozen, simply let them come to fridge temperature for a creamy, delicious mouthful every time. No extra fuss required.
FAQs
Can I use natural peanut butter?
It’s best to stick with shelf-stable peanut butters like Jif or Skippy for Butterfinger Balls. Natural peanut butter tends to be too oily, which can make the mixture soft and tricky to roll.
What type of chocolate is best for dipping?
Chocolate bark melts smoothly and gives a beautiful, shiny finish, but you can also use chocolate chips or a blend of both. Just be gentle when melting—overheating can cause the chocolate to seize.
Can I make Butterfinger Balls nut-free?
Swap the peanut butter for a creamy alternative like sunflower seed butter, and check your candy labels carefully. The texture will be similar, but the taste will be deliciously unique!
How do I crush Butterfinger bars easily?
Place the candy bars in a resealable plastic bag and gently tap with a rolling pin or kitchen mallet. You’re looking for small, crunchy pieces rather than a powdery consistency.
Can I double the recipe for a party?
Absolutely! This recipe doubles and even triples perfectly. Just use a larger bowl and a little more chill time, and you’ll have plenty of Butterfinger Balls for everyone.
Final Thoughts
There’s something so wonderfully nostalgic and joyful about Butterfinger Balls—each bite is creamy, crunchy, chocolatey, and absolutely unforgettable. If you give this recipe a try, I guarantee your friends and family will be asking for it again and again. Happy mixing, dipping, and sharing!
Print
Butterfinger Balls Recipe
- Total Time: 45 minutes
- Yield: 20 balls
- Diet: Vegetarian
Description
These bite-sized Butterfinger balls are a delightful treat made with peanut butter, graham crackers, Butterfinger candy bars, and dipped in chocolate. Perfect for parties and gatherings!
Ingredients
Peanut Butter Mixture:
- 1 cup creamy peanut butter
- 4 tablespoons butter, softened
- 1 teaspoon vanilla extract
- 1 cup powdered sugar
- ¾ cup graham cracker crumbs
- ½ cup crushed Butterfinger bars
Chocolate Coating:
- 8 ounces chocolate bark or chocolate chips
- Additional crushed Butterfingers, holiday sprinkles, or coarse salt for garnish
Instructions
- Peanut Butter Mixture: In a medium bowl, mix peanut butter and softened butter until well combined. Add vanilla extract and blend. Gradually add powdered sugar, then stir in graham cracker crumbs and crushed Butterfingers.
- Line a cookie sheet with parchment paper. Scoop out dough and roll into balls. Chill in freezer for 30 minutes.
- Chocolate Coating: Melt chocolate in microwave, then dip chilled balls in chocolate. Sprinkle with additional toppings.
- Allow chocolate to set before serving.
Notes
- Store in the refrigerator in an airtight container for up to a week.
- Use regular peanut butter for best results.
- Chocolate bark provides a smoother finish and does not require tempering.
- Consider using a double boiler for melting chocolate.
- Prep Time: 15 minutes
- Category: Dessert
- Cuisine: American
Nutrition
- Serving Size: 1 ball
- Calories: 219 kcal
- Sugar: 18g
- Sodium: 108mg
- Fat: 13g
- Saturated Fat: 6g
- Unsaturated Fat: 6g
- Trans Fat: 0.1g
- Carbohydrates: 23g
- Fiber: 1g
- Protein: 3g
- Cholesterol: 6mg

