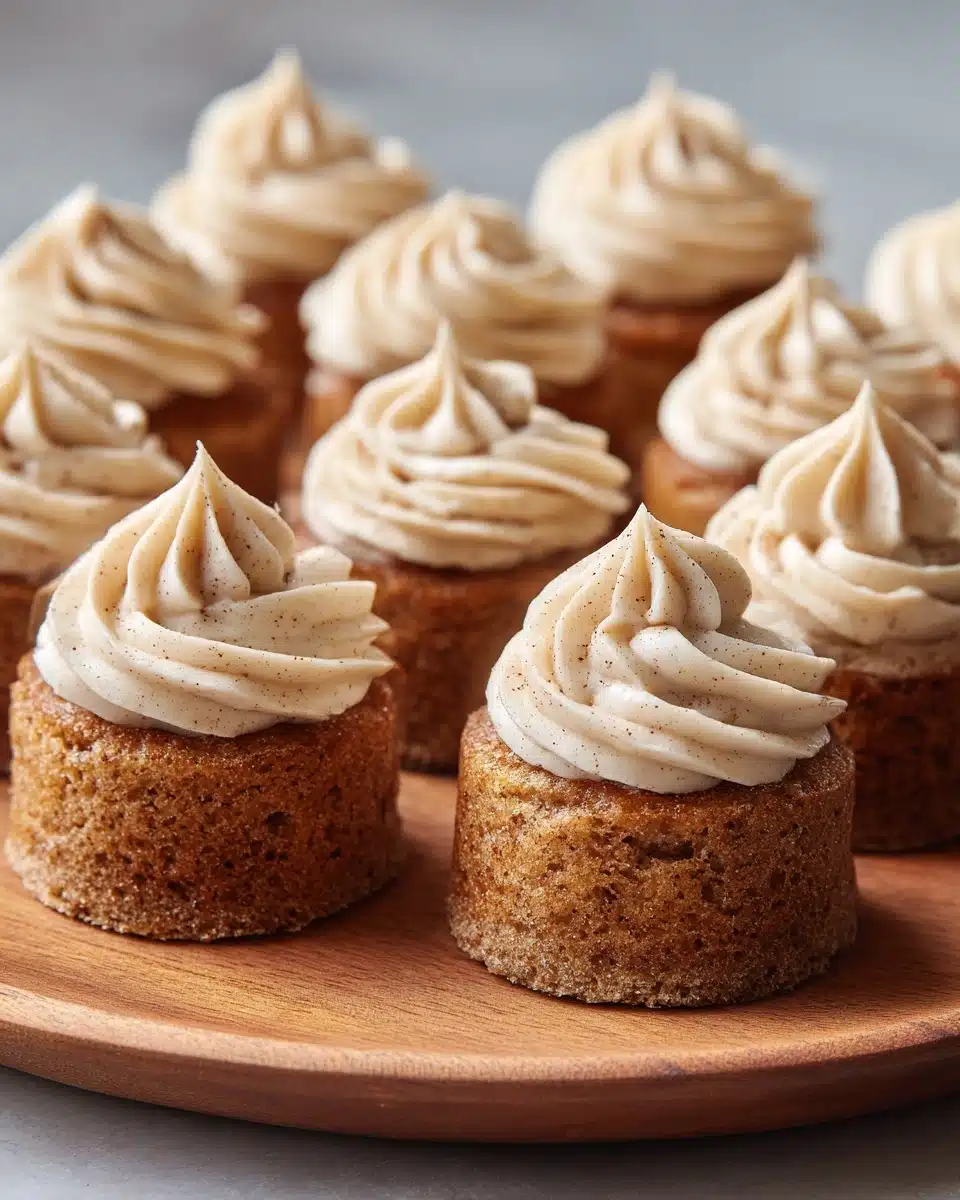
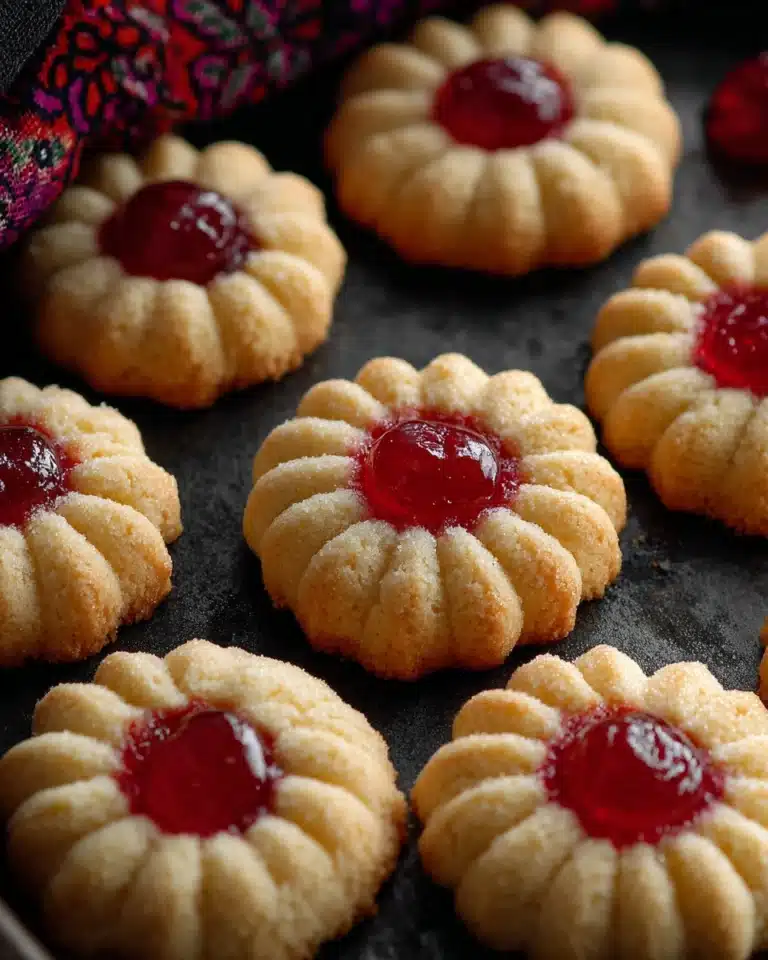
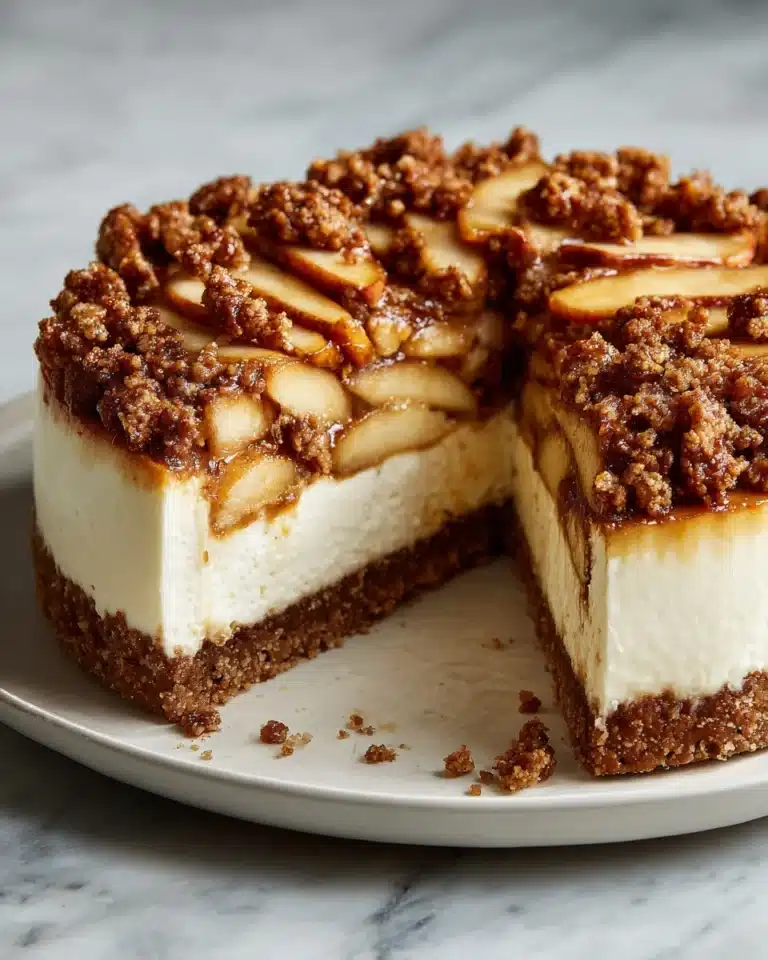
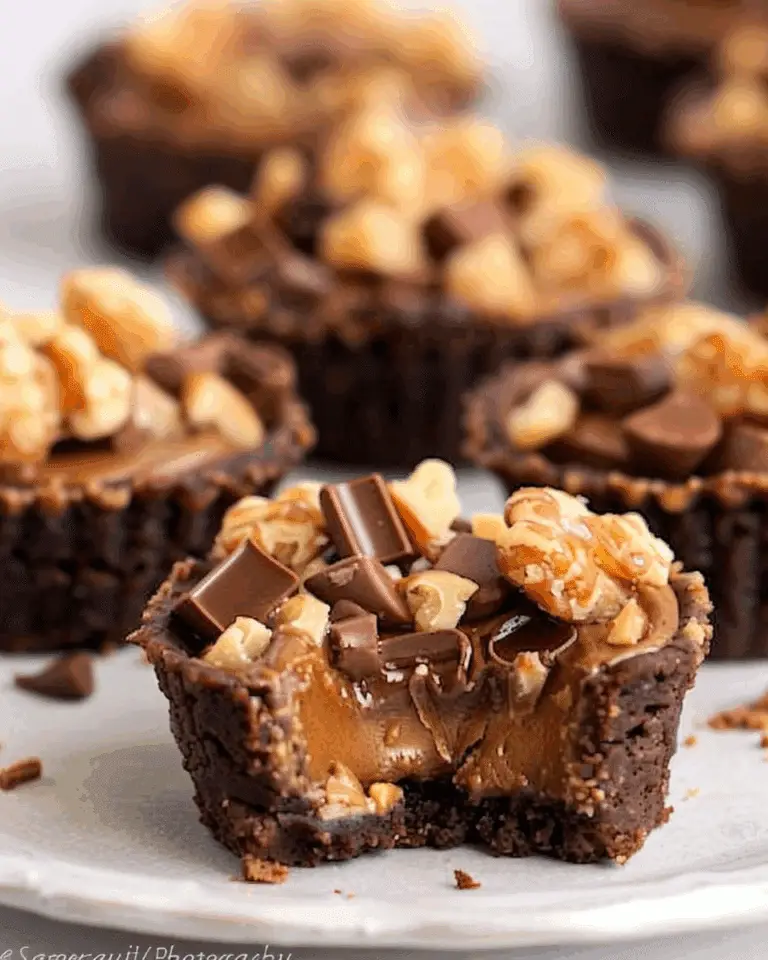
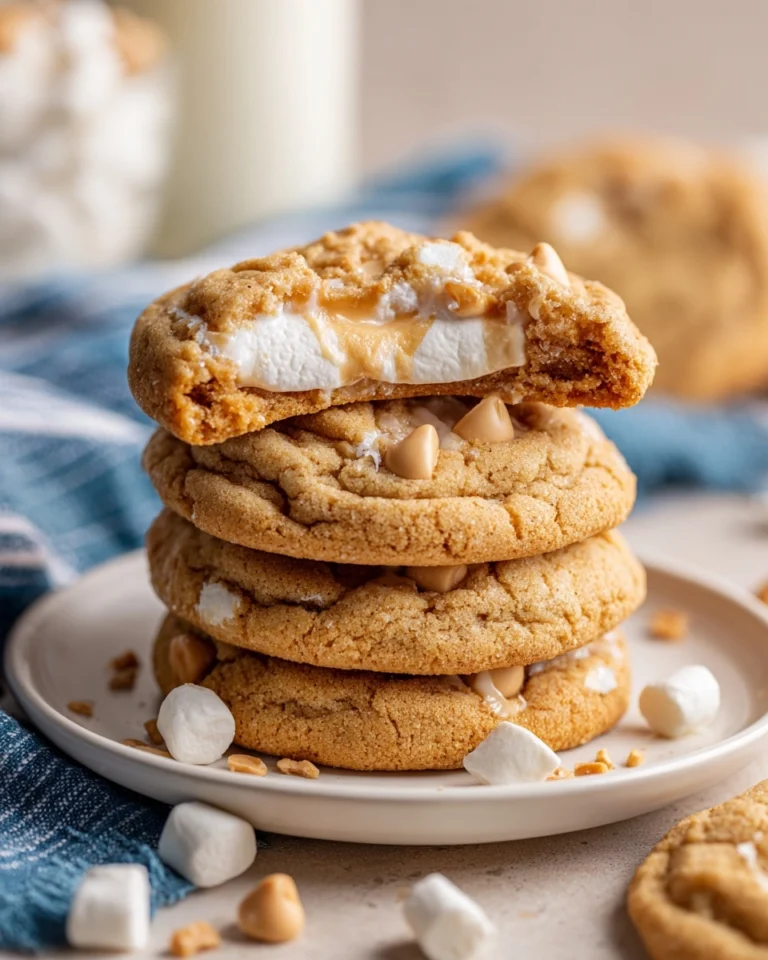
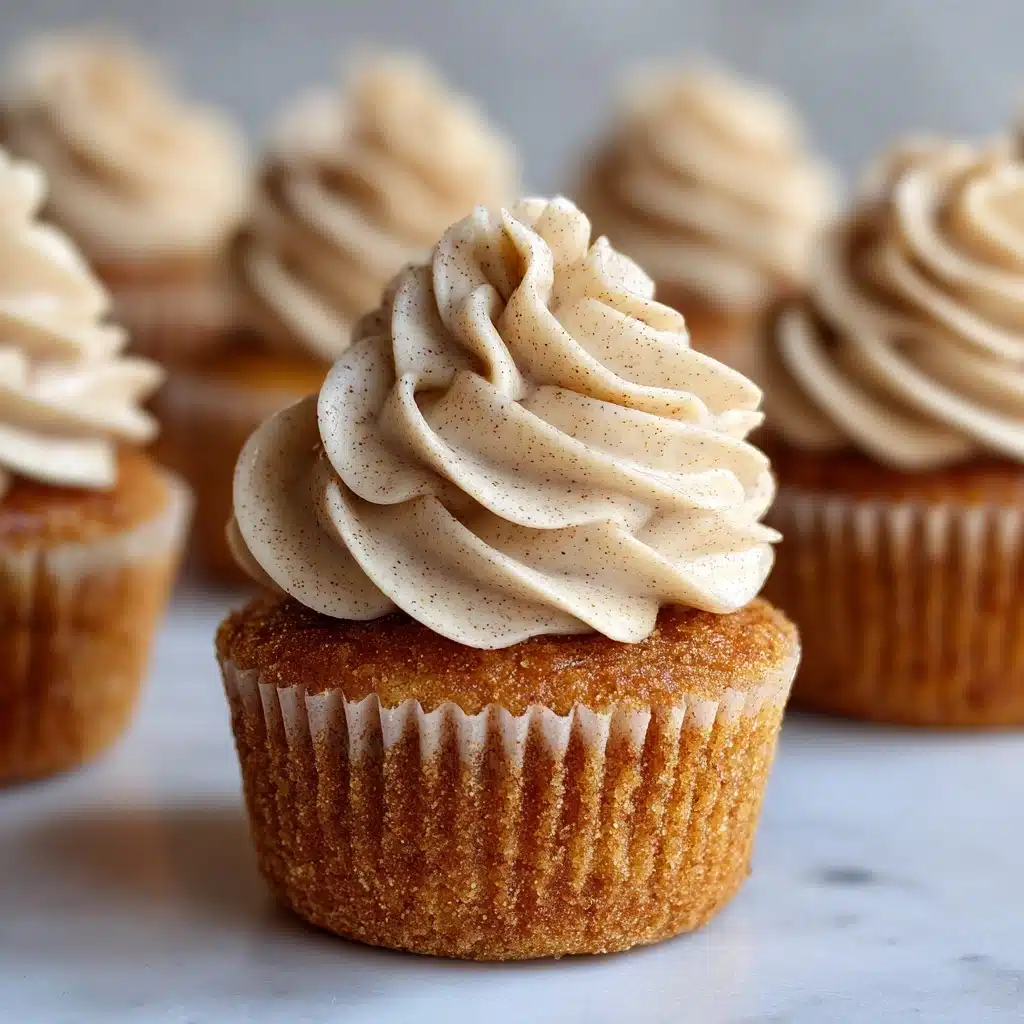
If you adore holiday desserts as much as I do, you’re going to fall head-over-heels for these Eggnog Cookie Cups! Imagine perfectly spiced snickerdoodle cookie dough baked into bite-sized “cups” and filled with a creamy, luscious eggnog filling—every bite delivers the nostalgic warmth of eggnog and pumpkin pie spices. These little treats are not only festive and irresistible, but they’re also incredibly simple to make, earning a well-deserved spot on your holiday cookie to-do list.
Ingredients You’ll Need
Gathering your ingredients is a snap for these Eggnog Cookie Cups, and each one plays an important role in creating the rich flavor and dreamy, pillowy texture you’ll love. Most of the ingredients are classic holiday staples that come together to make something magical!
- Snickerdoodle Cookie Mix (17.9 oz bag): The shortcut to soft, cinnamon-kissed cookie cups with minimal effort.
- Salted Butter (½ cup, melted): Adds a rich, buttery base and the perfect hint of salt to balance the sweetness.
- Large Egg: Binds the dough, making the cookie cups soft yet sturdy enough for filling.
- Eggnog (1 tbsp for dough, ¼ cup for filling): Boosts festive flavor and ensures the signature holiday richness comes through in every bite.
- Pumpkin Pie Spice (2 tsp for dough, ½ tbsp for filling): Infuses irresistibly cozy aroma and warmth that’s classic for the season.
- Cream Cheese (8 oz, softened): The base for a tangy, thick, and creamy filling that contrasts beautifully with the cookie cups.
- Powdered Sugar (1 cup): Sweetens the filling without any grittiness, giving it a silky-smooth texture.
- Vanilla Extract (½ tsp): Adds lovely mellow notes to round out the flavors.
- Whipped Topping (8 oz): Lightens the filling, making it dreamy, fluffy, and easy to pipe into the cups.
- Pumpkin Pie Spice for Sprinkling (optional): A festive finishing touch for both taste and presentation.
How to Make Eggnog Cookie Cups
Step 1: Prepare the Oven and Pan
Start by preheating your oven to 350 degrees Fahrenheit. There’s no need to grease your mini muffin tin, but you’ll want to use a non-stick pan for easy release. Remove the cinnamon sugar packet from the cookie mix and set it aside—you’ll use it soon!
Step 2: Mix Up the Cookie Dough
In a medium mixing bowl, combine the snickerdoodle cookie mix, melted butter, large egg, and 1 tablespoon of eggnog. Stir until everything comes together into a soft, oh-so-fragrant dough. In a separate small bowl, stir together the pumpkin pie spice and the cinnamon-sugar packet from your cookie mix—this will be your magical coating.
Step 3: Shape and Coat the Dough Balls
Using a ½ tablespoon scoop, portion out heaping spoonfuls of dough and roll them into smooth balls. Next, roll each one in your spice-and-sugar mixture until they’re generously coated, giving them that signature look and extra flavor boost.
Step 4: Create the Cookie Cup Shape
Drop each coated dough ball into the mini muffin tin. With a gentle press of your finger, indent the center of each ball to start forming the “cup” shape. You don’t need to go too deep—just enough to create a little well for the filling later.
Step 5: Bake to Perfection
Bake the cookie cups for 8 to 10 minutes, or until they’re just turning golden at the edges and the centers are slightly sunken. Don’t overbake! The edges should feel firm, as that helps hold in the filling.
Step 6: Cool and Remove from the Tin
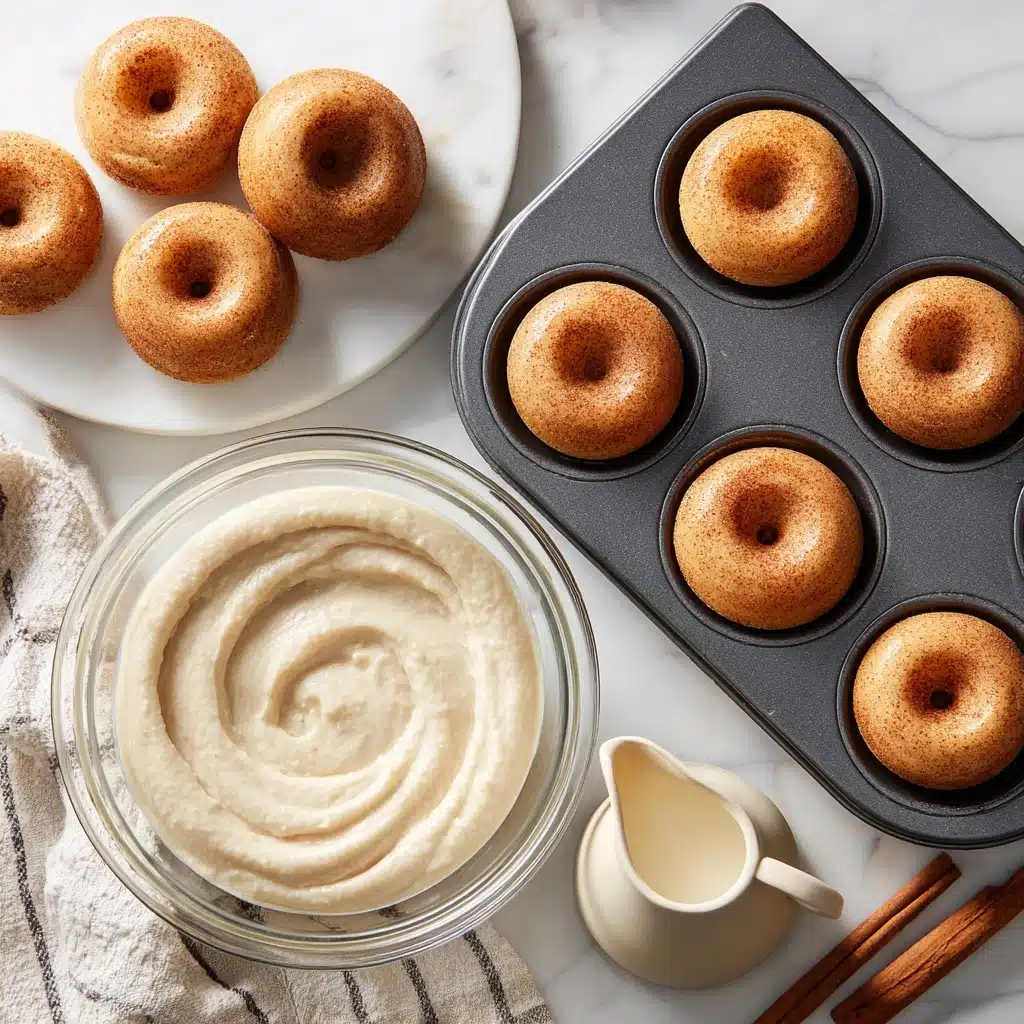
Let the Eggnog Cookie Cups cool in the pan for 3 to 5 minutes. Don’t let them cool completely or they’ll be hard to remove. The trick is to gently spin each cookie in its well to loosen before carefully lifting it out. Set them on a wire rack to finish cooling.
Step 7: Whip Up the Eggnog Filling
For the creamy filling, blend softened cream cheese, powdered sugar, and ½ tablespoon pumpkin pie spice in a stand mixer until light and fluffy—about 5 minutes. Drizzle in the ¼ cup eggnog and vanilla extract, mixing slowly to keep it smooth. The mixture should be thick yet slightly runny. Gently fold in the whipped topping to fluff up your filling.
Step 8: Fill the Cookie Cups
Once the cookie cups are completely cool, use a piping bag or a spoon to fill each cup with generous swirls of eggnog filling. For a final flourish, sprinkle with a touch of pumpkin pie spice, if you like. Enjoy every soft, creamy, spiced bite!
How to Serve Eggnog Cookie Cups
Garnishes
Dust the tops of your Eggnog Cookie Cups with a little extra pumpkin pie spice, or even grated nutmeg for extra holiday flair. A dollop of whipped cream or a white chocolate drizzle will also bring absolutely delightful results, making every cup feel instantly festive and photo-ready.
Side Dishes
Eggnog Cookie Cups pair beautifully with other holiday desserts like gingerbread, chocolate truffles, or spiced nuts. Set them alongside a warm mug of coffee or—of course—a glass of chillled eggnog for the ultimate winter treat tray.
Creative Ways to Present
Pile your Eggnog Cookie Cups high on a tiered dessert stand for a cheery centerpiece, or nestle them into individual mini cupcake wrappers for a polished touch at a cookie swap. They also make gorgeous homemade holiday gifts nestled in a festive tin with some ribbon or twine!
Make Ahead and Storage
Storing Leftovers
To keep those Eggnog Cookie Cups fresh, store them in an airtight container in the refrigerator. They’ll stay delicious for up to four days. Let them sit at room temperature for 10 minutes before serving, so the filling softens up just right.
Freezing
If you want to get ahead of the holiday rush, freeze the unfilled cookie cups in a zip-top freezer bag for up to two months. Thaw at room temperature, then fill before serving. For best texture, avoid freezing the filled cups as the creamy filling can become runny when thawed.
Reheating
If you prefer a slightly warm cookie base, you can gently reheat unfilled Eggnog Cookie Cups in a 250-degree oven for 5 minutes. Always add the filling after warming. Filled cups are best enjoyed straight from the fridge or at room temperature.
FAQs
Can I make Eggnog Cookie Cups in a regular muffin tin?
Absolutely! You’ll just end up with slightly larger cookie cups—perfect for sharing (or not). Bake for an extra 2 to 3 minutes and be sure to indent the dough balls so you have plenty of room for that irresistible filling.
Can I use homemade snickerdoodle dough instead of a mix?
Yes, homemade dough works like a charm! Use your favorite snickerdoodle recipe and follow the same method for shaping and baking the cups. Don’t forget that cinnamon-sugar coating for authentic flavor.
What can I use if I don’t have eggnog?
If you’re in a pinch, try substituting heavy cream mixed with a pinch of nutmeg and a splash of vanilla. While not quite the same, it will still give your Eggnog Cookie Cups a creamy, festive twist.
How do I transport Eggnog Cookie Cups for a party?
The best way is to line them up in a sturdy container with layers of parchment paper between. If you’re traveling a long distance, keep them chilled to maintain the firmness of the filling and avoid any messy surprises.
Can I make them gluten-free?
Definitely! Swap the regular snickerdoodle mix for a gluten-free version—there are plenty available in stores. Everything else in this Eggnog Cookie Cup recipe is naturally gluten-free.
Final Thoughts
I hope you’re as excited as I am to add these Eggnog Cookie Cups to your holiday baking traditions! They’re easy, utterly delicious, and guaranteed to bring cheer to any gathering. Give them a try—you might just find a new favorite in the mix!
Print
Eggnog Cookie Cups Recipe
- Total Time: 25 minutes
- Yield: 36
- Diet: Vegetarian
Description
These Eggnog Cookie Cups are the perfect bite-sized dessert for the holiday season! Made with pumpkin pie spices, eggnog, and snickerdoodle cookie dough, they are a delightful addition to your holiday cookie collection.
Ingredients
Cookie Cups:
- 17.9 ounce bag Snickerdoodle cookie mix
- ½ cup (1 stick) salted butter, melted
- 1 large egg
- 1 tbsp eggnog
- 2 tsp pumpkin pie spice
Eggnog Filling:
- 8 ounce (½ 16-oz package) cream cheese, softened
- 1 cup powdered sugar
- ½ tbsp pumpkin pie spice
- ¼ cup eggnog
- ½ tsp vanilla extract
- 8 ounce (½ carton) whipped topping
- Pumpkin pie spice for sprinkling (optional)
Instructions
- Preheat the oven to 350 degrees Fahrenheit. Do not grease your mini muffin tin but recommend using a non-stick pan. Remove the cinnamon sugar packet from the cookie mix.
- Prepare the snickerdoodle cookie mix by mixing together the cookie mix, melted butter, egg, and eggnog in a medium mixing bowl until a soft dough forms.
- In a separate bowl, mix the pumpkin pie spice and the cinnamon sugar packet from the cookie mix.
- Scoop heaping spoonfuls of cookie mix, roll into a ball, and coat with the cinnamon/spice mixture. Place in mini muffin tins and indent gently.
- Bake for 8-10 minutes until edges brown. Cool in pan for 3-5 minutes before transferring to a rack.
- Blend cream cheese, powdered sugar, and pumpkin pie spice until fluffy. Beat in eggnog and vanilla extract. Fold in whipped topping.
- Fill cookie cups with the eggnog filling and sprinkle with pumpkin pie spice.
- Prep Time: 15 minutes
- Cook Time: 10 minutes
- Category: Dessert
- Cuisine: American
Nutrition
- Serving Size: 1 cookie cup
- Calories: 137 kcal
- Sugar: 11g
- Sodium: 97mg
- Fat: 8g
- Saturated Fat: 5g
- Unsaturated Fat: 2g
- Trans Fat: 0g
- Carbohydrates: 15g
- Fiber: 0g
- Protein: 1g
- Cholesterol: 25mg

